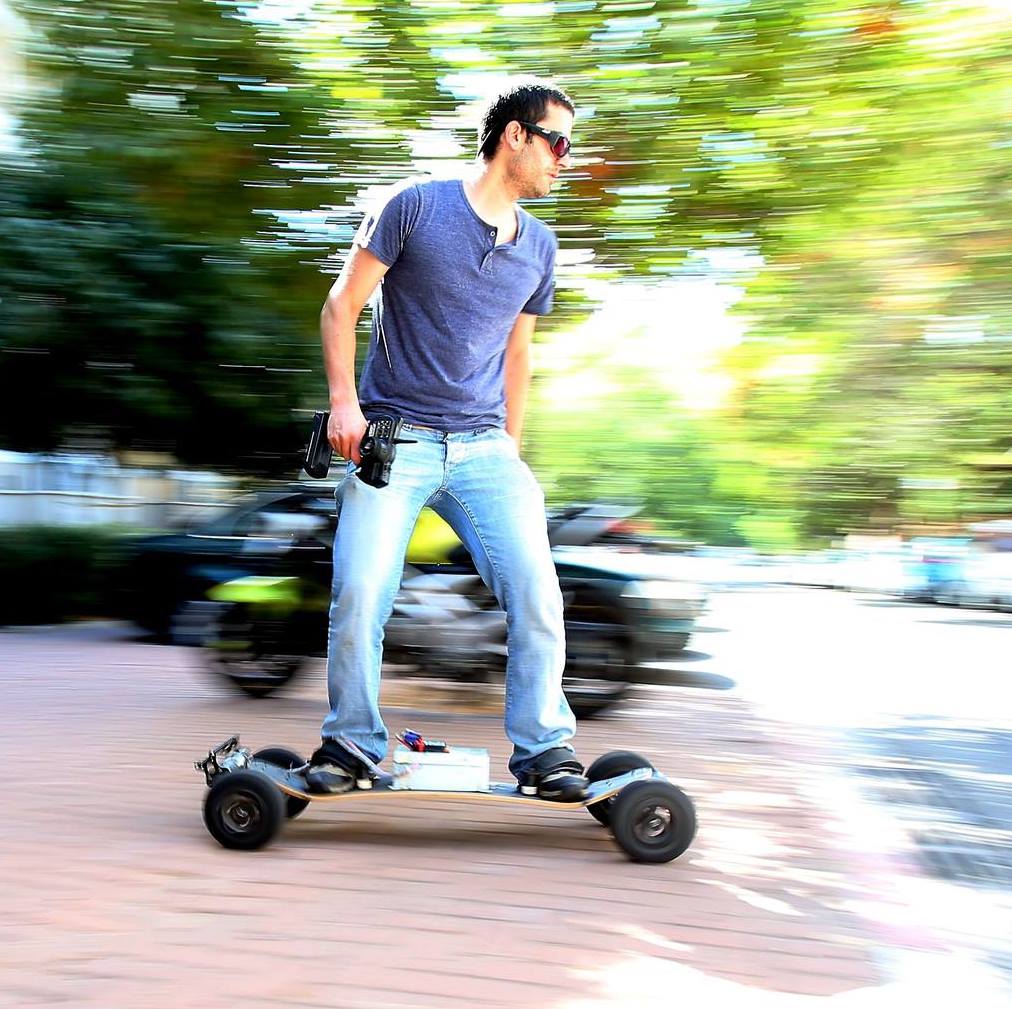
I love snowboarding – I had the bug in me since 2010 and till now never skipped a year without going abroad for ski/snowboarding vacation. But, I have one problem 🙂 I live in Israel – which is mostly desert and not the snowy alps. Still I had the bug and I had to come up with a solution that will make me feel that “I snowboard”. That ignited the Electric Mountainboard project. This is the first time I rode it:
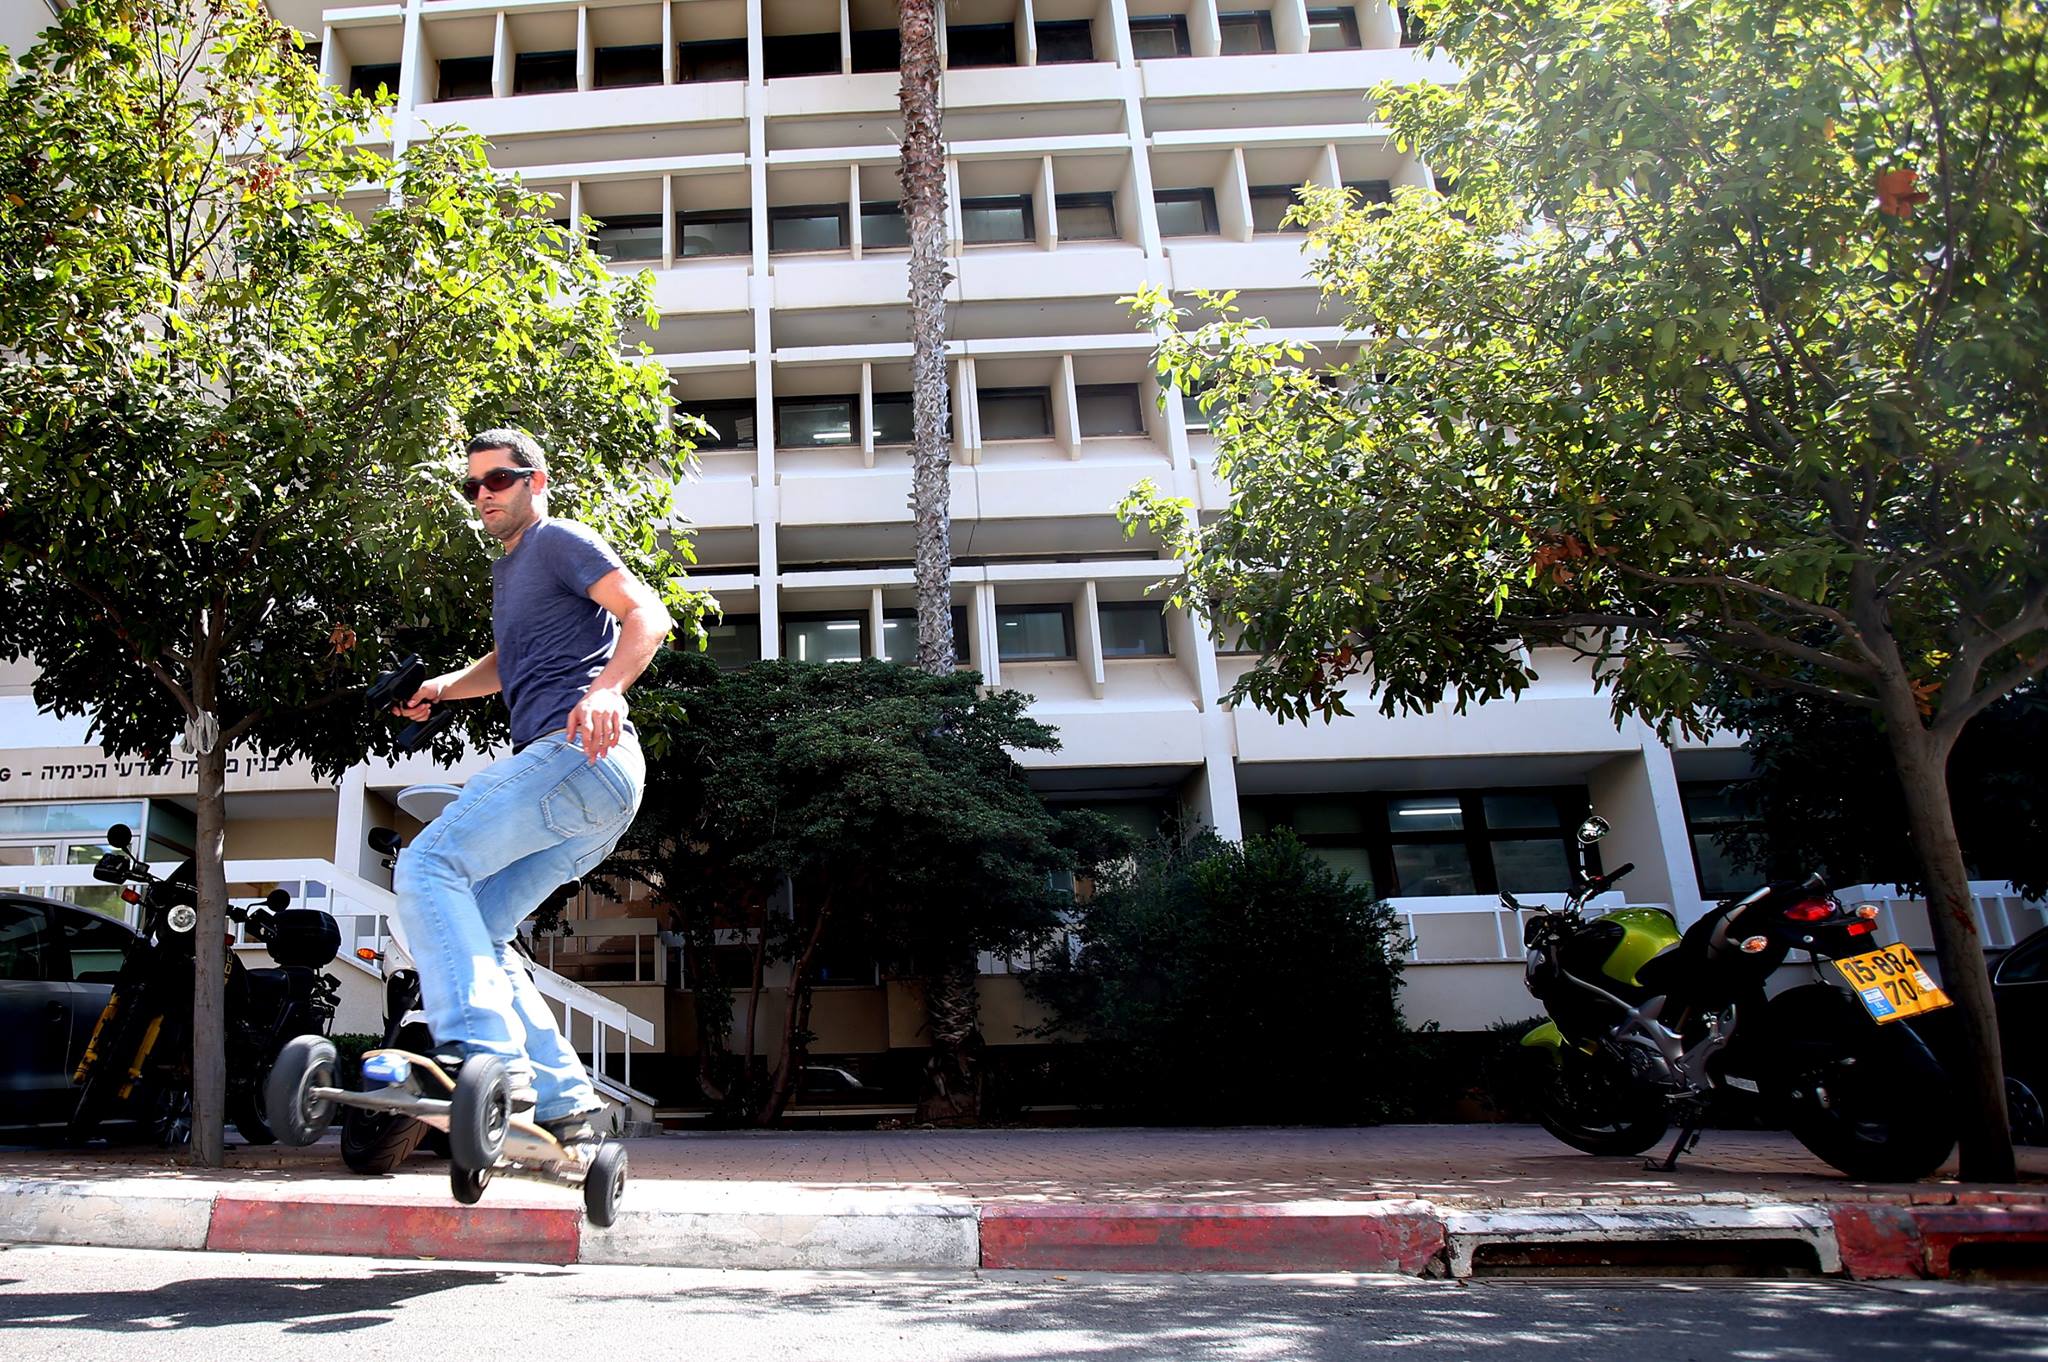
The big jump
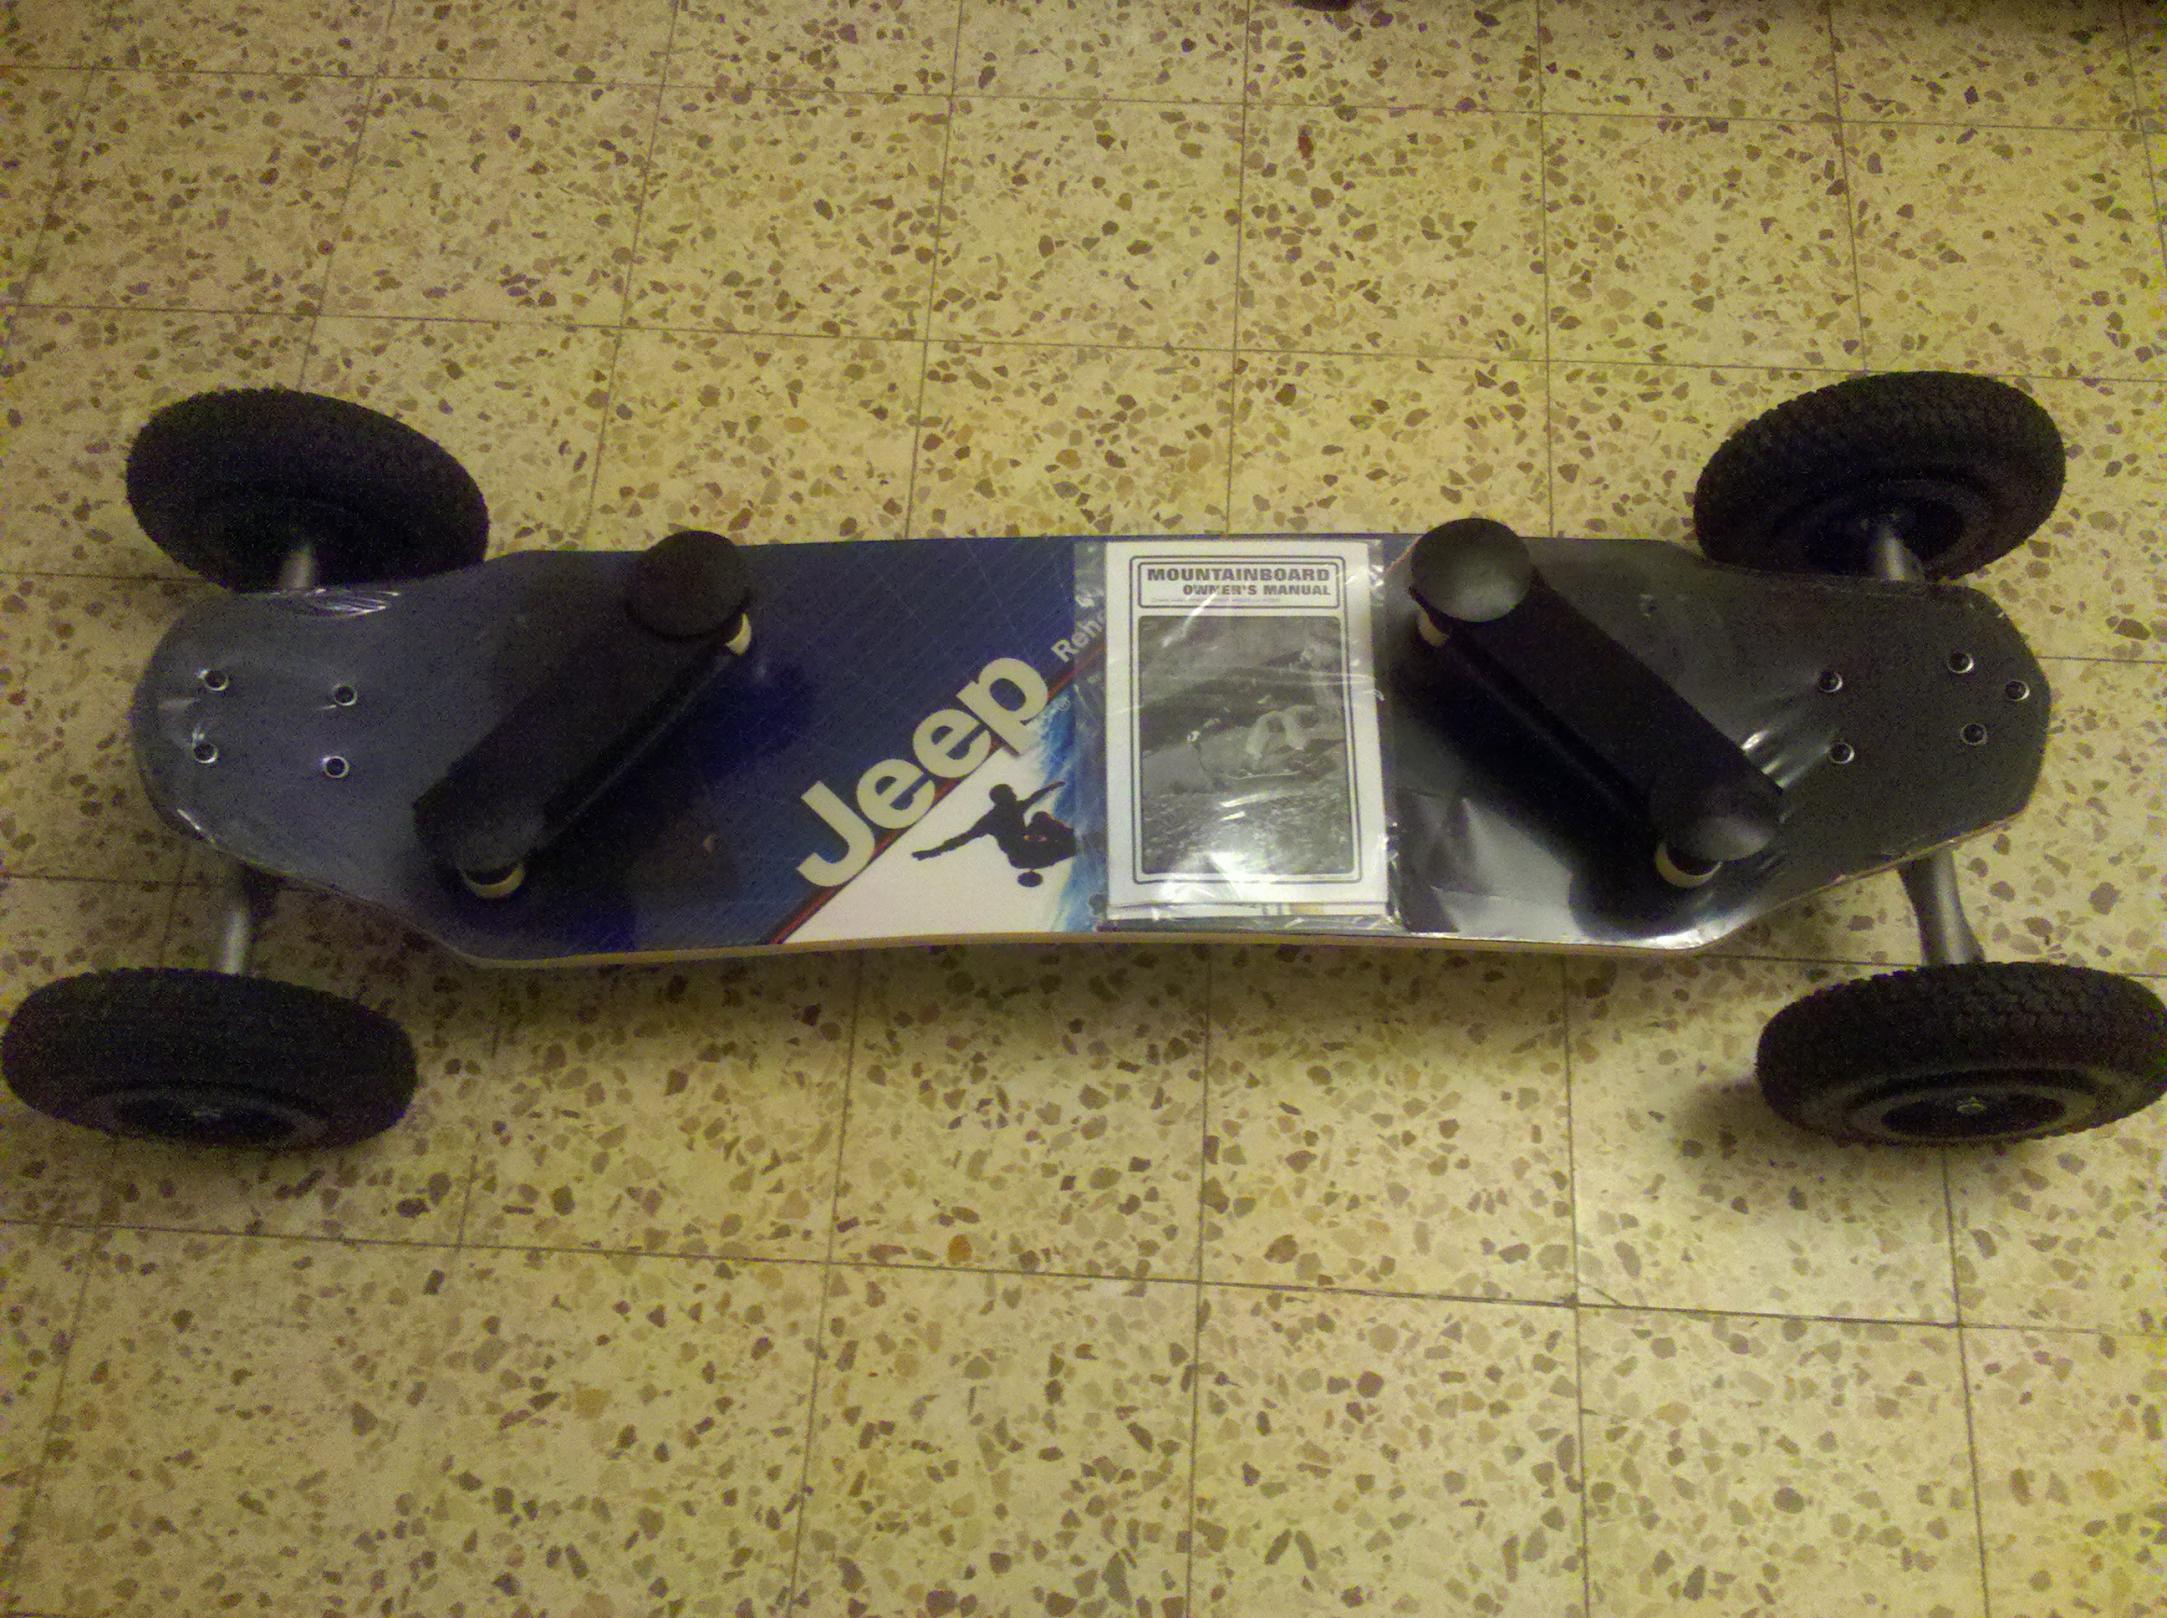 I decided to base my board on a well known good and solid platform.. so I bought a brand new original MBS Mountainboard, in retrospective it was an excellent choice, by now my first Mountainborad had done more than 3000KM (not a mistake, I changed the tires twice..) The deck/board itself looks old but it still solid and holding on despite all the rough rides and jumps I’m putting it trough.
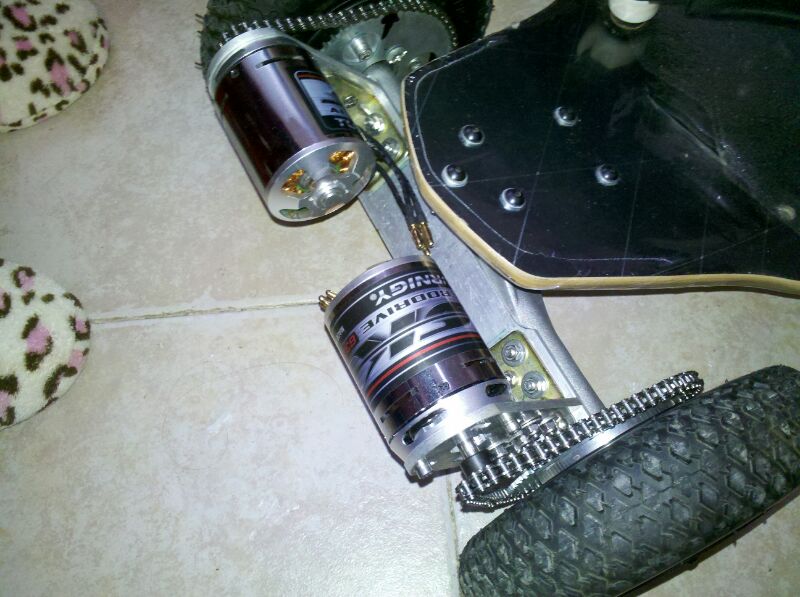 Basing on my knowledge from the RC world I designed a power system using a RC motor with the right rpm, KV, volts, ampere, an ESC (Electronic Speed Control), lithium power pack and a RC transmitter-receiver. One more key ingredient is the transmission system. It is imperative to chose the right pinion and sprocket or else it will drive to fast/slow or will not have enough torque. Another issue is how much battery to take with me.. this compenent is s direct result of the ESC-motor-transmission-wheel combination. I won’t get into all the calculations but at the end I got a Mountainboard with 15KM range at a top speed of 39KM/h – Damn fast!
I used a remote control car model for throttle and breaks, the steering is done exactly like in a snowboard – the bindings binds you to the board and by tilting sideways and changing the balance while you ride. The breaks are not mechanical – its magnetic. It uses the motors themselves in order to break.
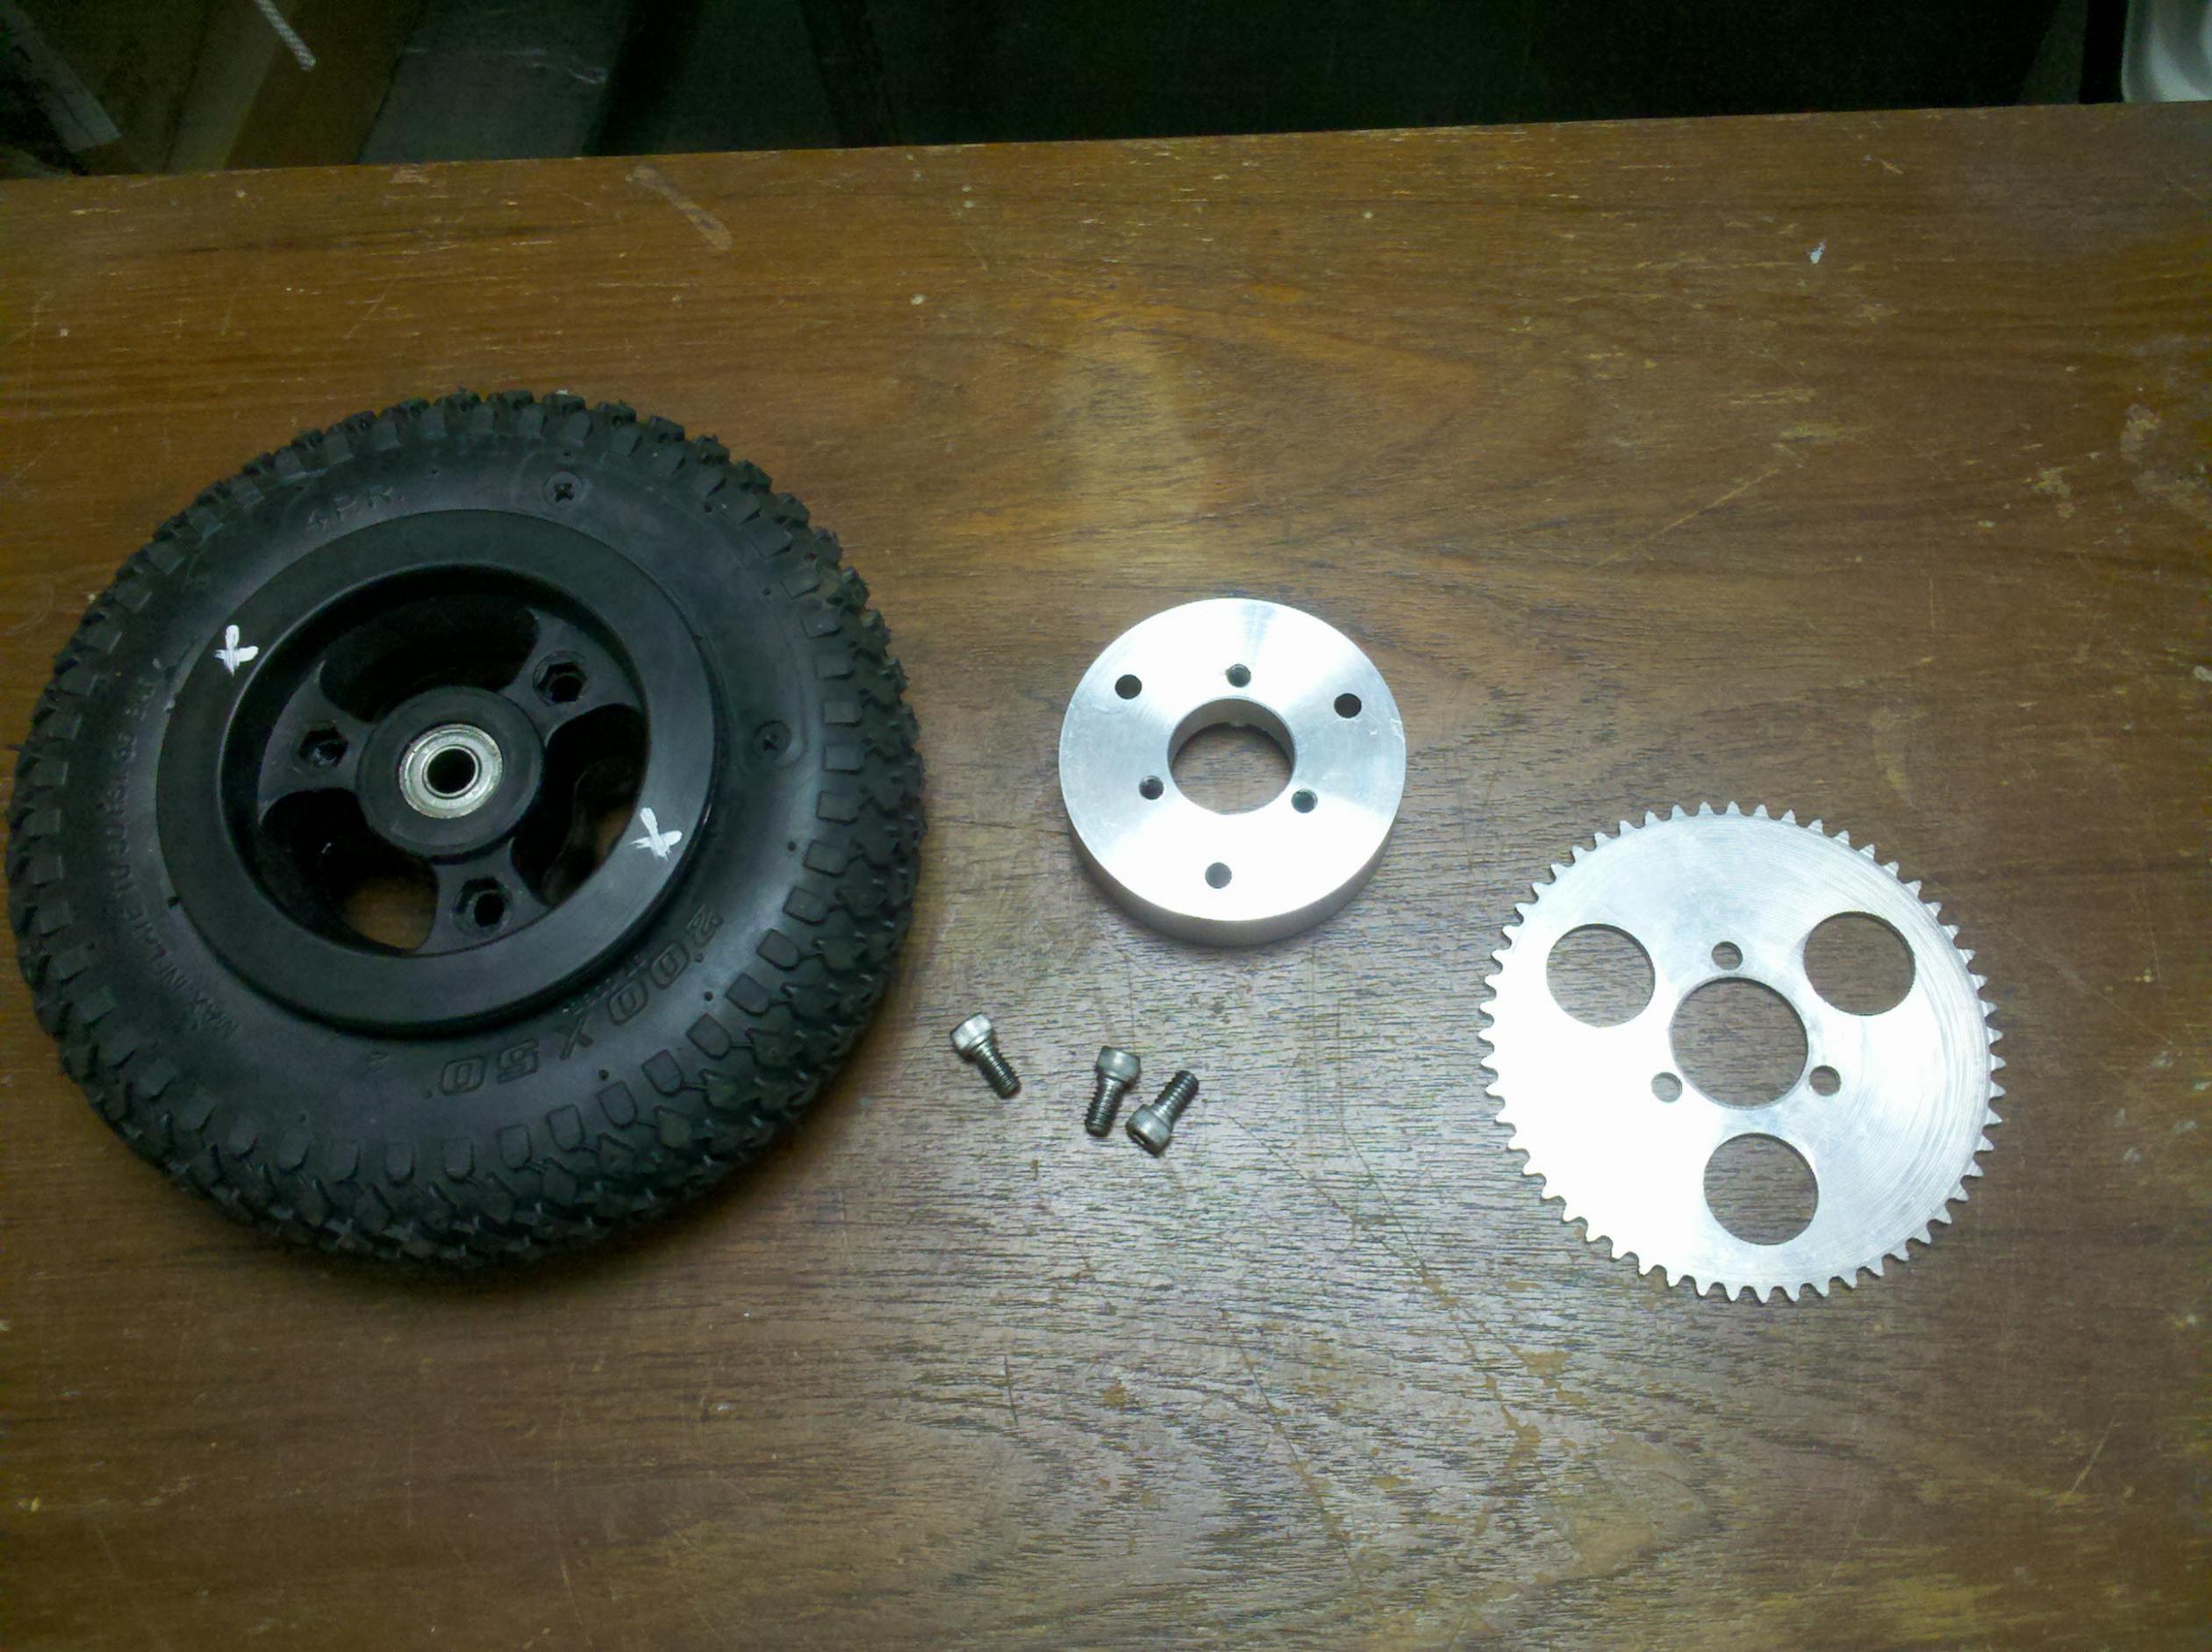
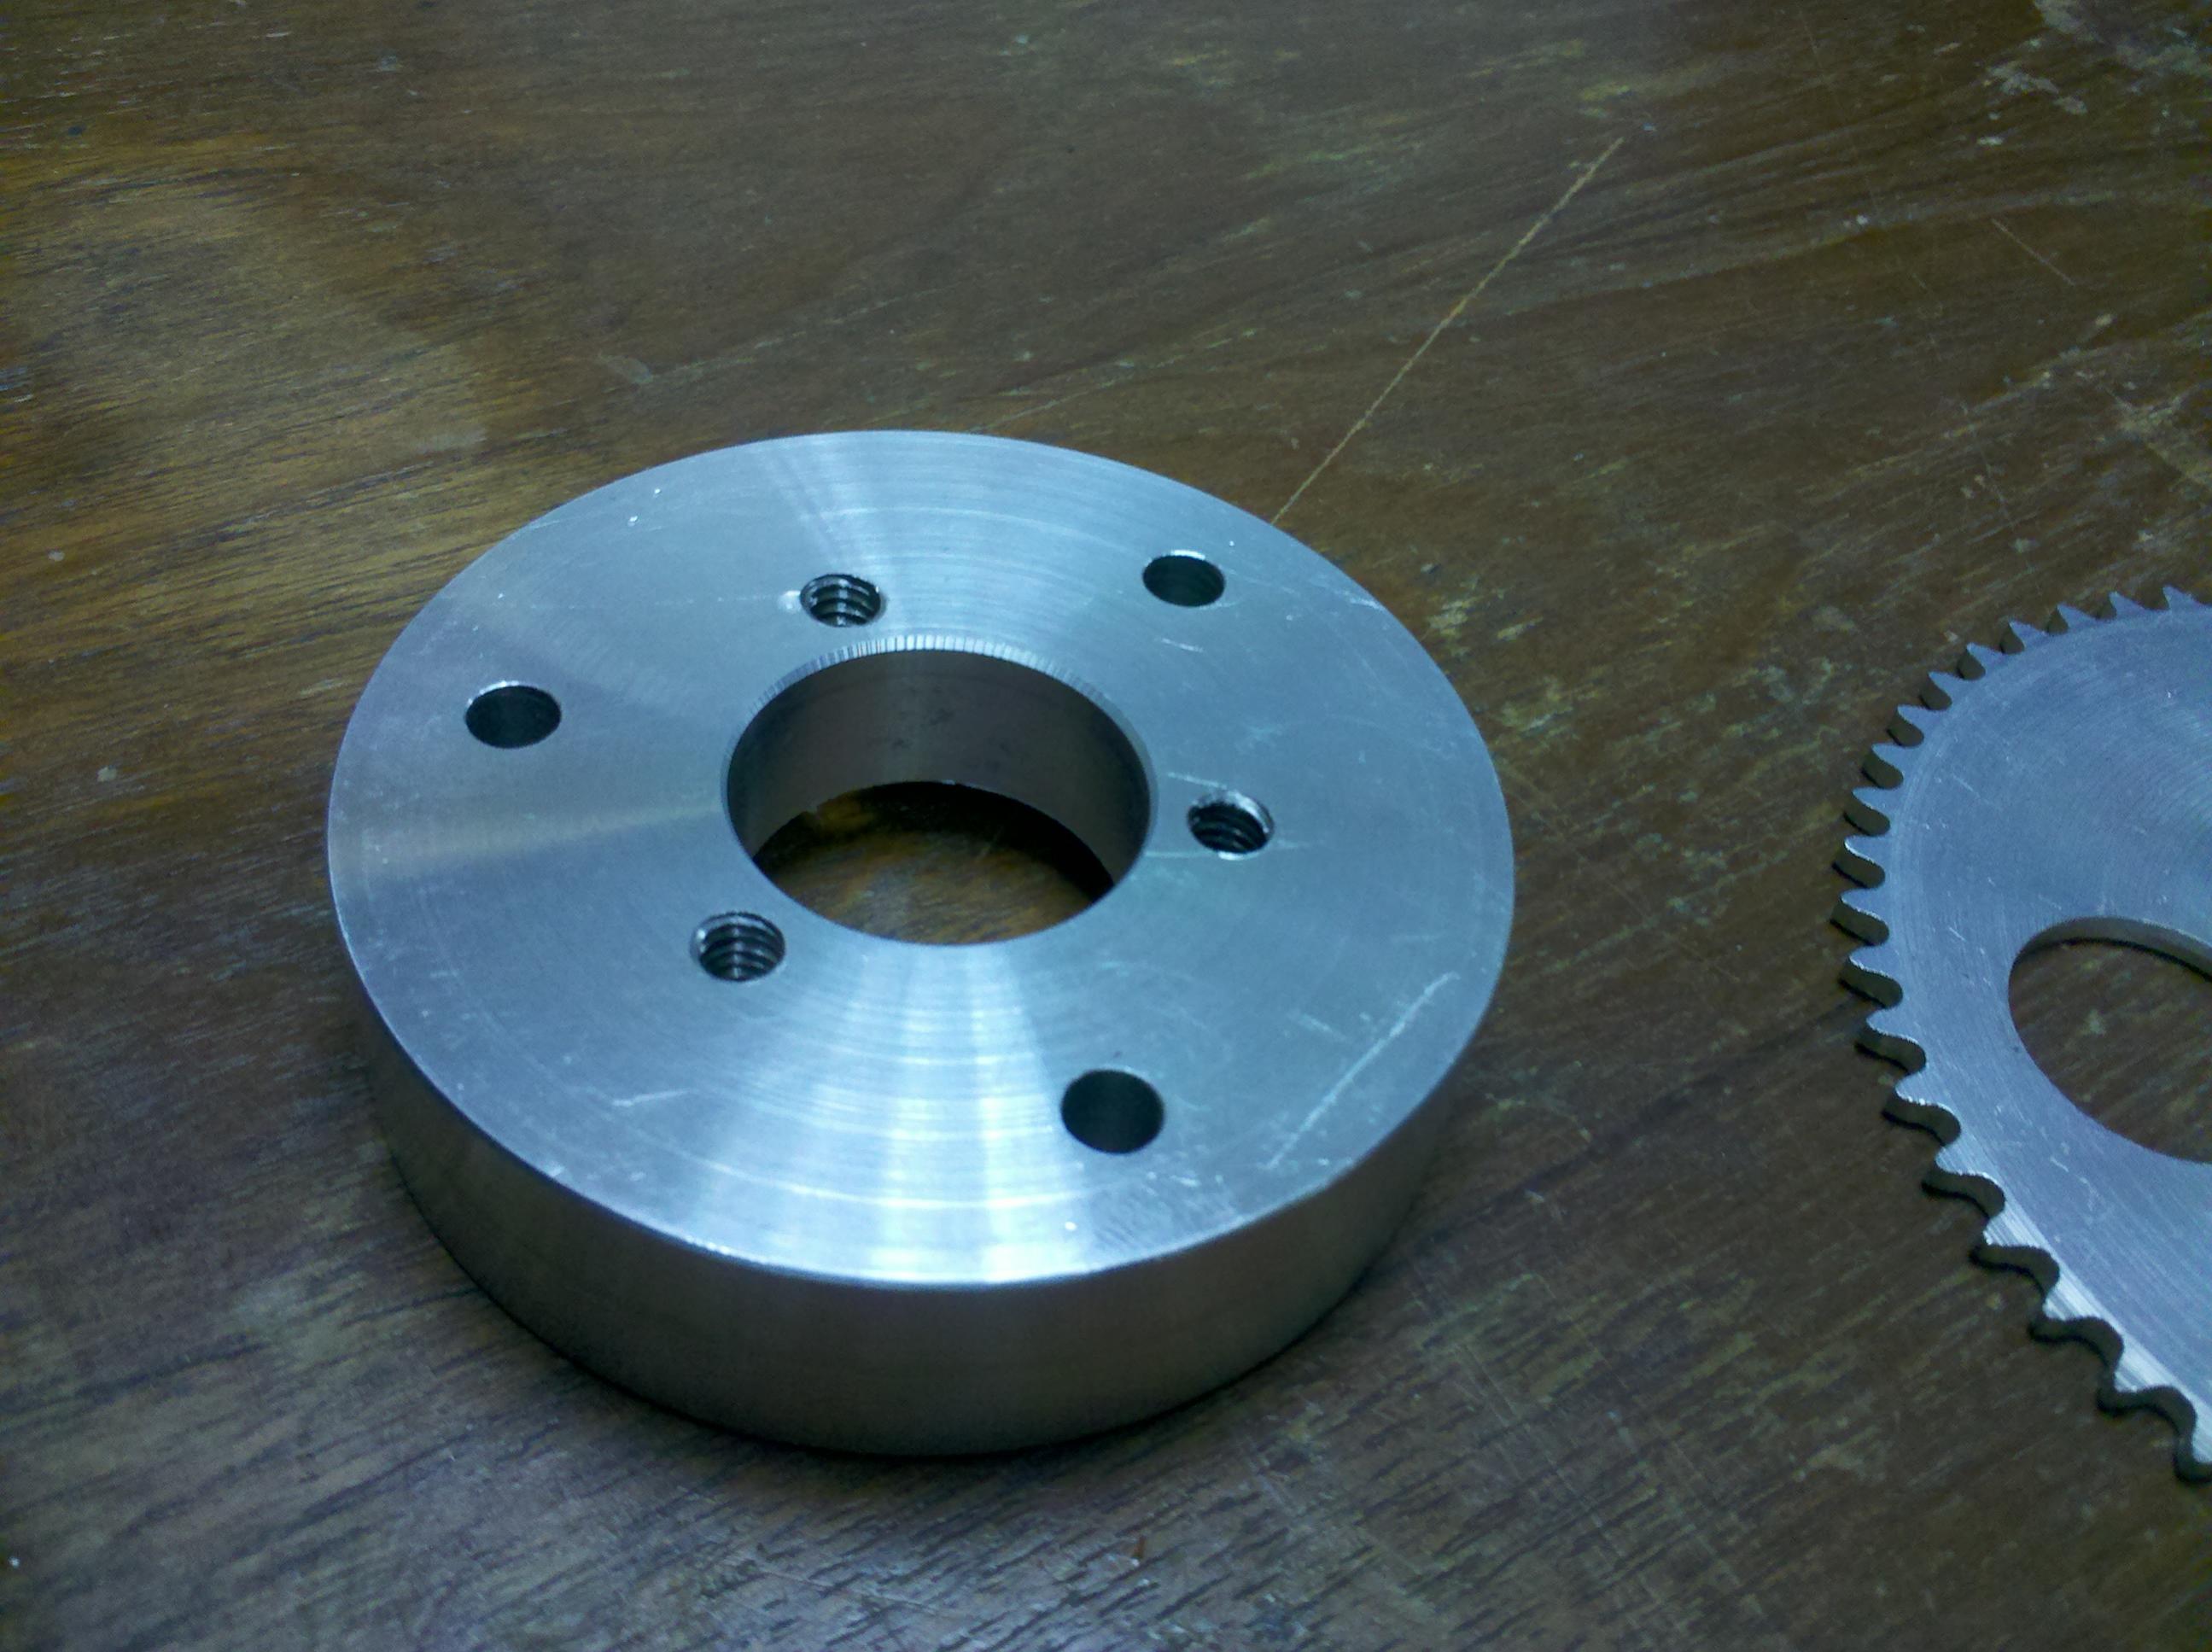
One of the main challenges was to mount the power system and the transmission system on top of the existing axis of the Mountainboard. I designed, manufactured and installed the power system on my own using milling machines, CNC and other power tools. I sourced the 25# chain from an RC motorcycle toy: http://www.hobbyking.com/hobbyking/store/__14020__RC_Motor_Bike_Replacement_Drive_Chain.html
Off road ride, the footage was done using a RC car with HD camera the video transmitter on it:
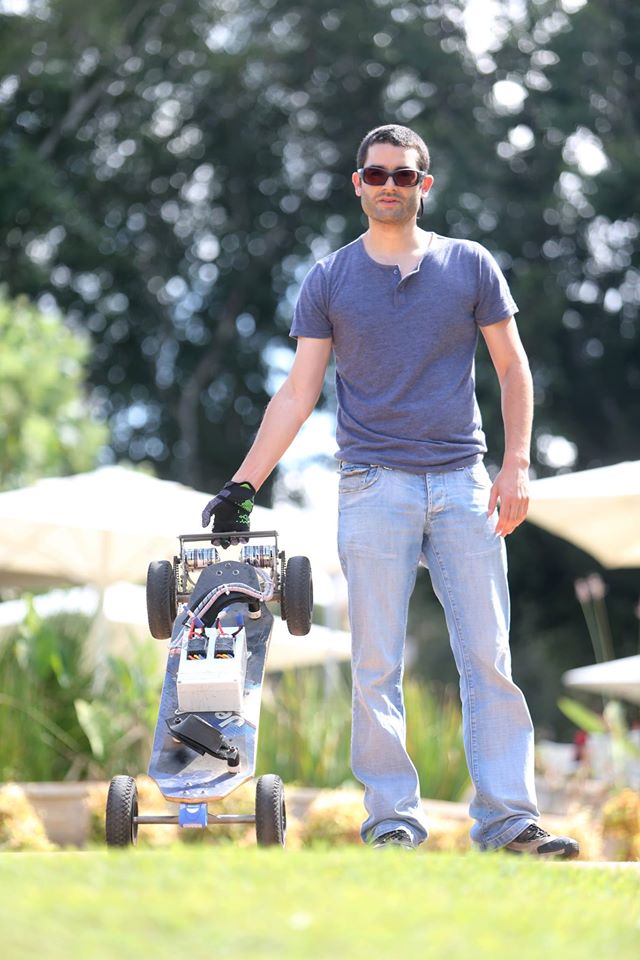
The looks
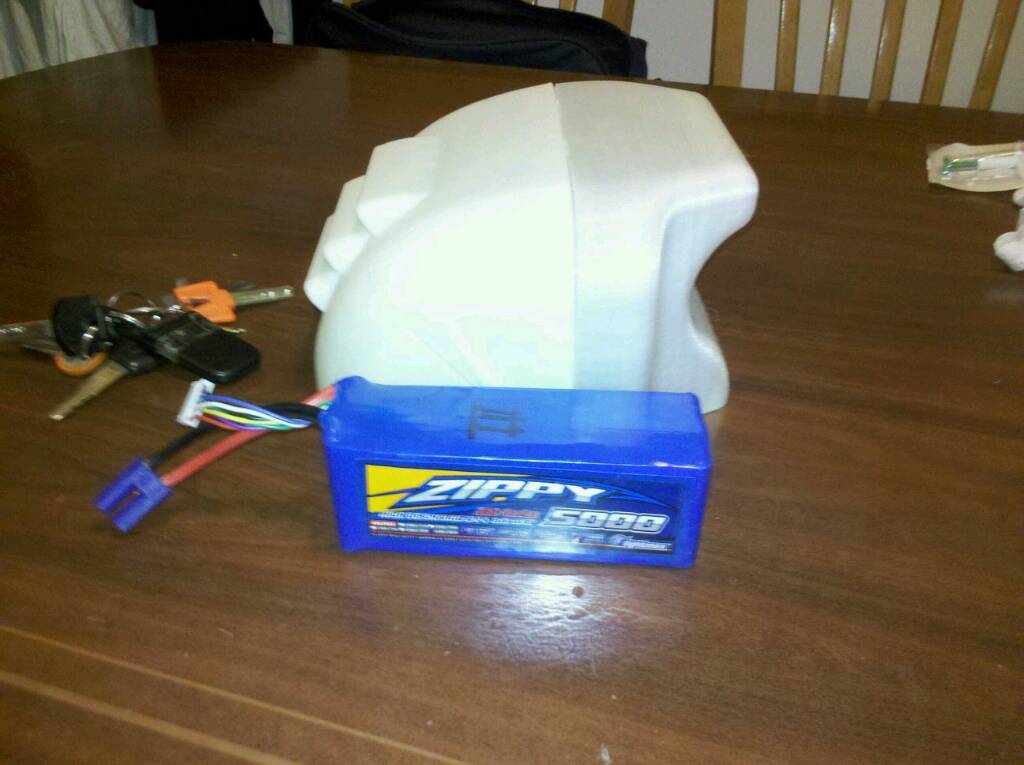
The result was pure fun and adrenaline. After I rode it couple of tens of kilometers I realized that my “new friend” is here to stay to I decided to replace the ugly power box that I used at first with something slicker and effective regarding cooling and airflow. With a friend that does it for living, we designed the new power box in Aerospace look and purpose – we designed air scopes in order to cool the ESC and batteries while keeping them safe.
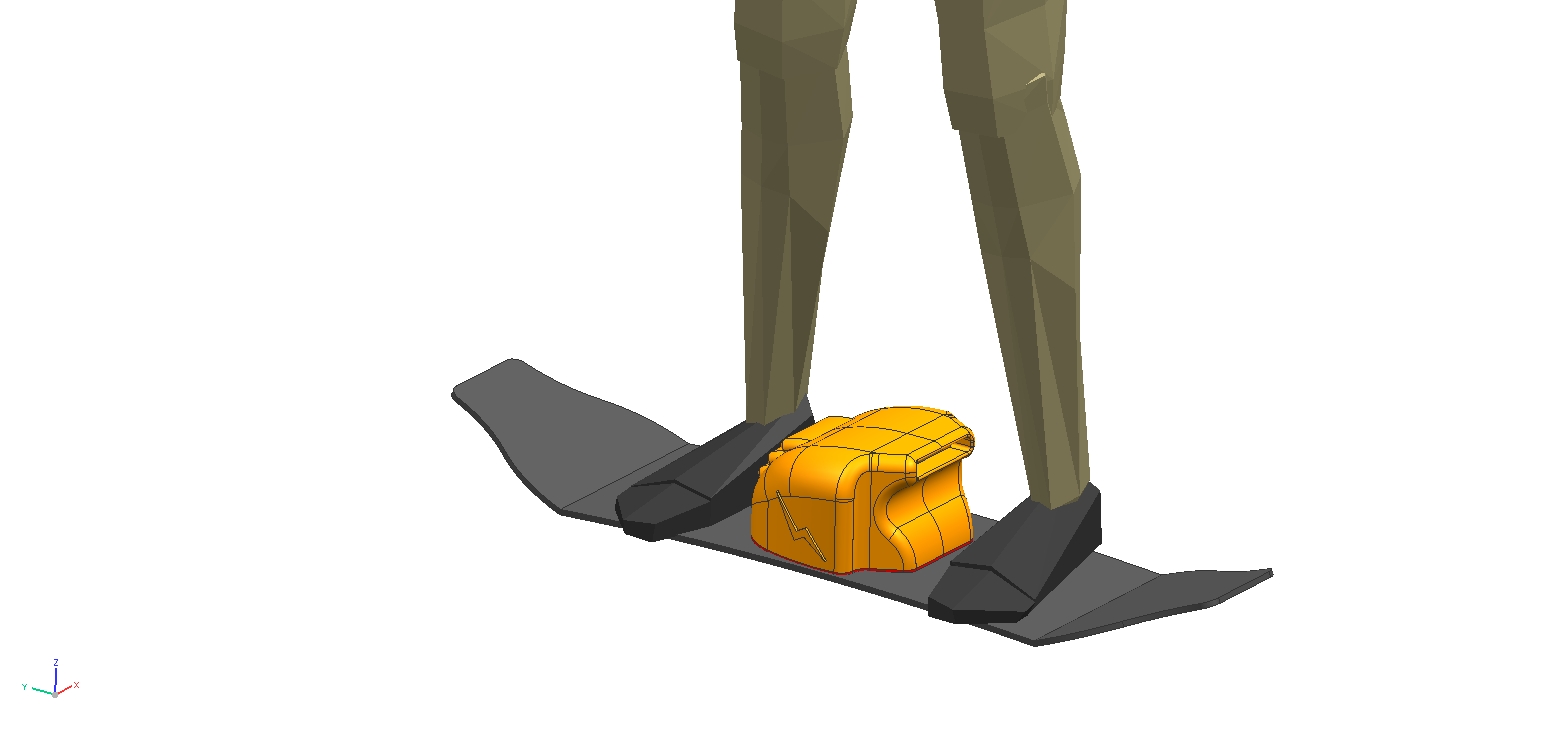

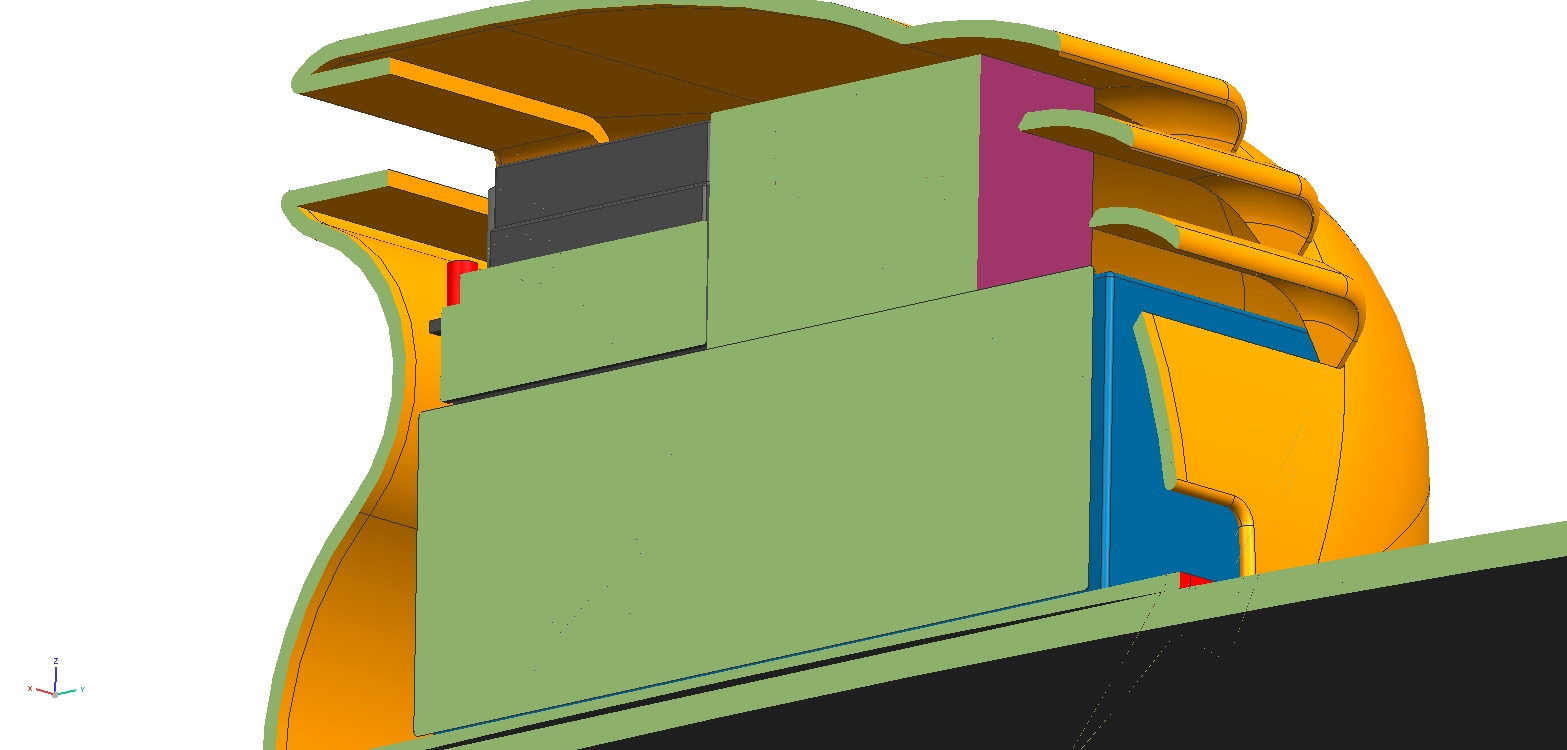
But like every regular deisgned-engineer relationship the result looked cool but created a problem that created another problem 🙂 it looks cool but very hard to manufacture from durable materials line aluminum, ABS etc.. the durability is super important because it had to be strong.. its intends to take a lot of hits during my off-road rides. Anther issue is the batteries. to keep the power box small, light and get the 15KM range that I mentioned I used Lithium Batteries – aka LiPo (from the Aerospace/RC world)
LiPO batteries are super sensitive to impact or overcharging – It creates nasty expulsion and burns nice – this power package is installed under my.. ahh geneerinen levitra intiasta.. “belly” when I’m riding-standing. So I had to come up with a solution that will keep my future children safe. The solution was composite materials like the ones I used when molding and building the Pylon Racer. So I 3D printed it using ABS – It wasn’t that strong – another reason to cote it with composite materials. Later on I sanded and painted it.
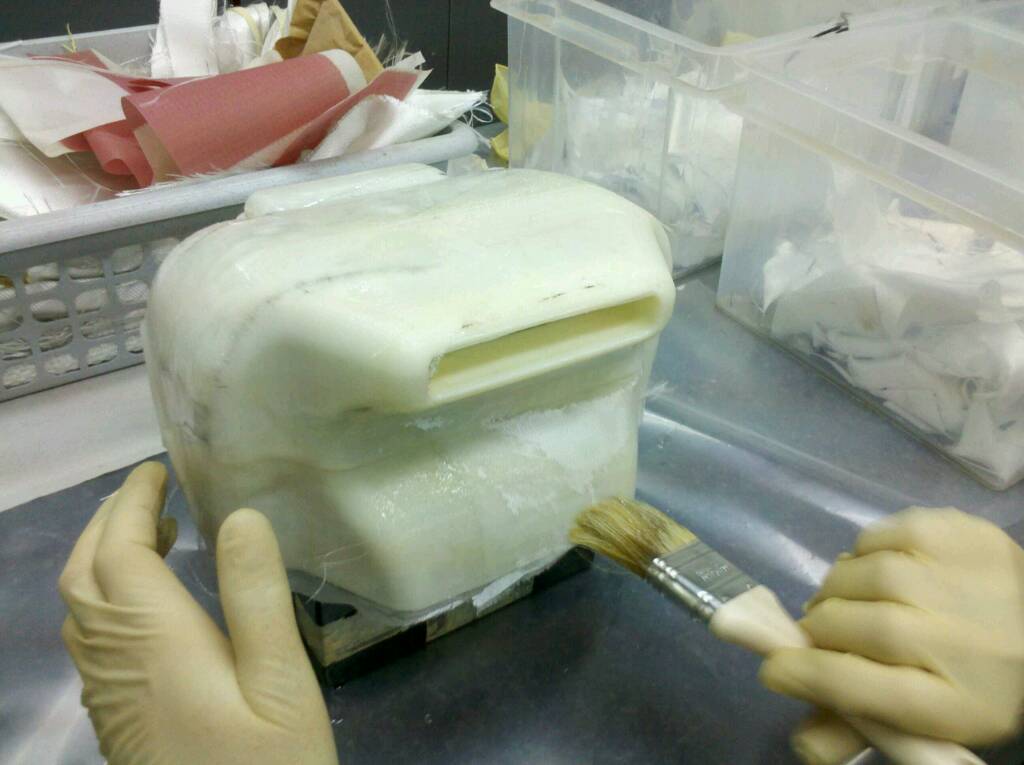
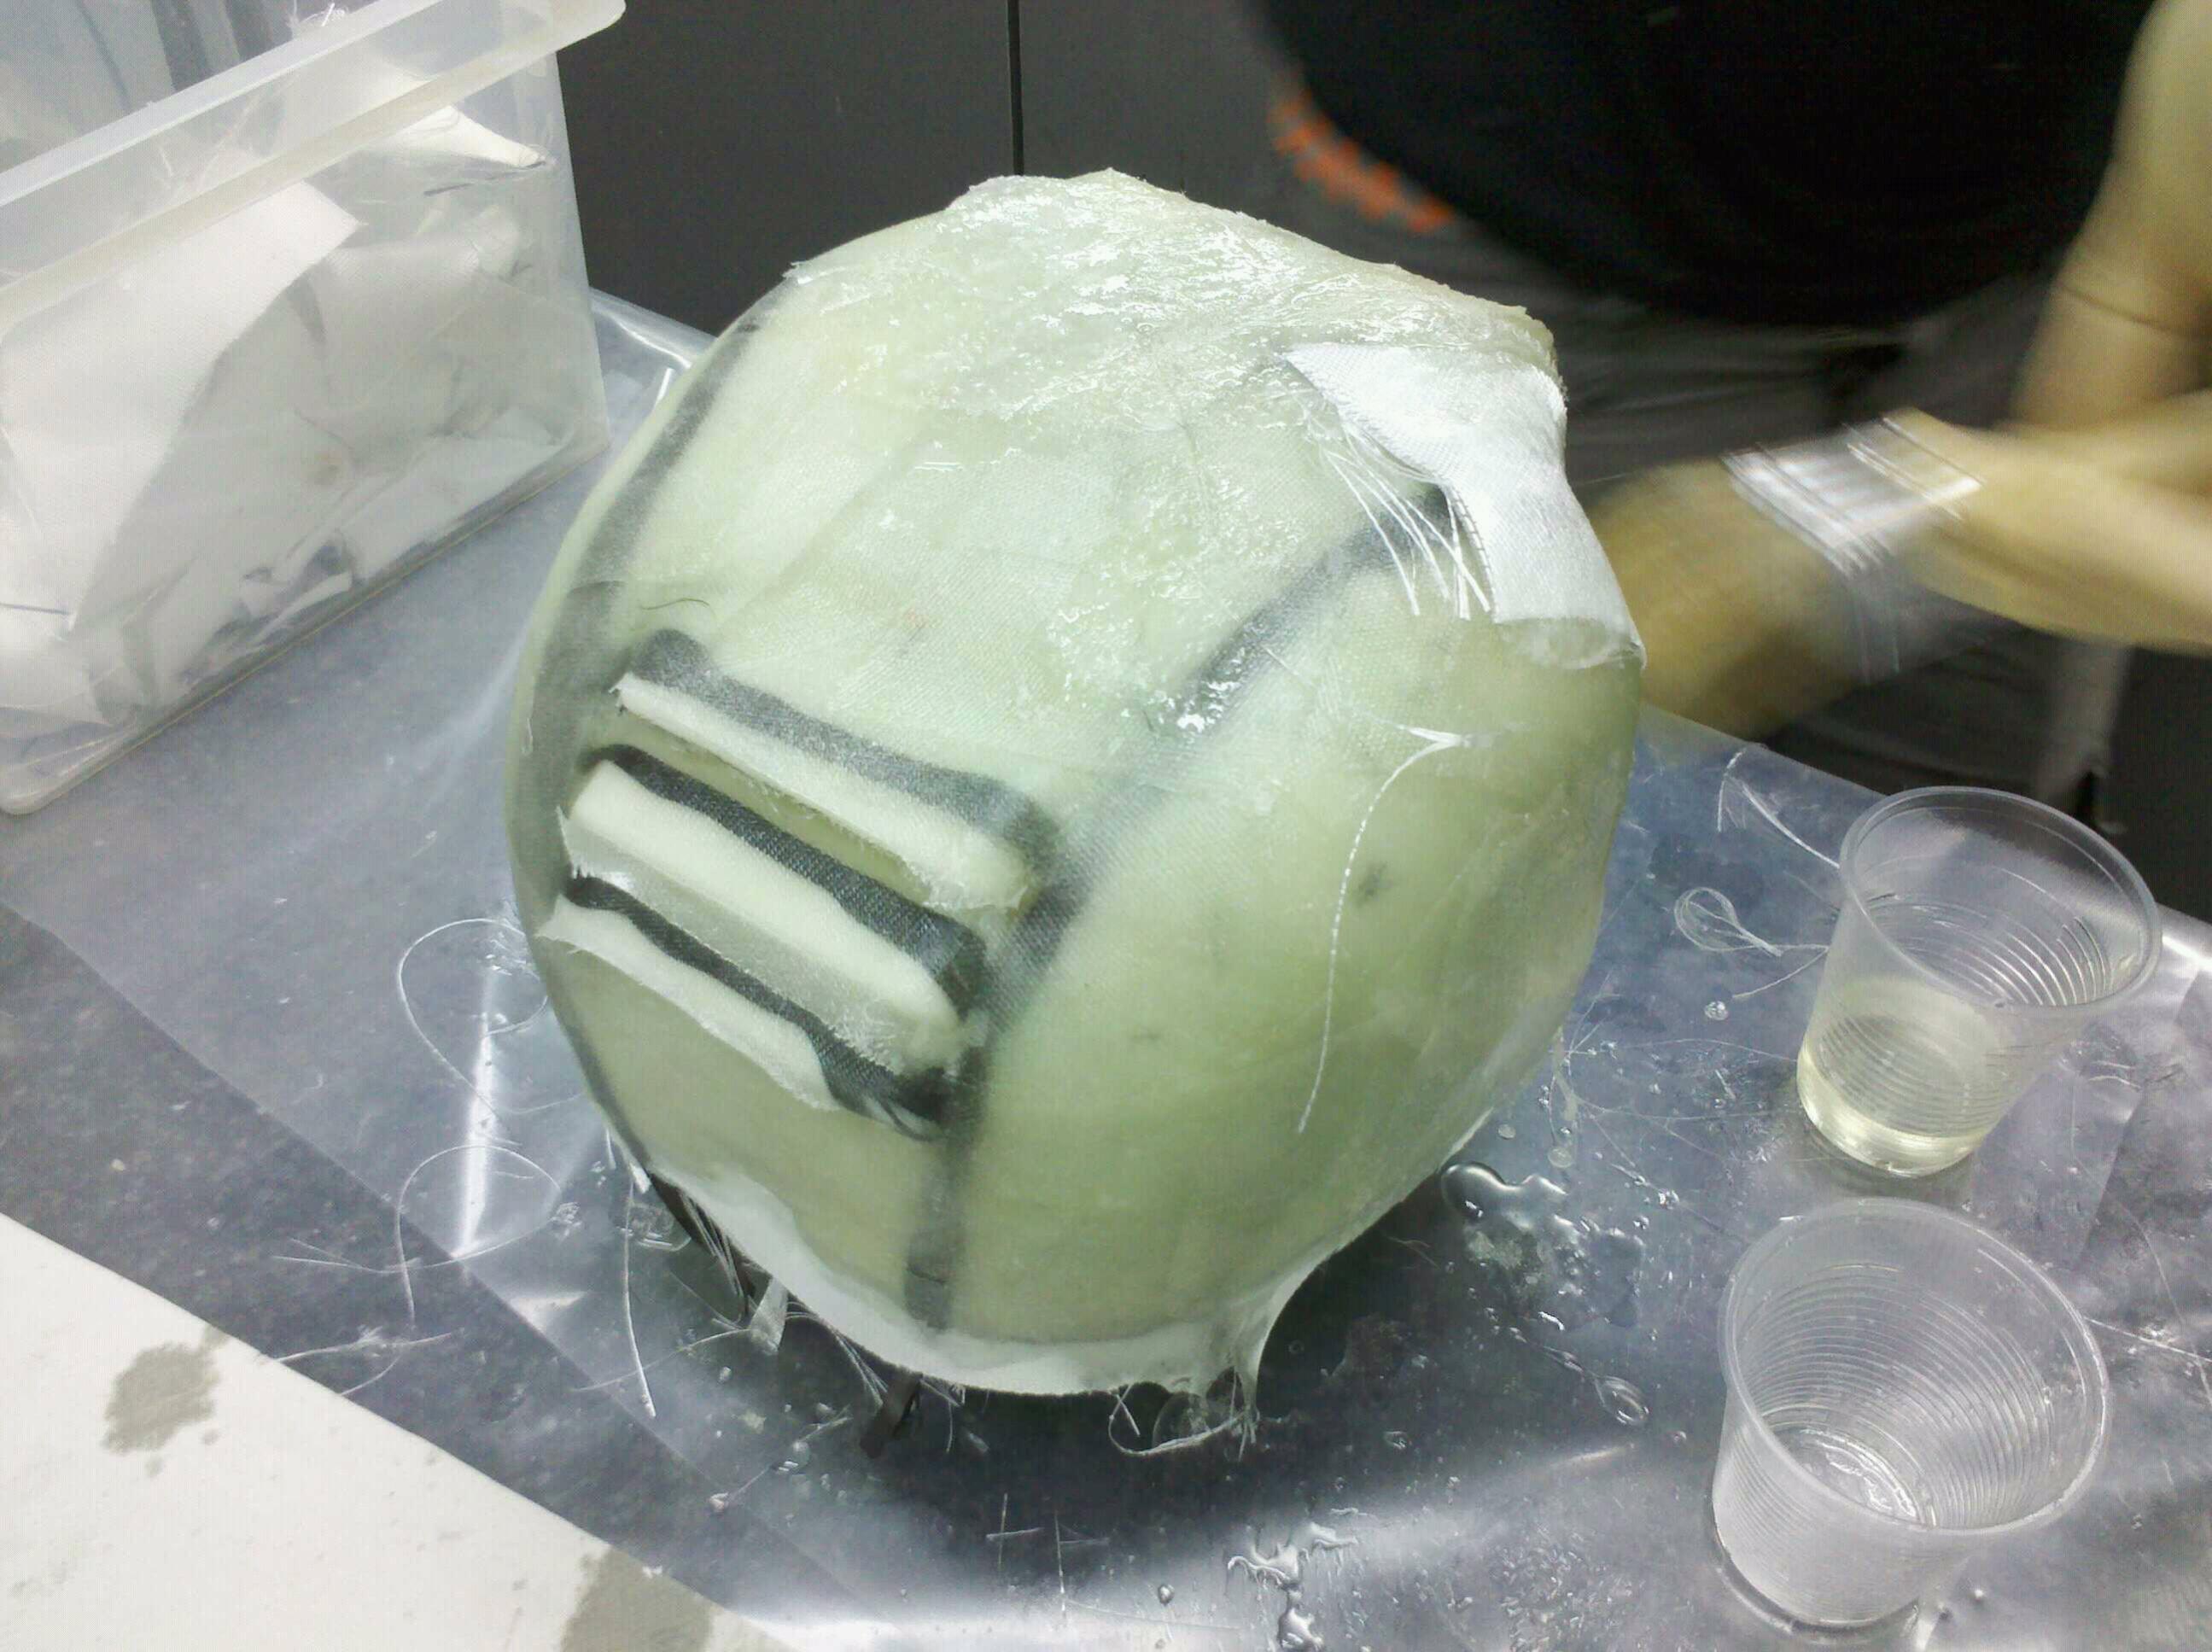
This is how it looked at the end:

I also installed a bike computer on it that measures the speed using a rpm hall effect sensor, the voltage and the ampere. Knowing the battery that installed and integrating all the data can give an accurate reading and status of the battery and how much more juice left.
Going hands free
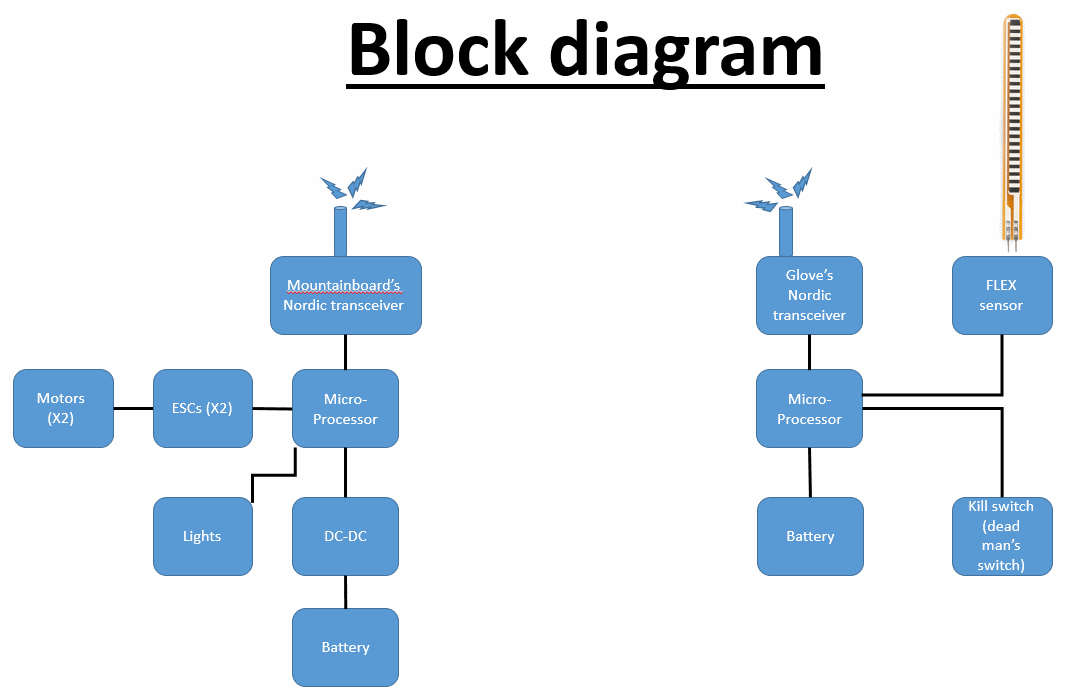
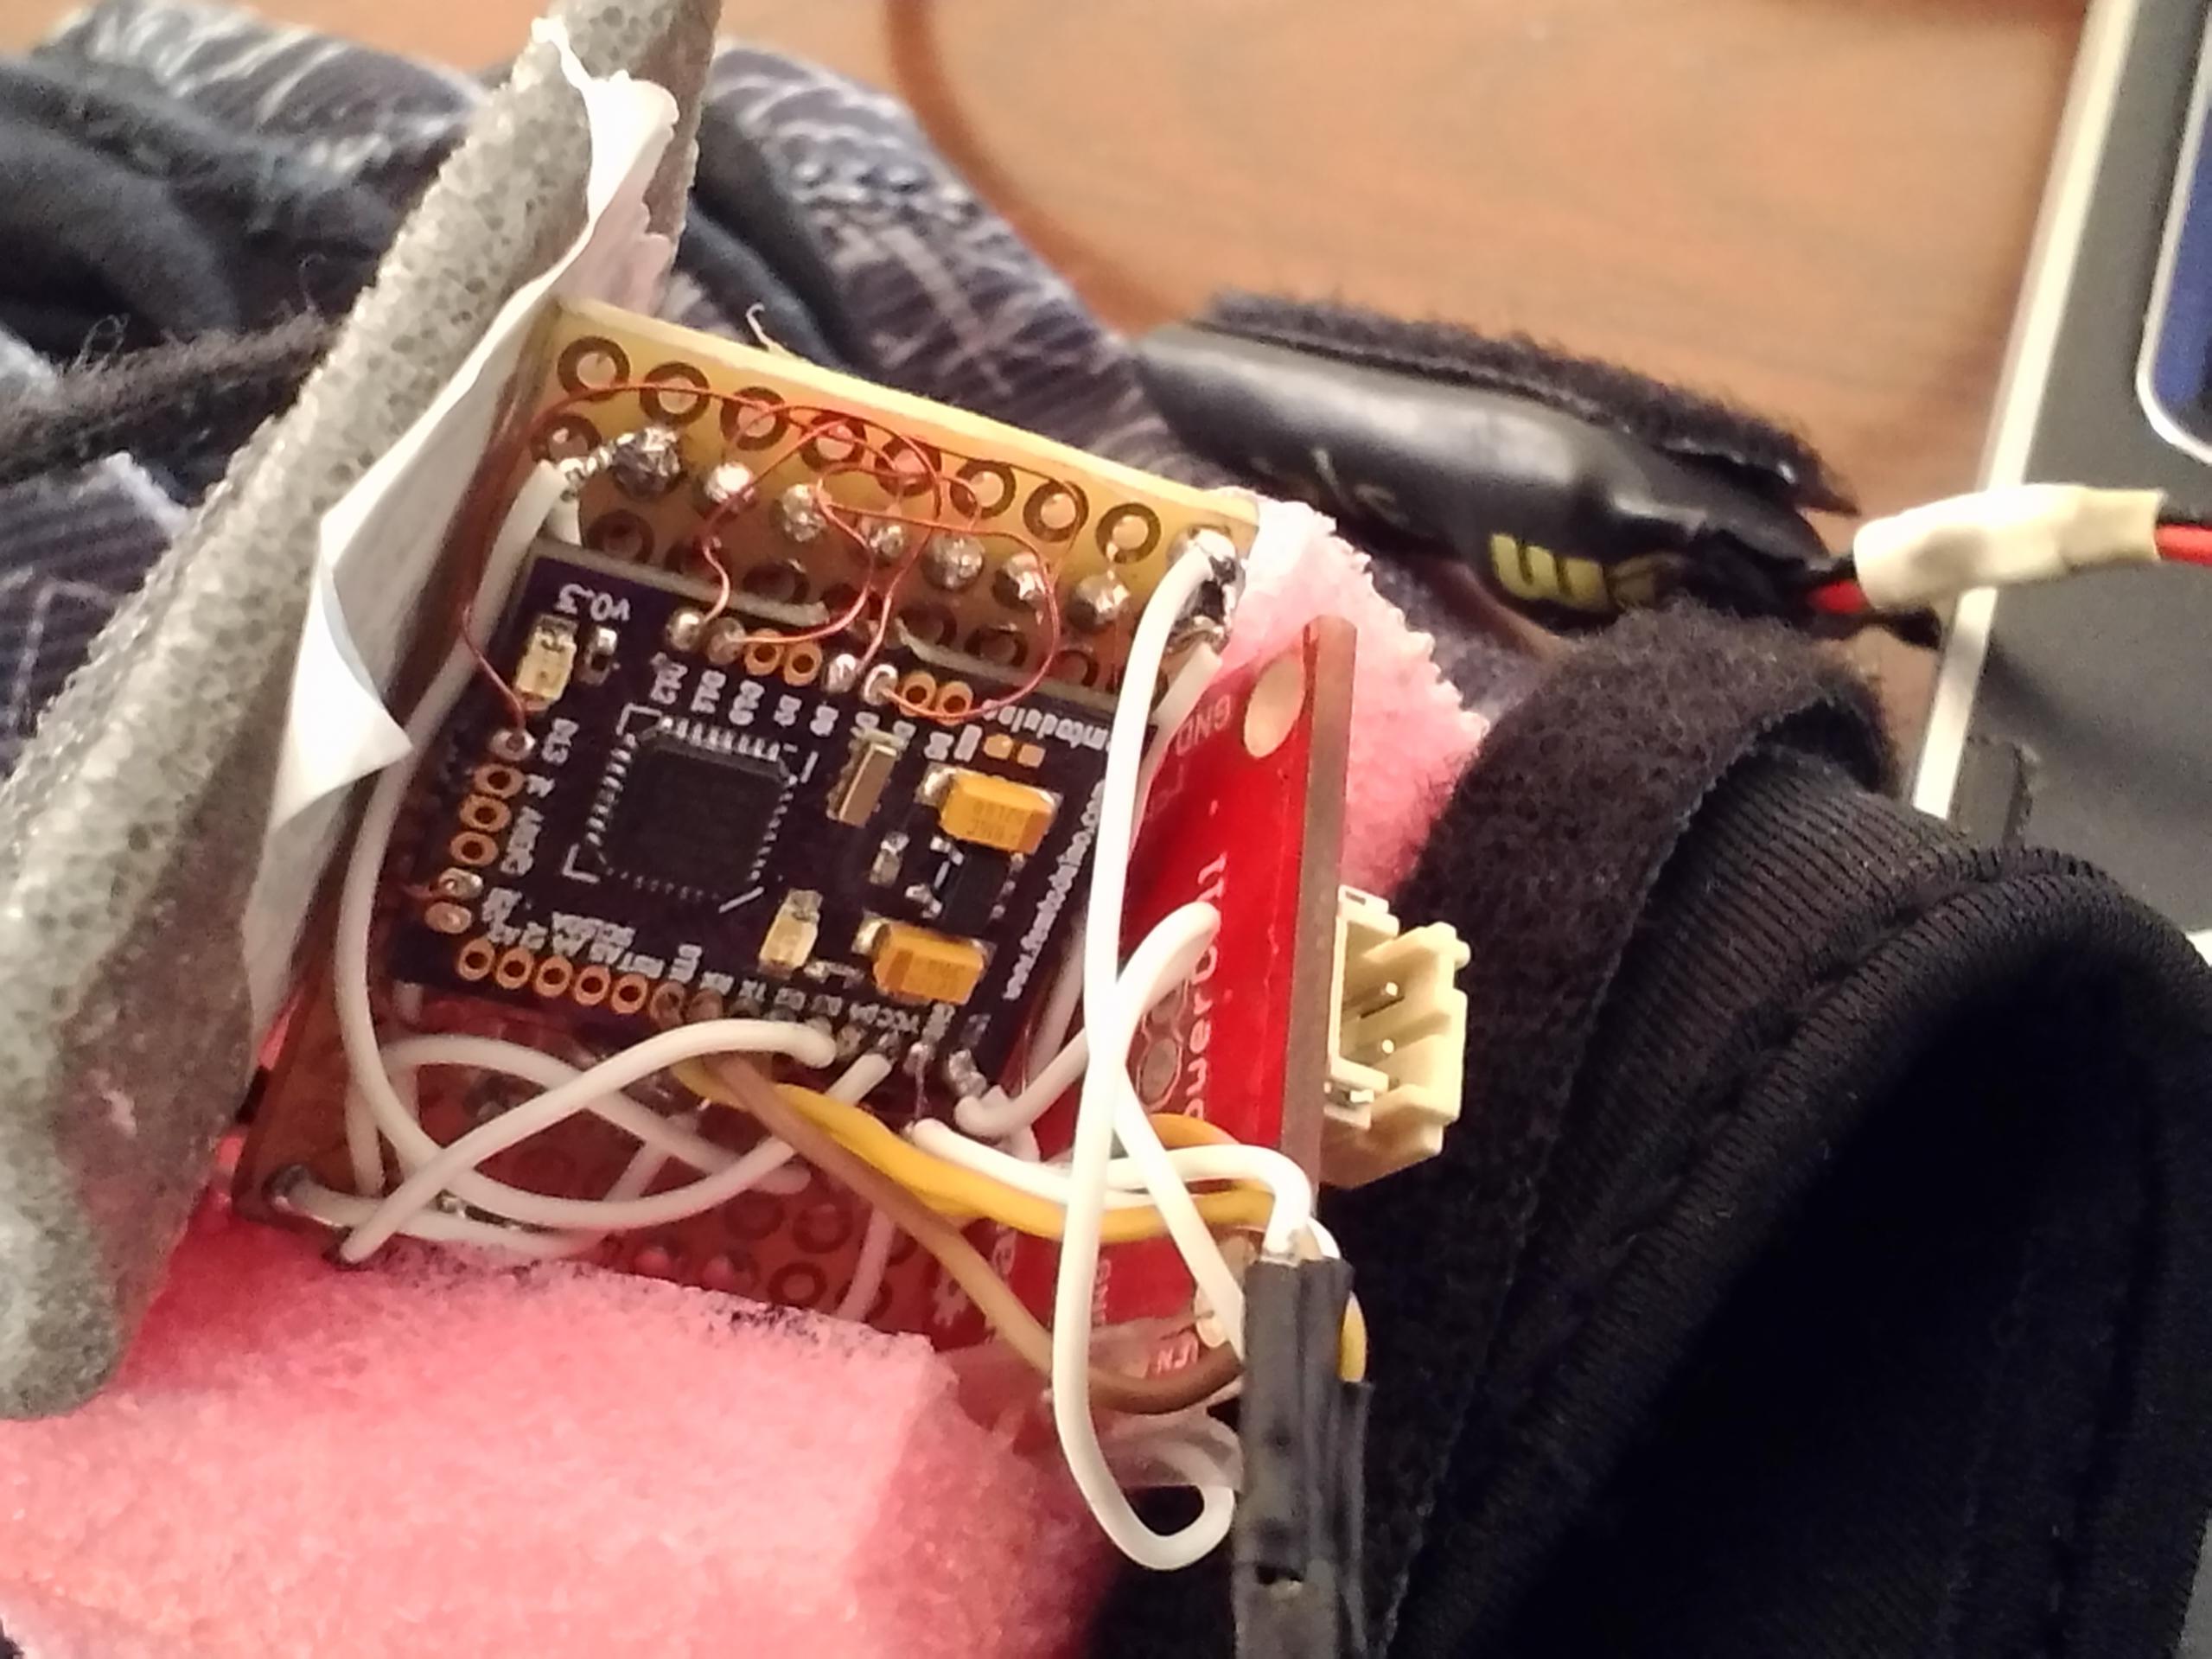
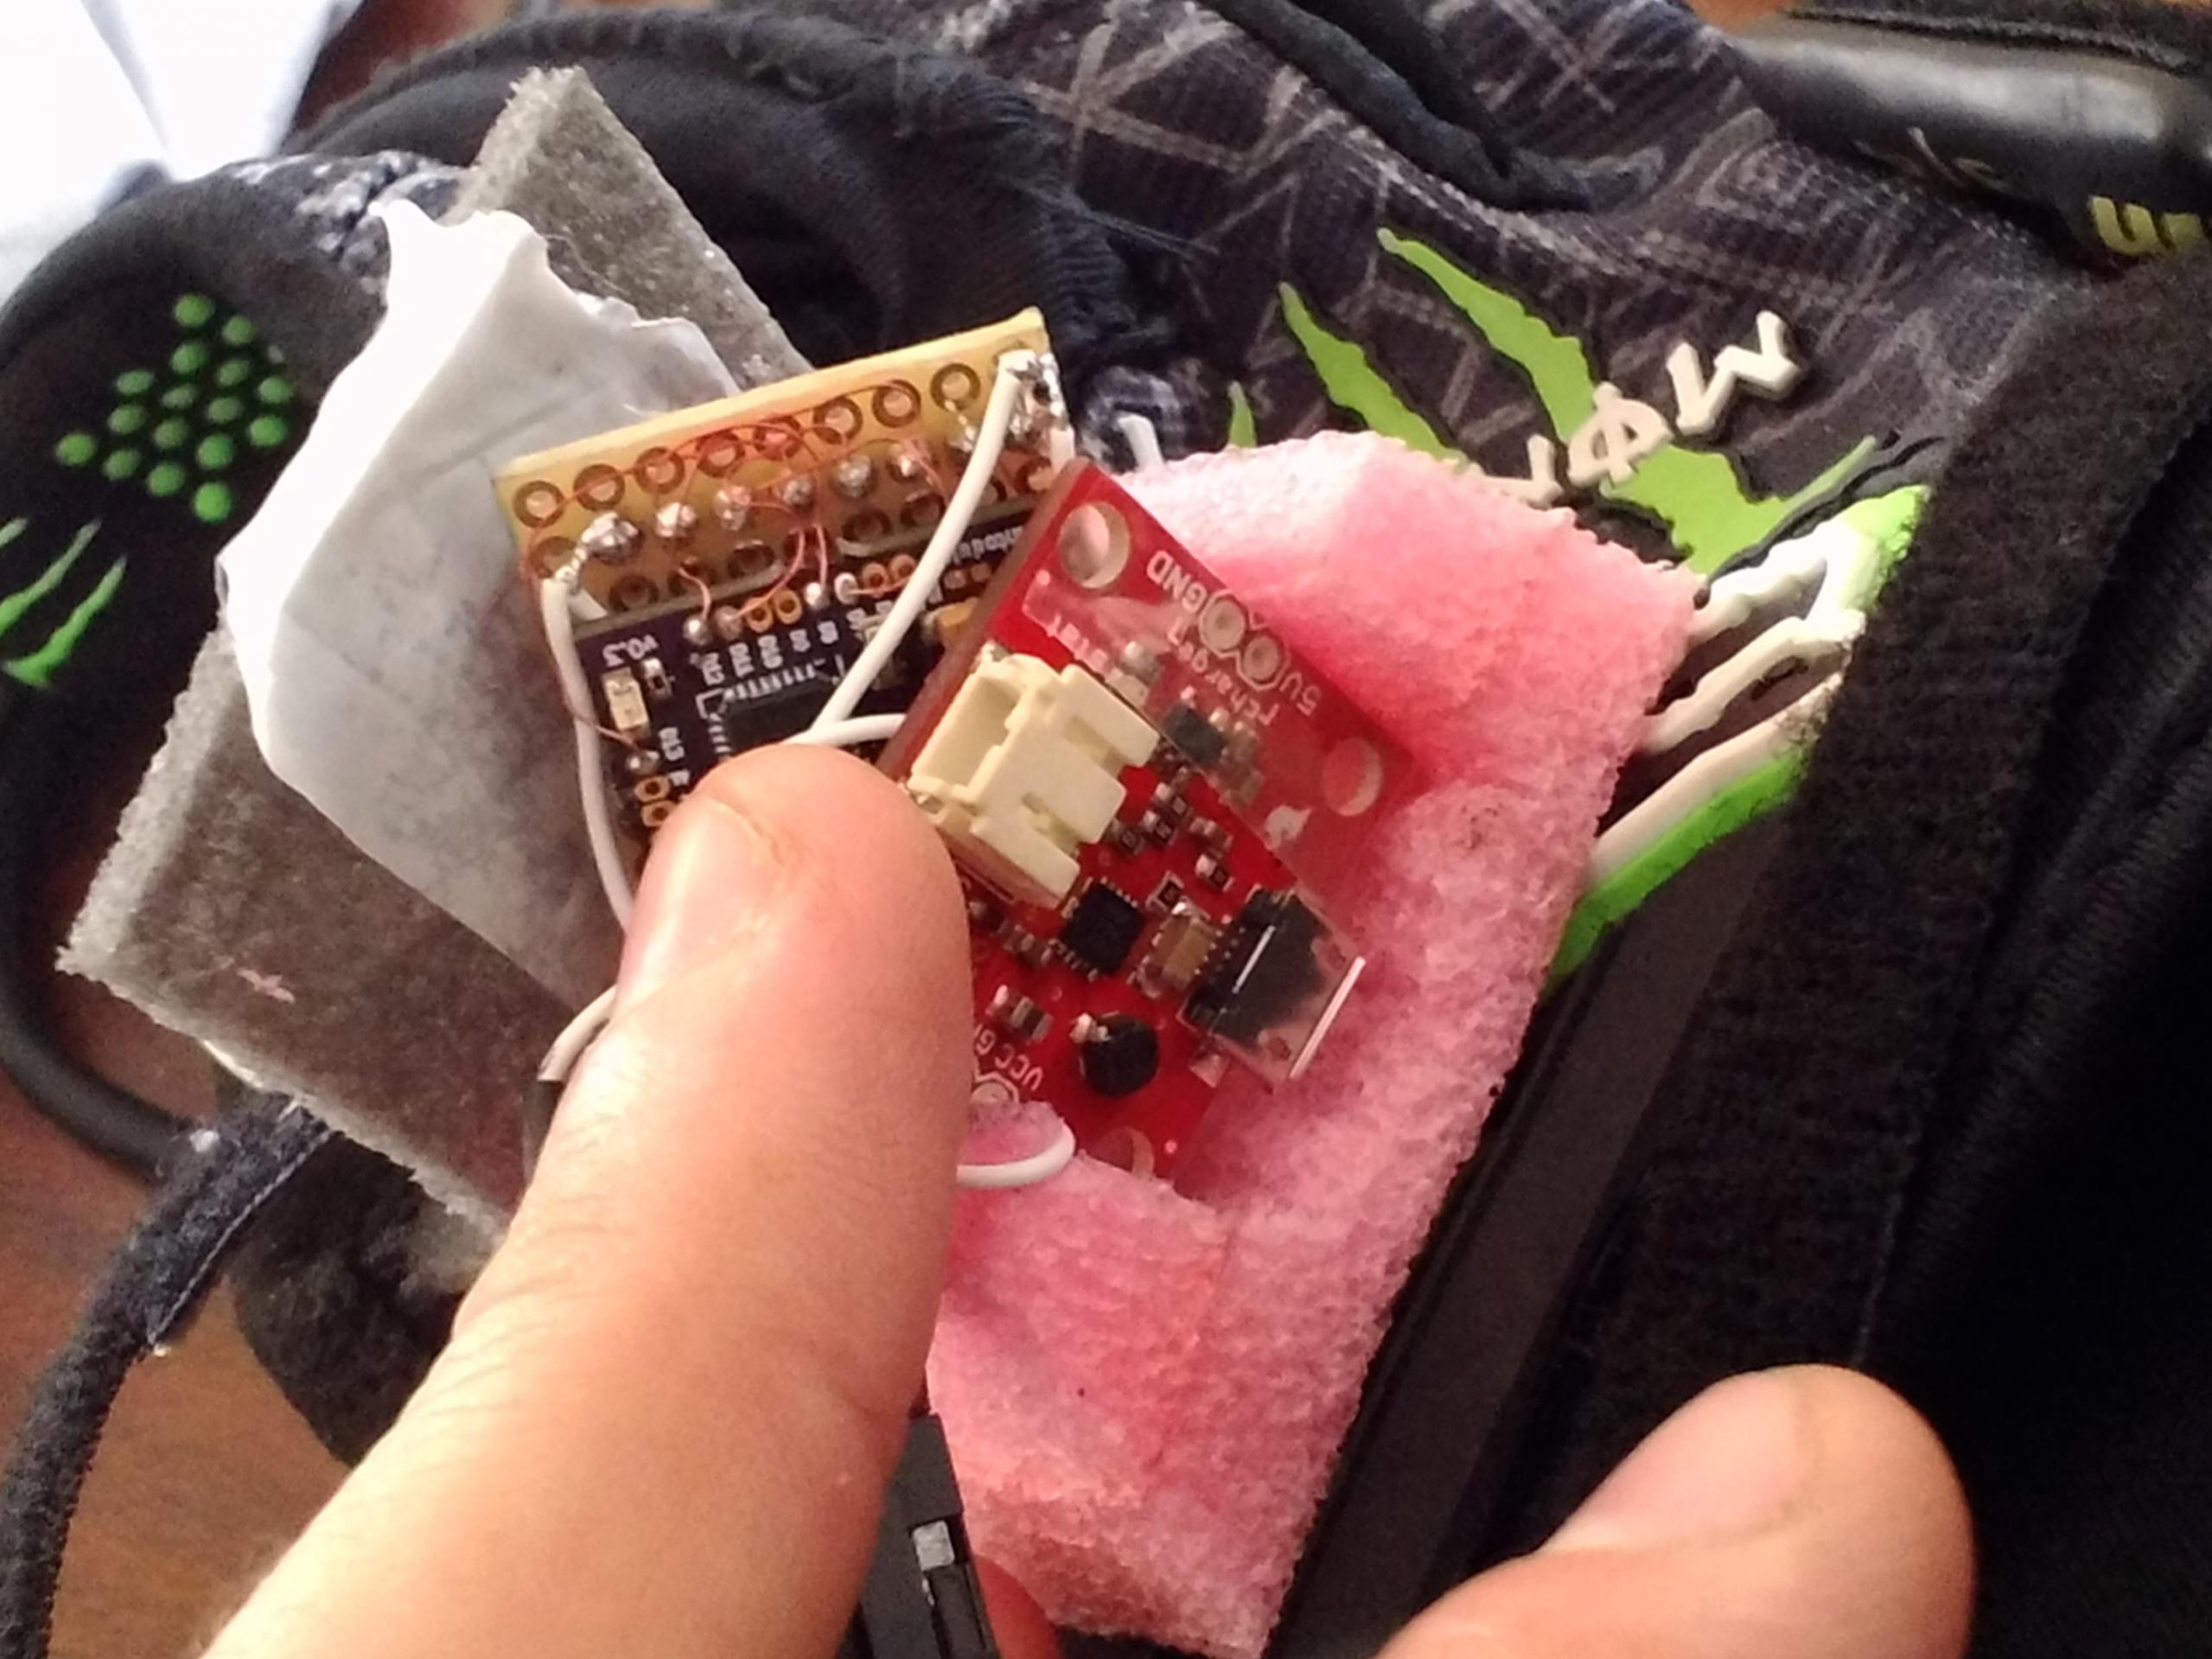
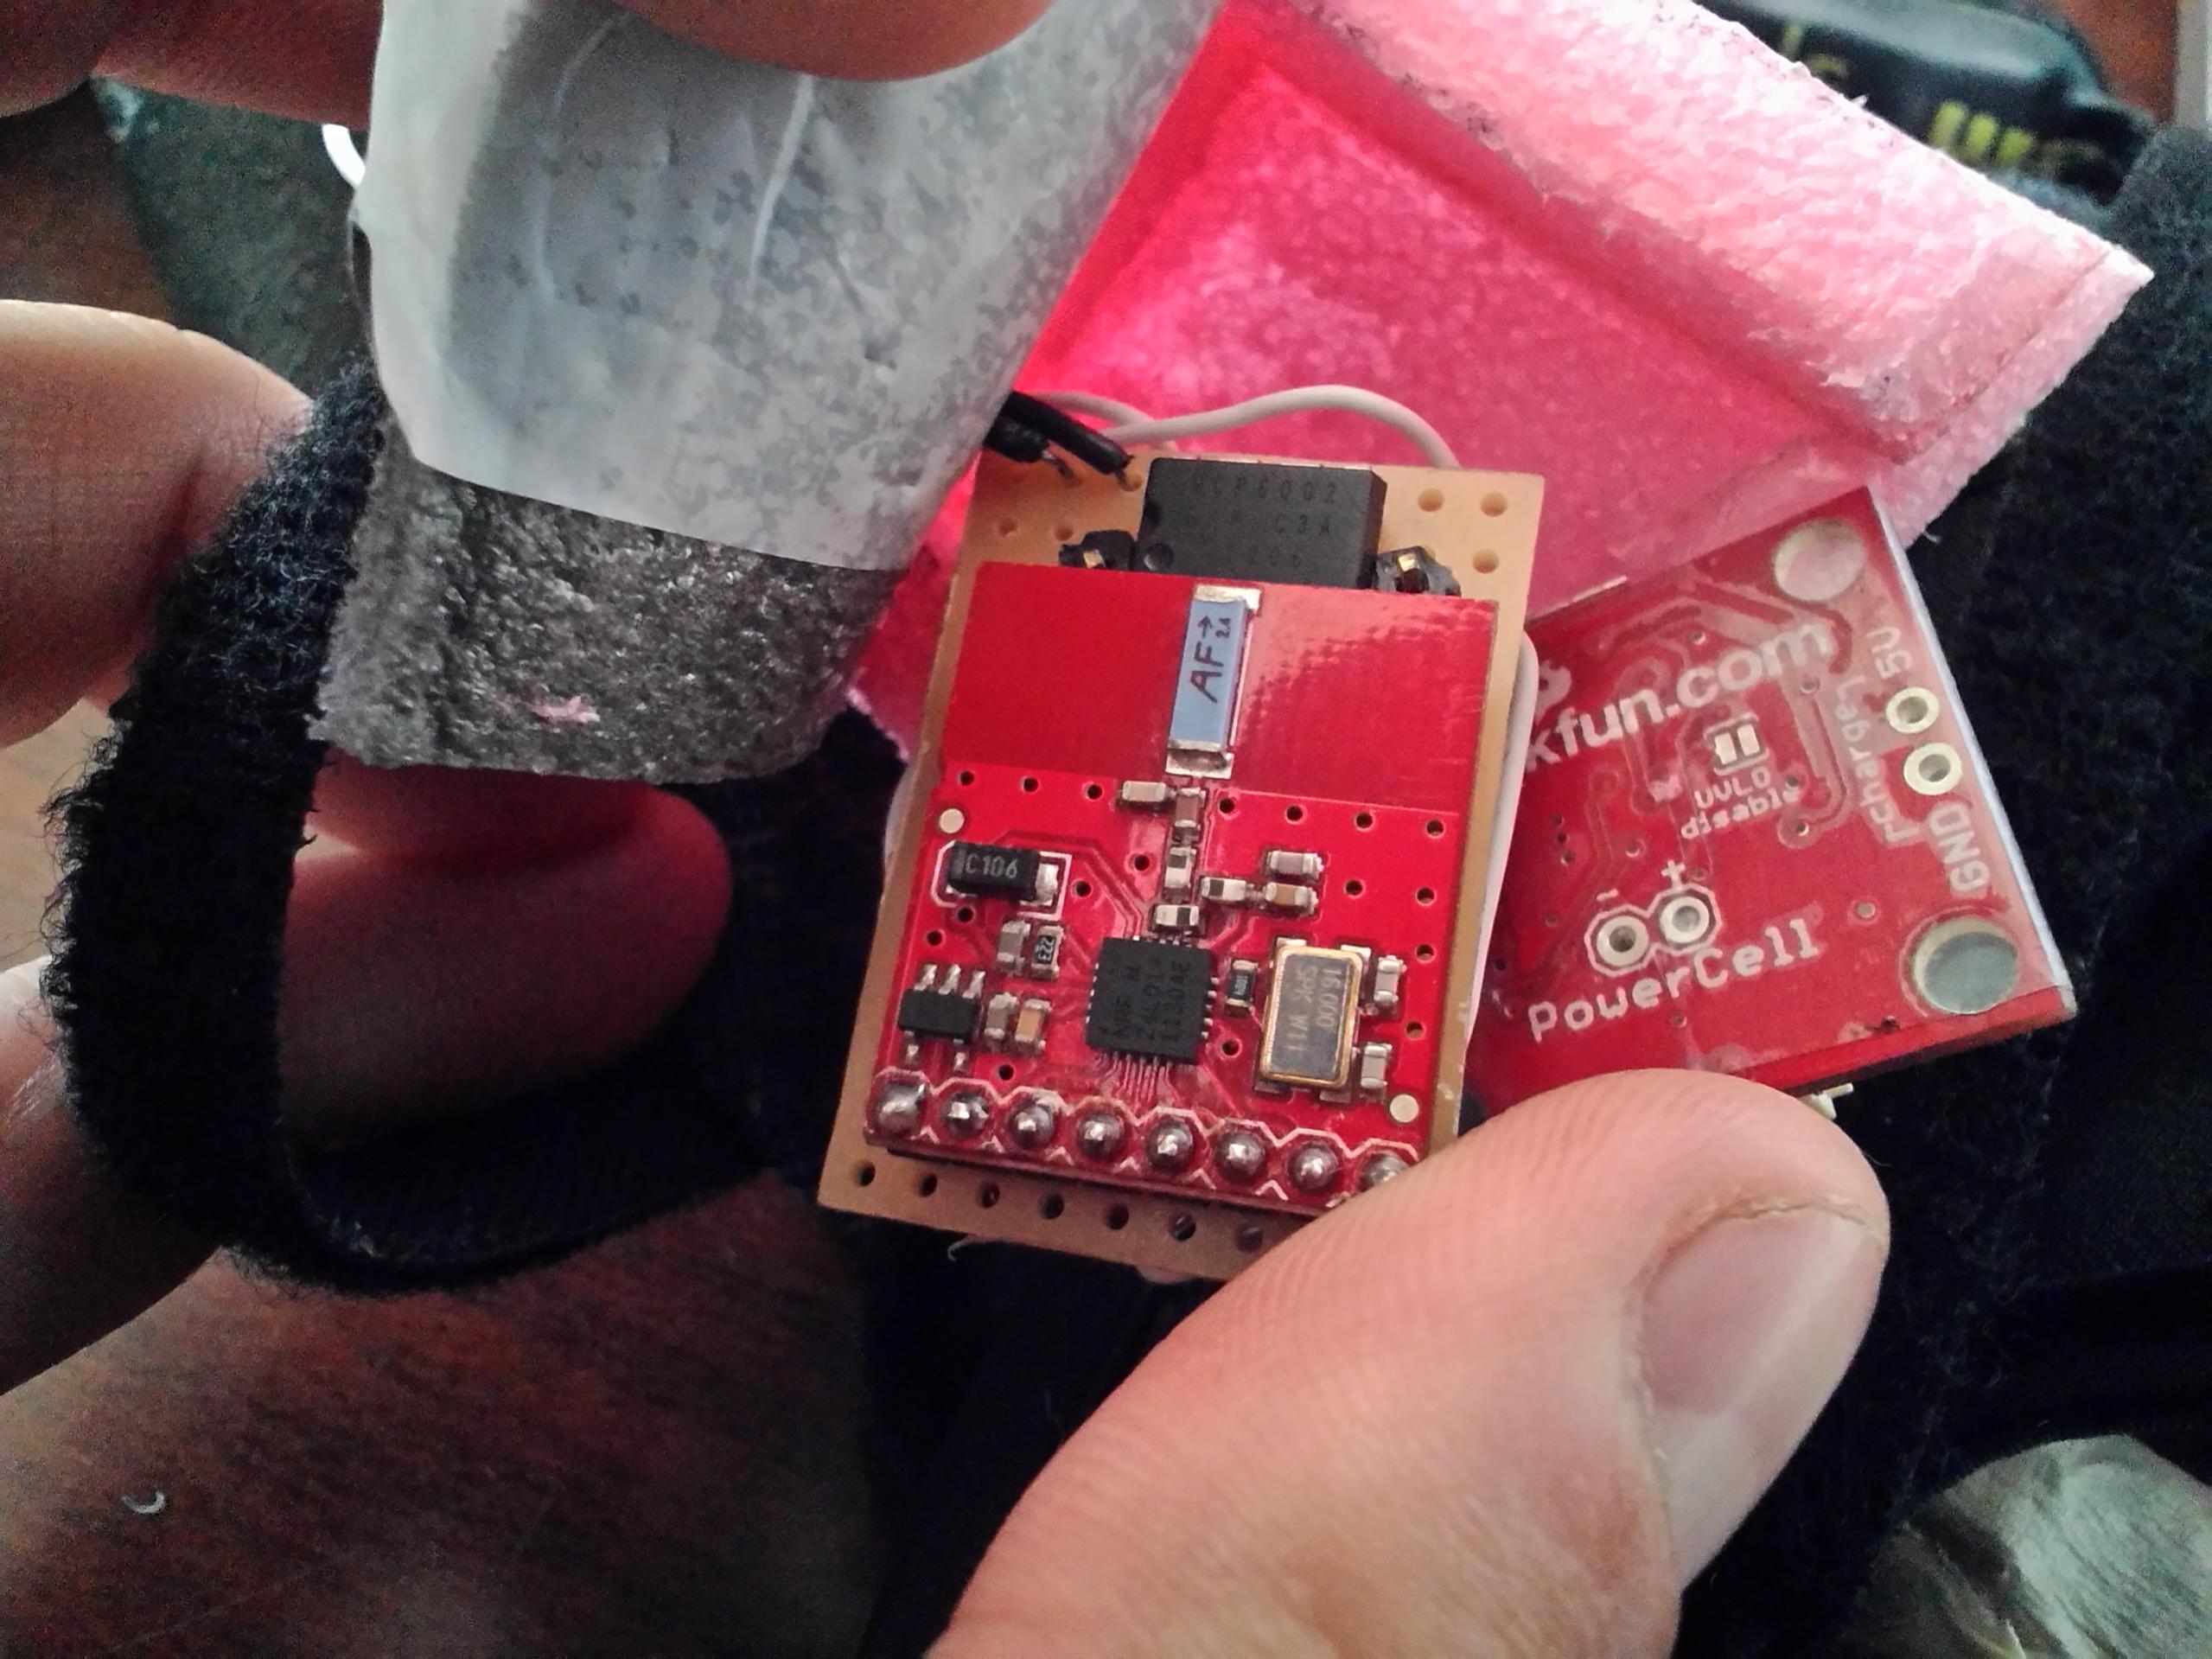
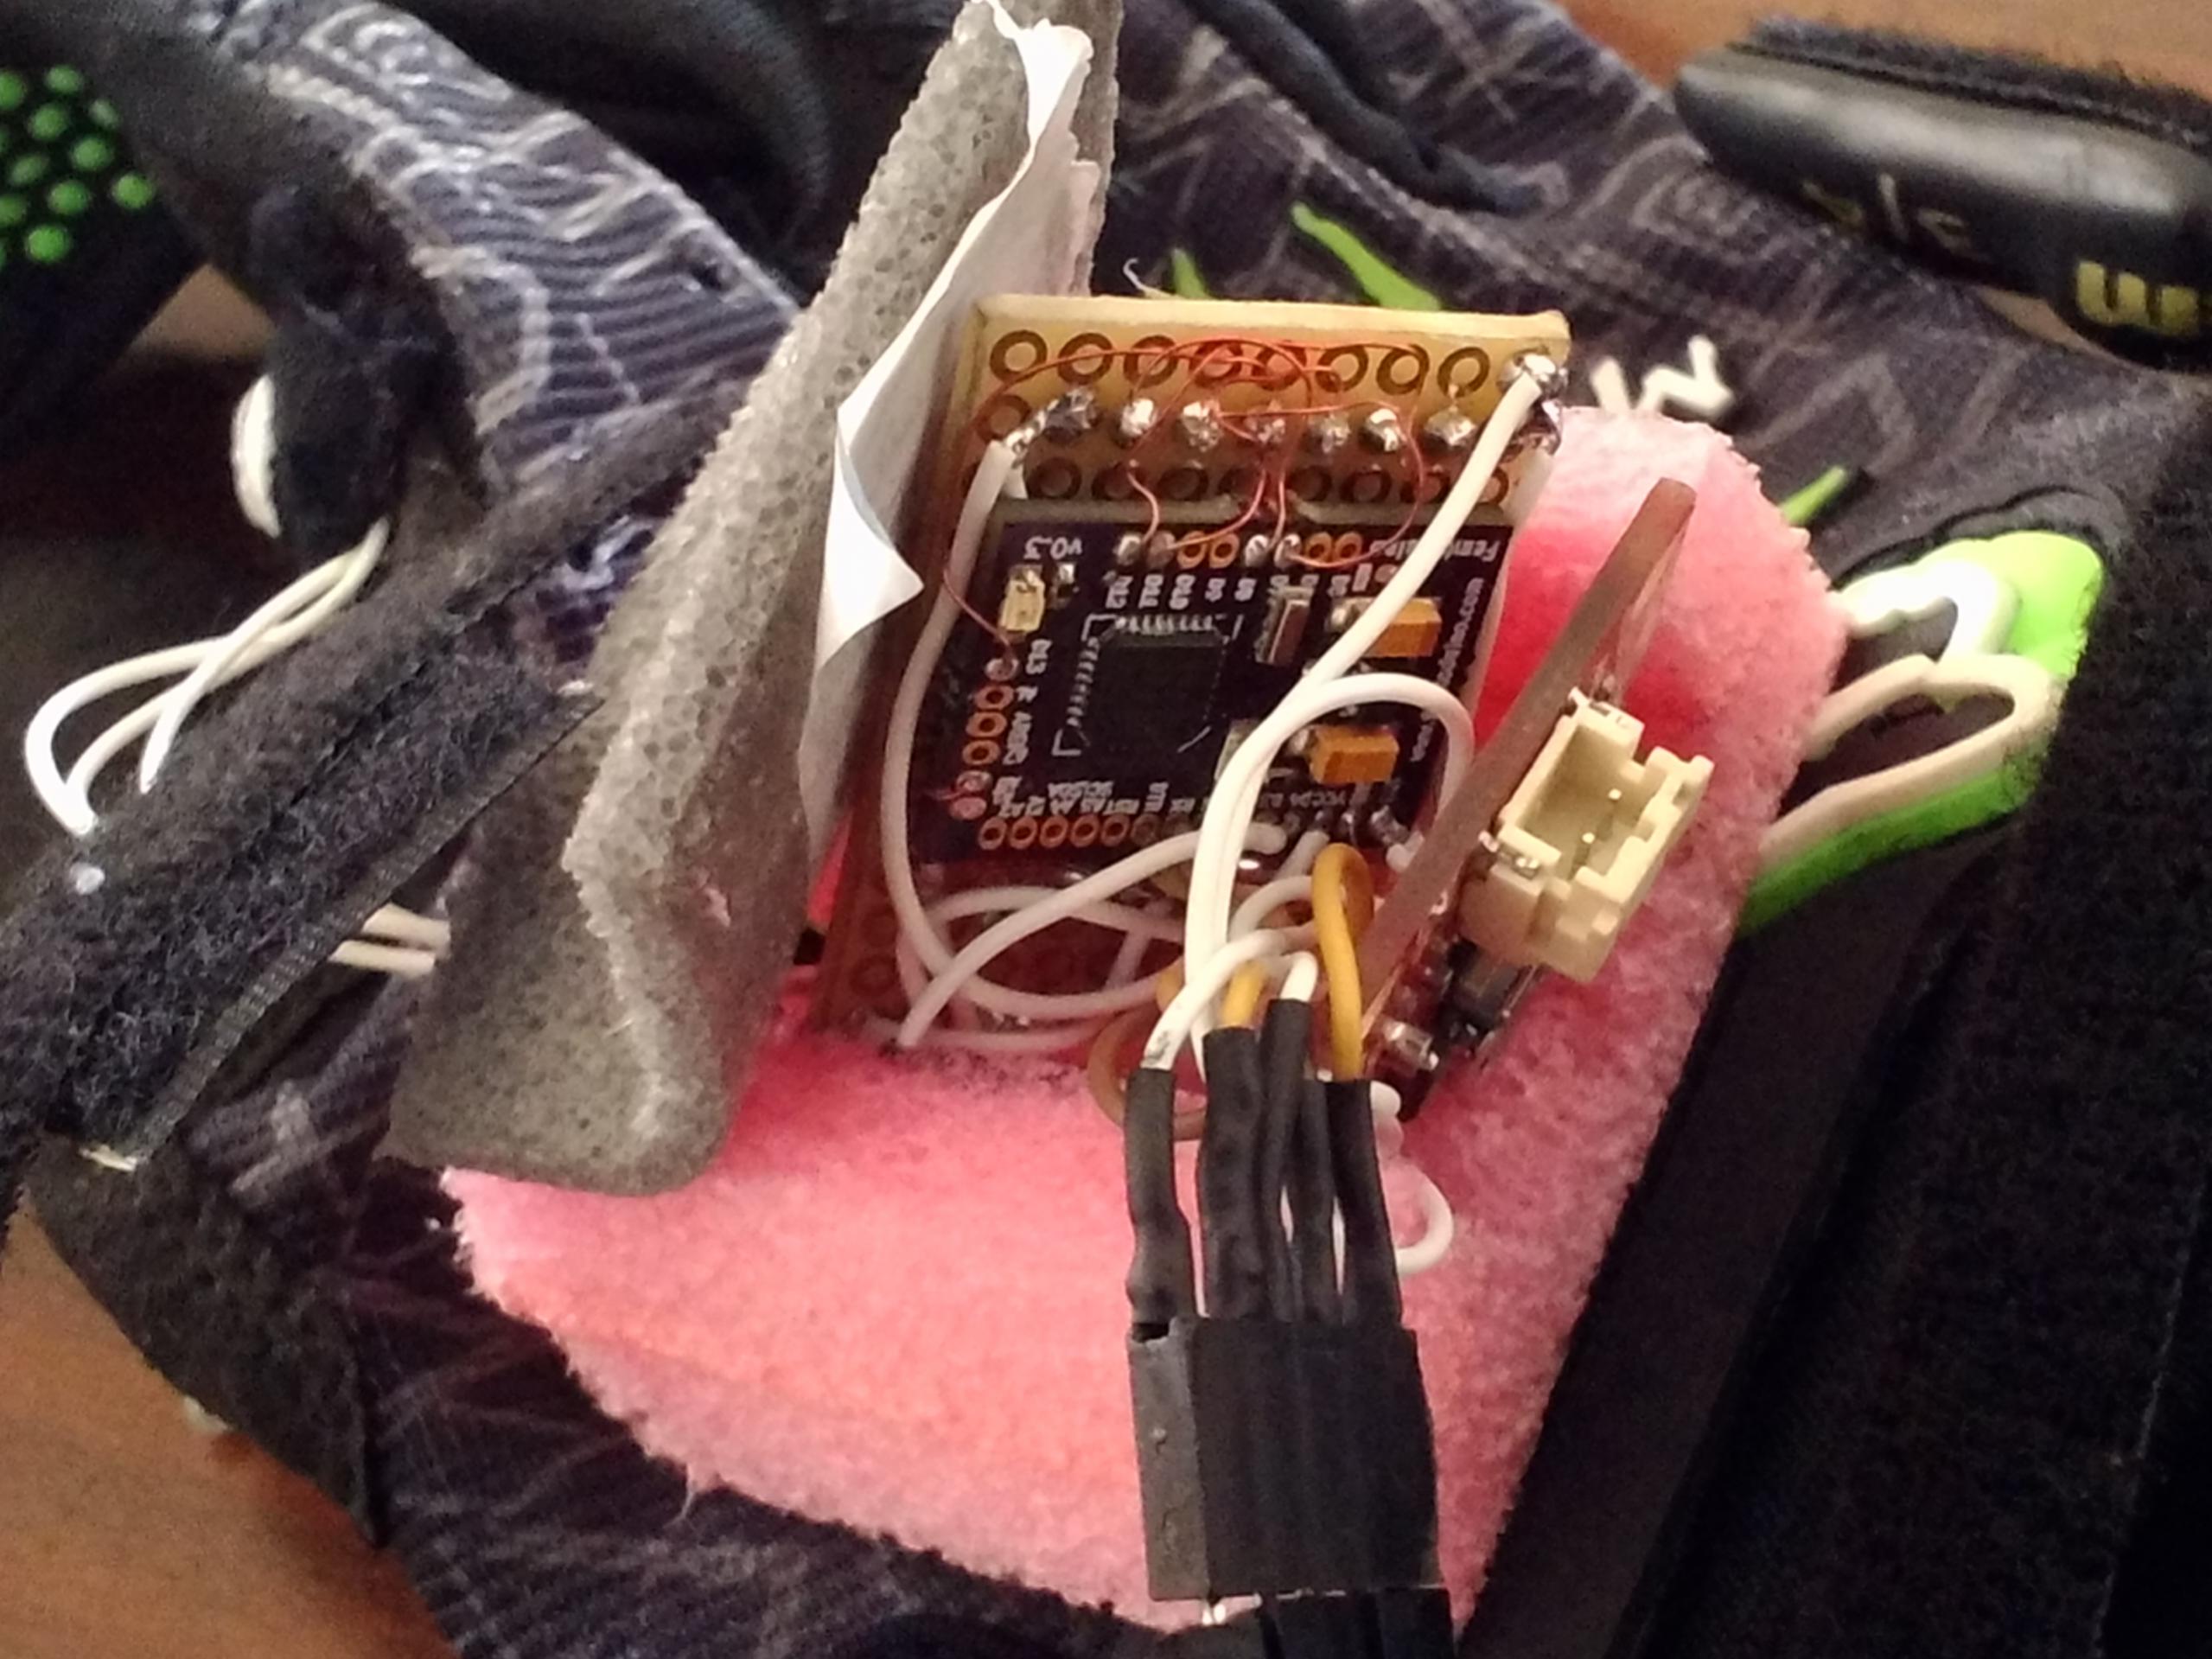
After a while I realized that I want a control system that feels more ‘natural’ so I build a control glove with a flex sensor, kill switch and communication protocol that I designed. For the RF part I used Nordic RF modules. The interface to the micro-processor is done via SPI and it encoded 🙂
 Now the Mountainboard responds to the control glove, I got my 2 hands free and its much more fun.
I used Femtoduino micro-processor because it tiny and wired the tiny wires patiently.. every wire and soldering counts – I’m riding on it.
Another important aspect in the communication protocol, as I mentioned before I’m riding on it, sometimes I ride fast and I had to make sure that the throttle and breaks (super important heheh) will work PERFECTLY – with no glitches, no misses in the data or info packets. So I designed the communication protocol with sequencing, check-sum error protection and failsafe-emergency on the micro-processor of the Mountainboard end itself. I must say that the first rides were a bit stressing, but by then I had plenty of experience on my board so it felt like a risk worth taking. and it was, it was so fun riding it without the remote control.. the killswitch worked perfectly and the flex sensor felt “natural” after couple calibrations.
Here is s short video of it working for the first time.. Its in Hebrew but you’ll get the idea.
And here is the first ride, my friend(Itay Levyatan) is holding the camera while riding on my other Mountainboard 🙂
You can download the code from my github.