Pylon Racer molding
I like the thrill of speed in RC pylon racing! Always had. The thing is the those kind of models tends to break. A lot. With each model costs hundreds of US dollars I decided that I want to build my own. I learn how to mold and cast using materials from the UAV industries like fiberglass, carbon fiber, Kevlar, special glues, resins and more. The result was top notch. I flow those babies at 250+km\h and learned some important skills though building them. Those skills are very useful in various fields of products’ development. It really opens you mind regrading what can be done and what not, “undercuts”, how to mold regrading angles of extraction, which materials to use where etc…


Here is the stages of how to mold from scratch.
1. Preparing the Master Mold to copy
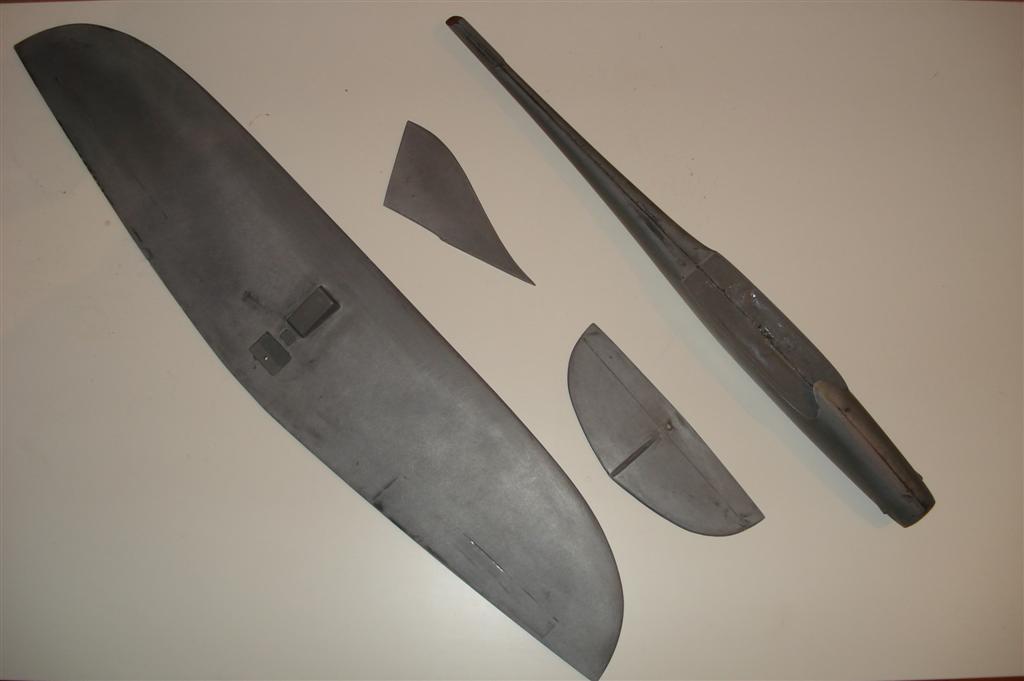
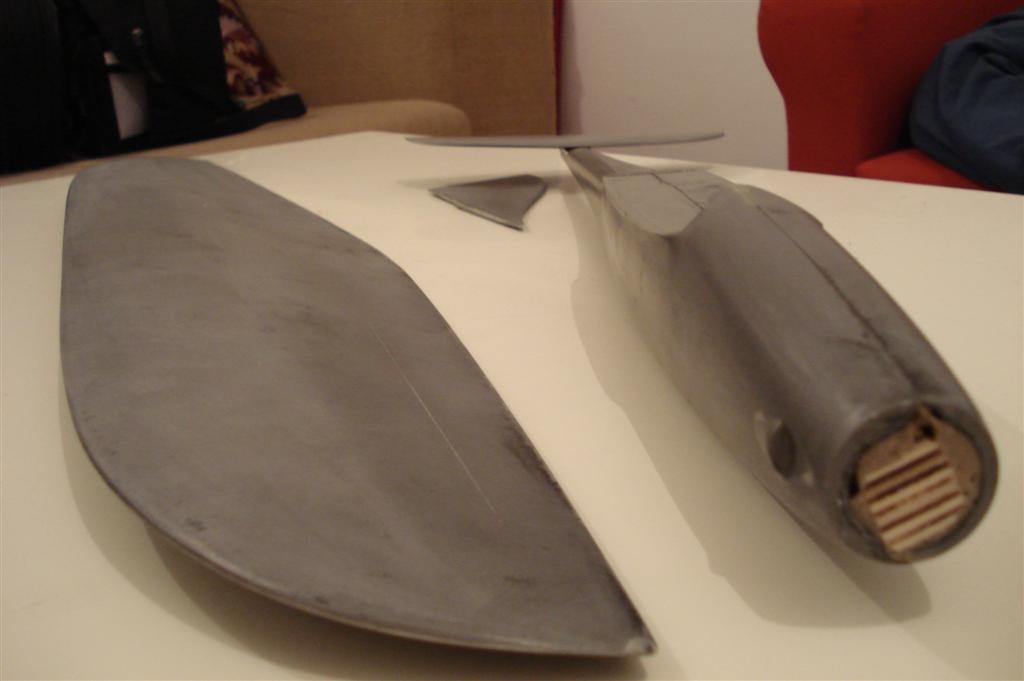 The first stage if to choose what to mold – in this case a friend of mine crashed his pylon racer and it wasn’t flyable anymore. When molding an object(Master Mold) the first thing we need to consider it that the Master Mold is going to take some serious pressure from the copying-molding process itself so it must be filled with sand and epoxy resin in order to make it super solid. The second option (if you have to resources for it) is to manufacture the Master Mold using CAD and CNC.
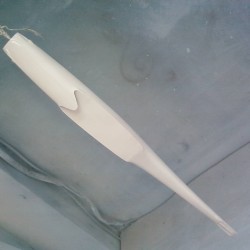
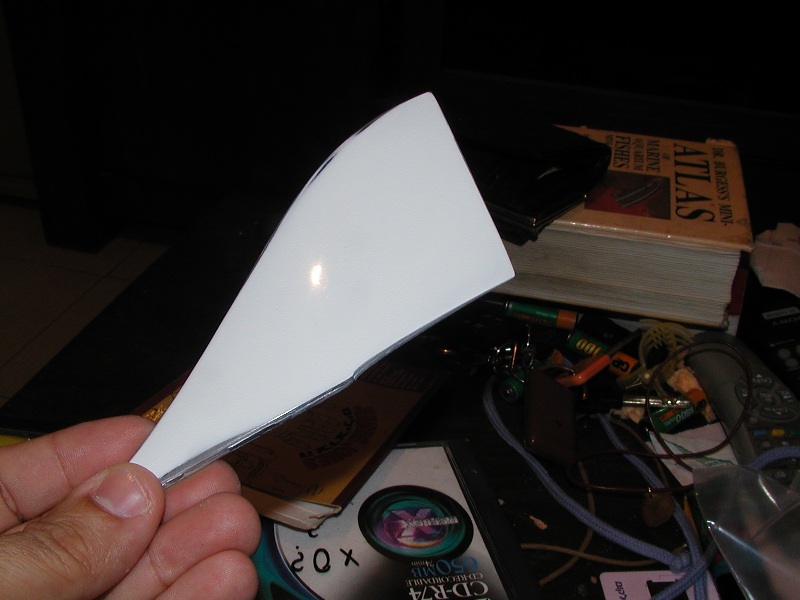
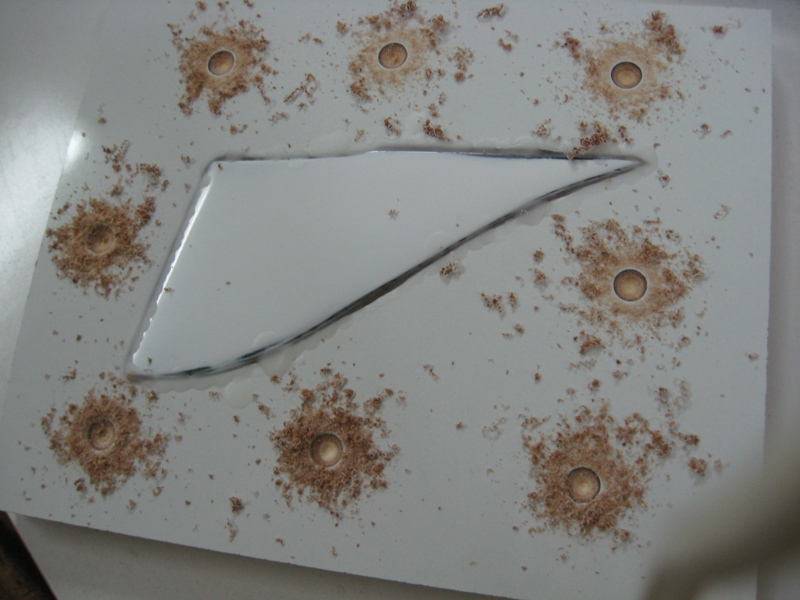
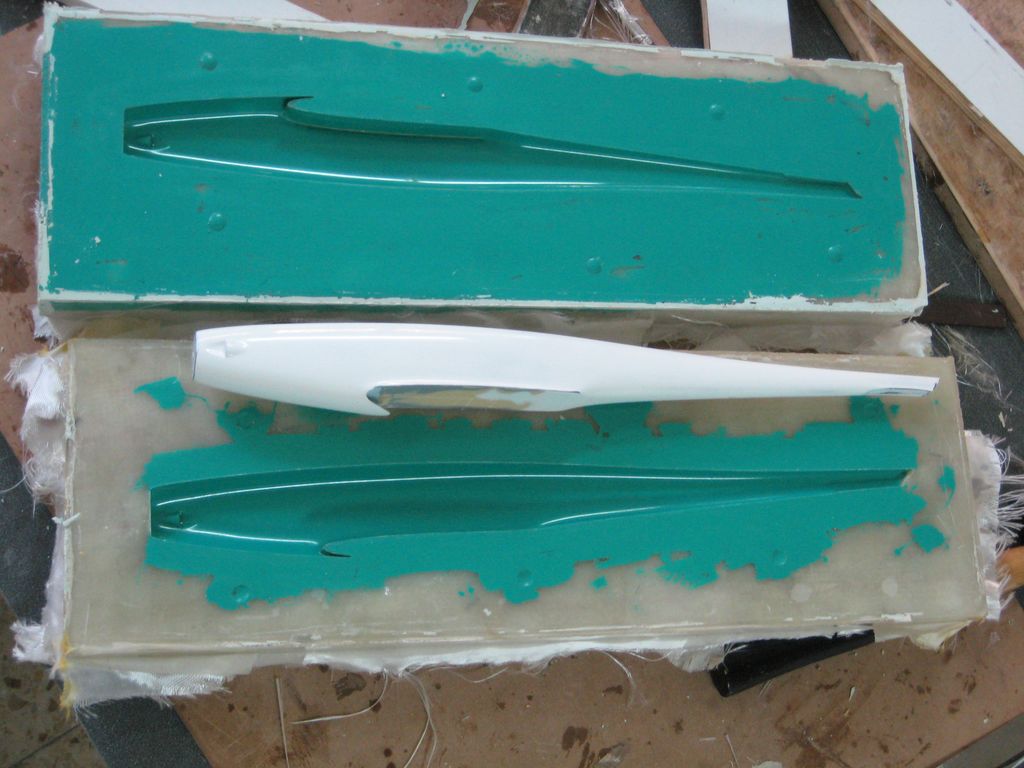
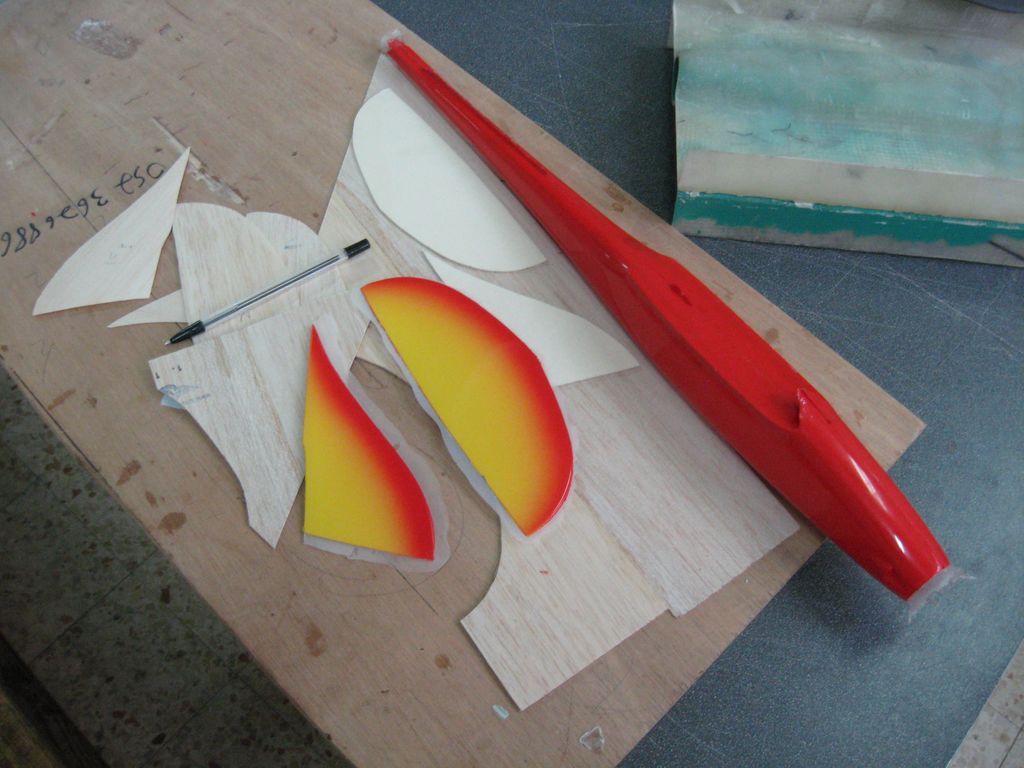
 The next thing is to create the right texture of the Master Mold, we want it shiny and smooth so it will look nice and will be “smooth” aerodynamically – the smoother its going to be – the less drag its going to create and the faster our pylon racer will fly. The process of creating the right texture to copy in order to get to right surface is involves A LOT of sanding in numerous types of sanding paper – from 150 to 2000 while using car body filler (like Bondo) and filler paint between each type of sanding paper. The final step is polishing it. The end result looked like this:
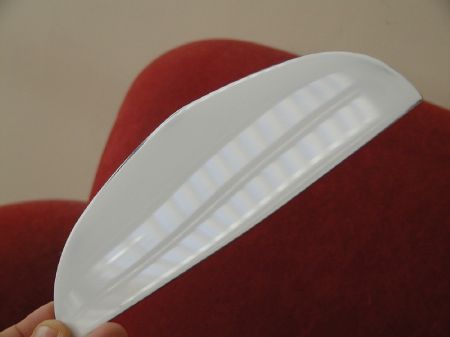
2. Placing the Master Mold
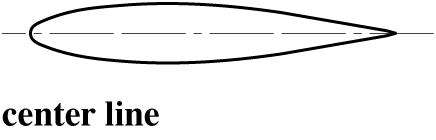
After finishing the Master Mold we must place it. There are two main elements that need to be considered when placing it – center line (also called parting line) and undercut.
The mold is made out of two parts. The center line of the Master Mold\part we want to manufacture is dividing the mold into those two parts. The center line is created by the surface we “sink” the Master Mold into.
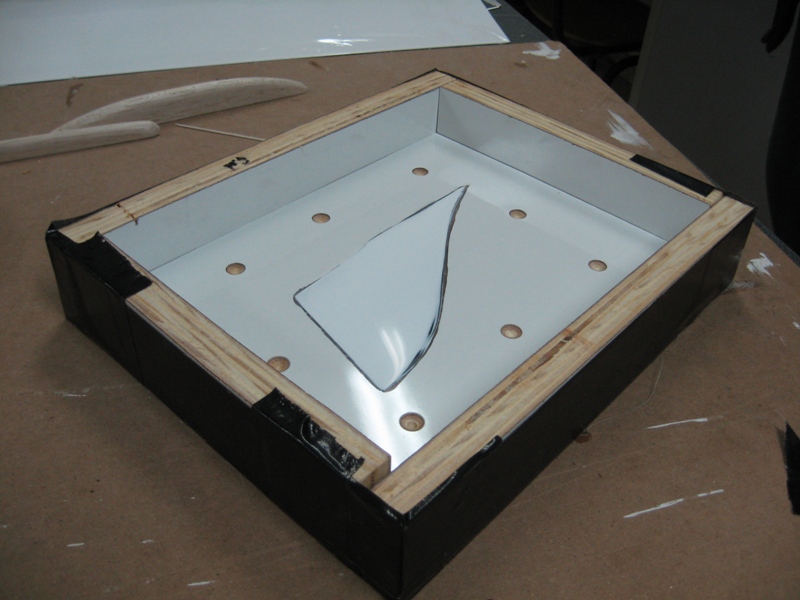
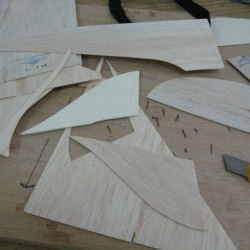
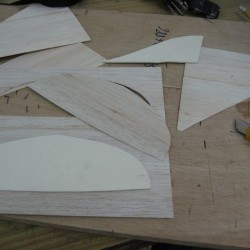
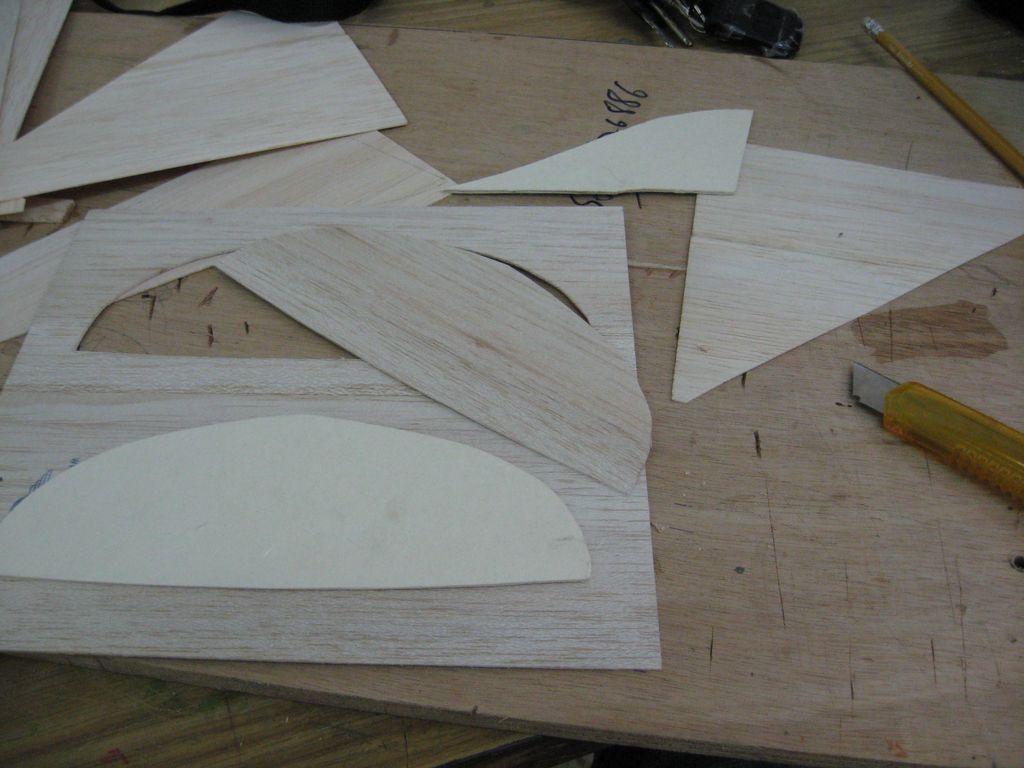
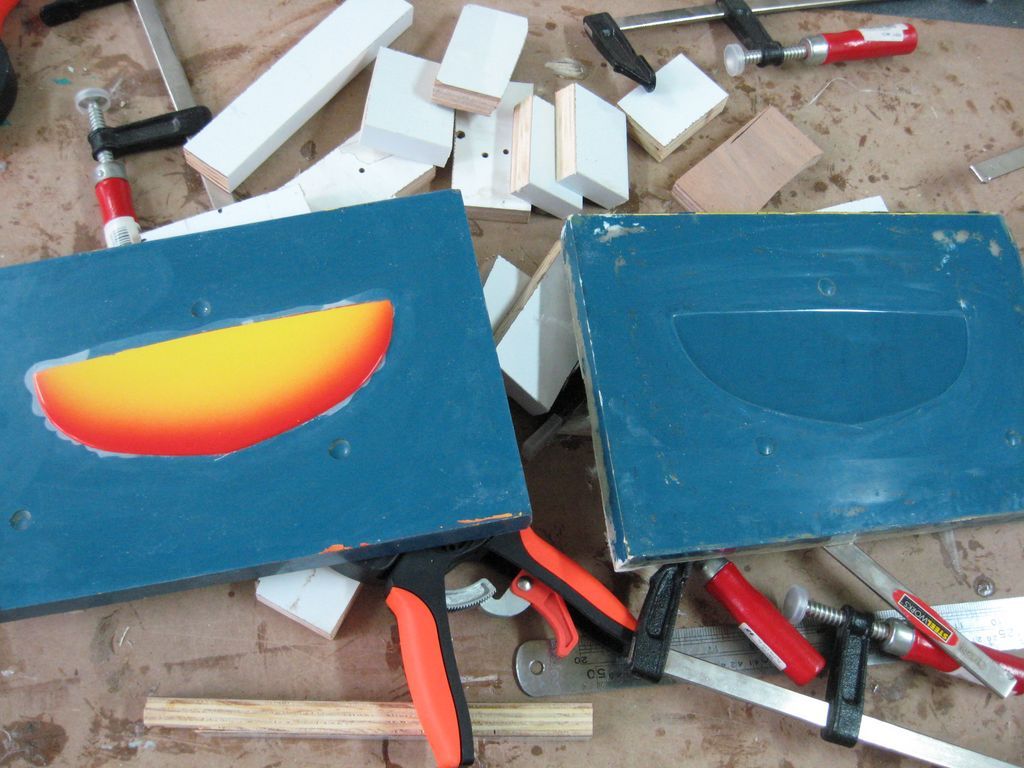
I choose to “create” this surface using smooth plain Formica wood plate. I cut the shape of each Master Mold, and placed it inside:

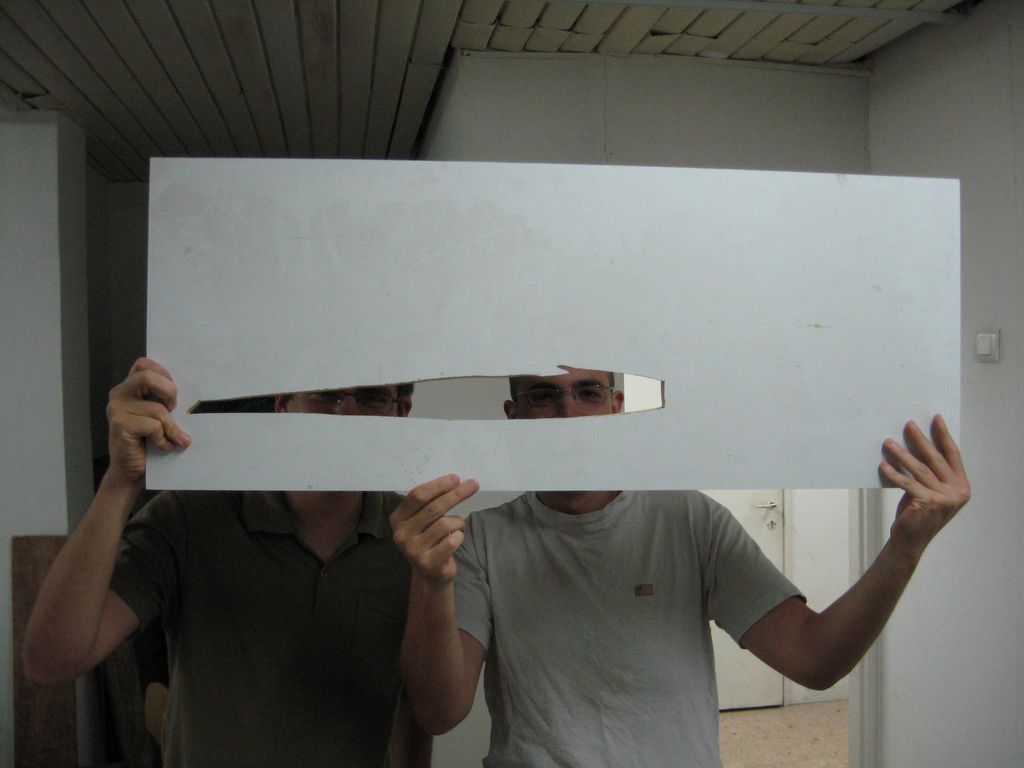
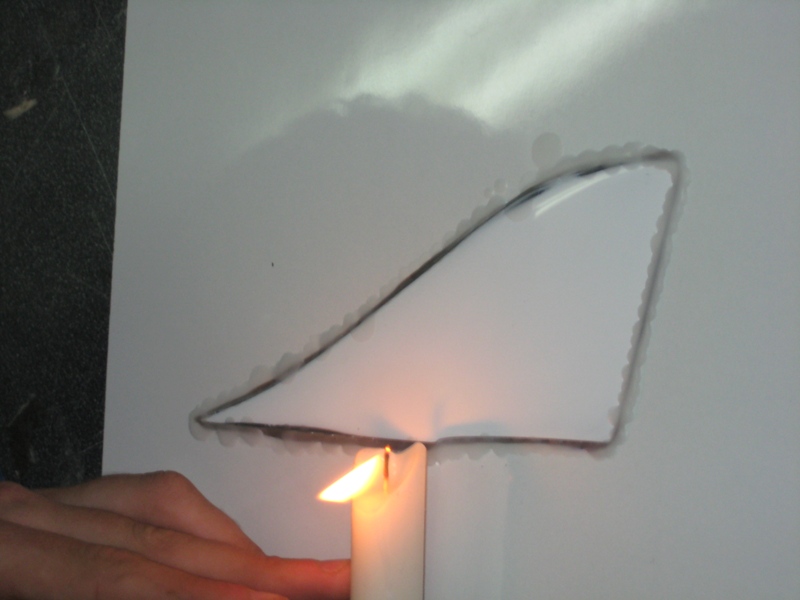
After cutting the Formica wood plane to the desired shape I use candle was to fill the small gaps between the Master Mold and the Formica wood:
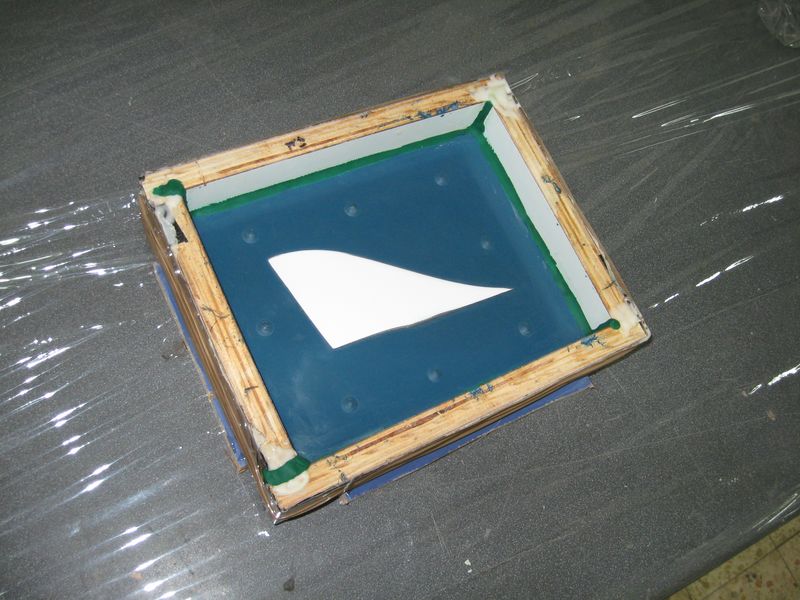
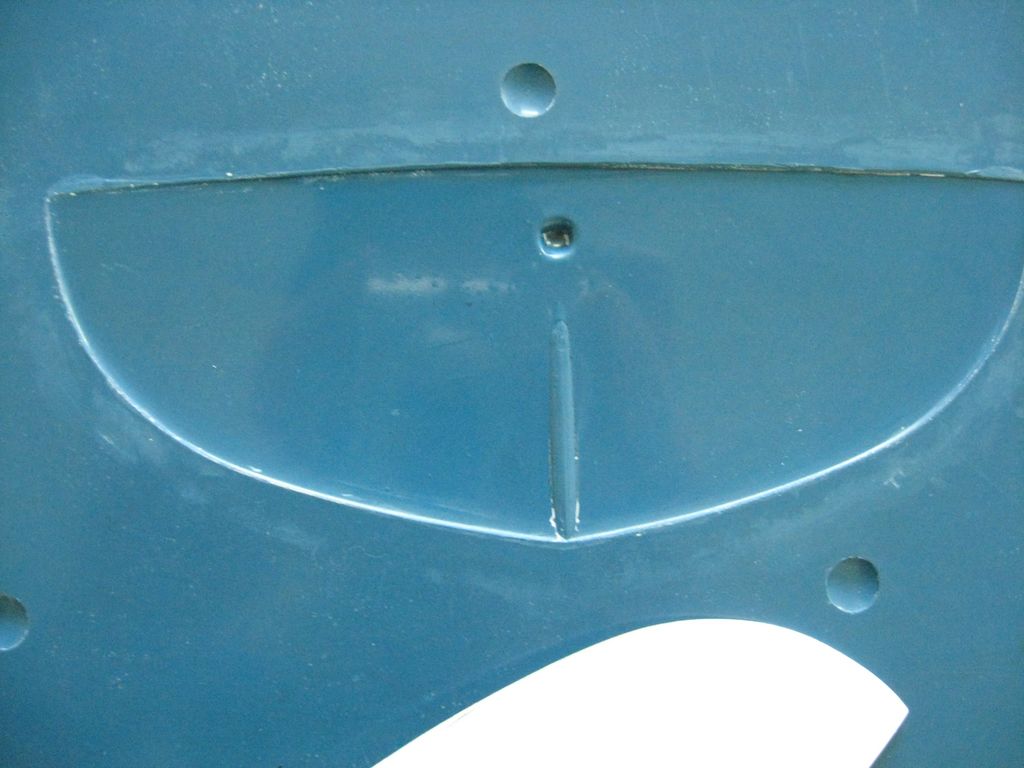
3. Pin centering and placement
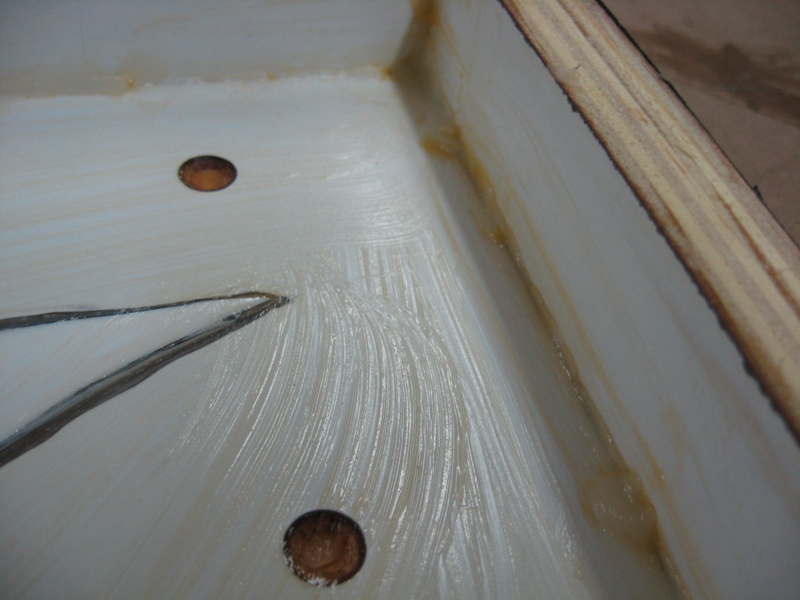
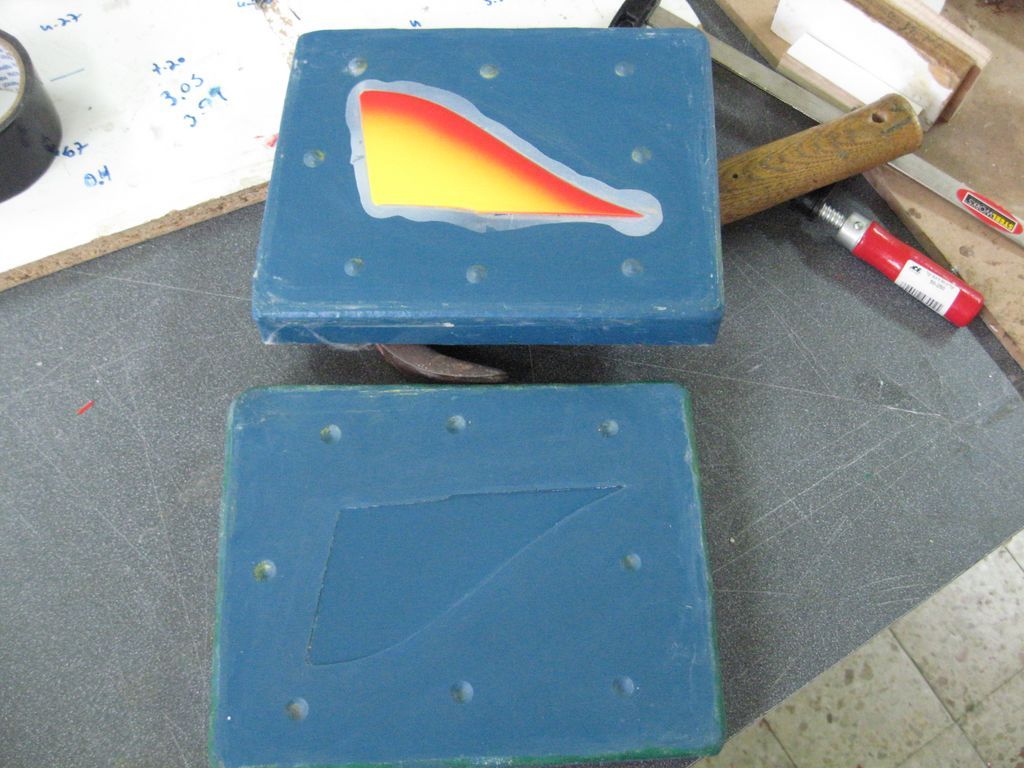
I used a drill to create a mushroom like 1/3 spheres in order to create a mechanism that will align the two parts of the mold:
The next stage is to remove the excessive candle wax and then we are ready to begin the Master Mold copying process.
When cutting the Formica wood and placing the Master Mold it is imperative that we won’t create undercuts. If for any reason we will copy-mold a Master Mold without considering the undercuts we won’t be able to extract the Master Mold or the part itself. This it the reason why the center line is so important.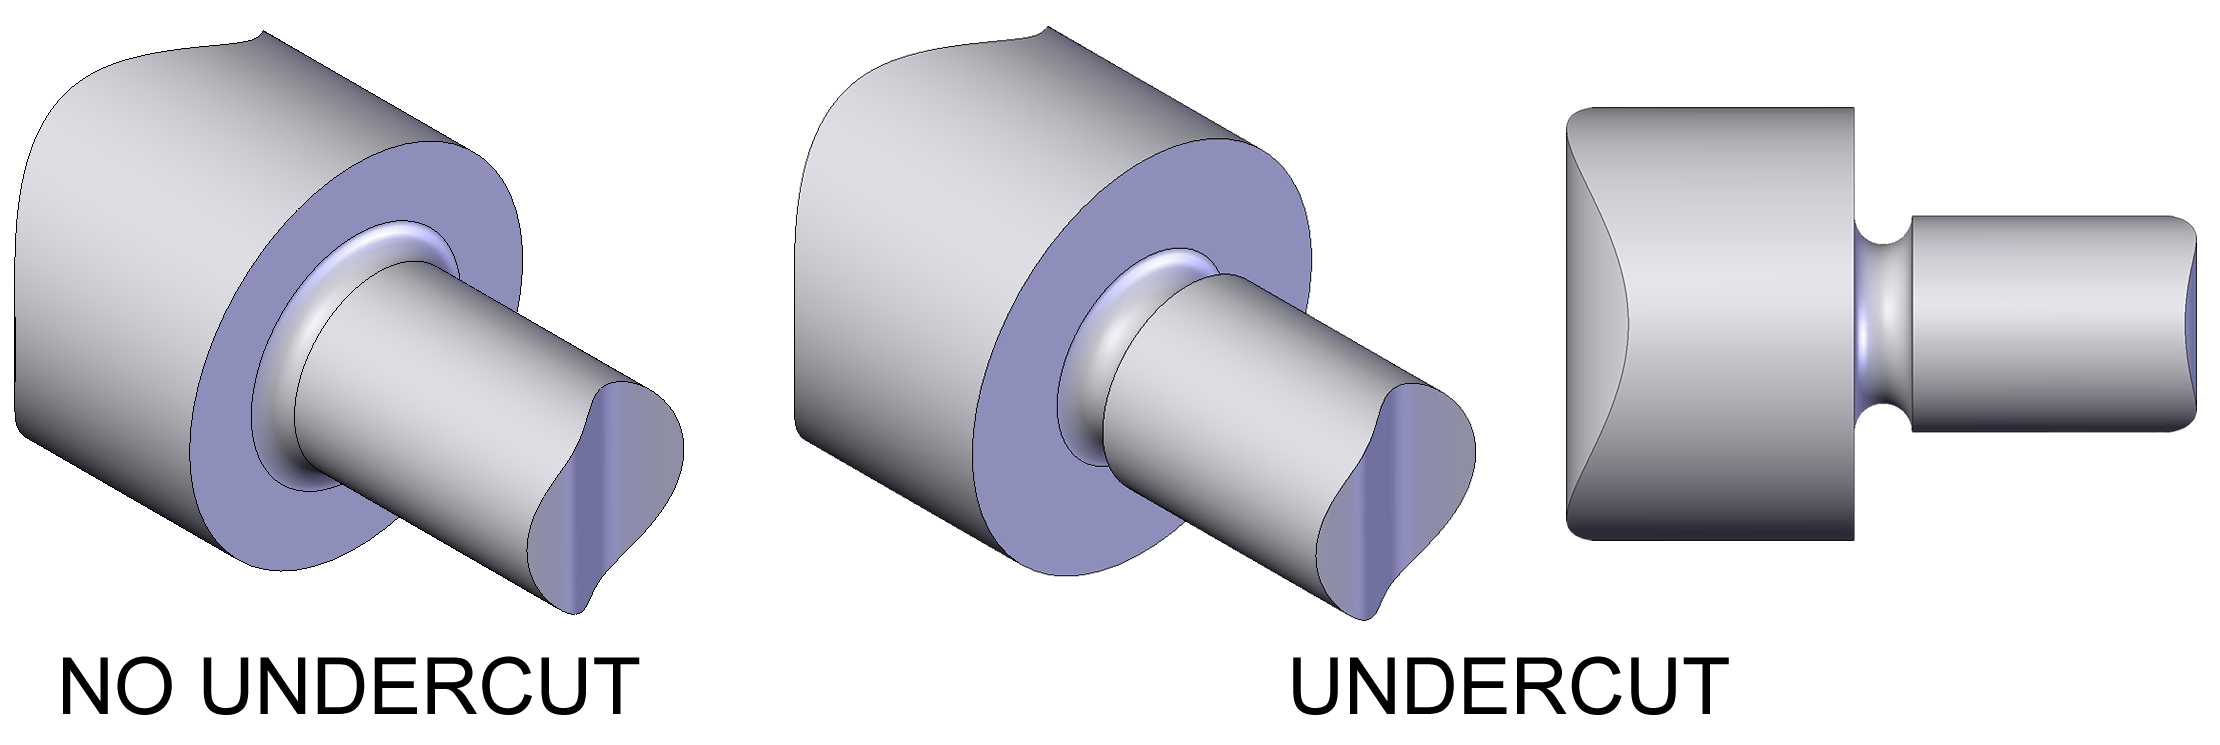
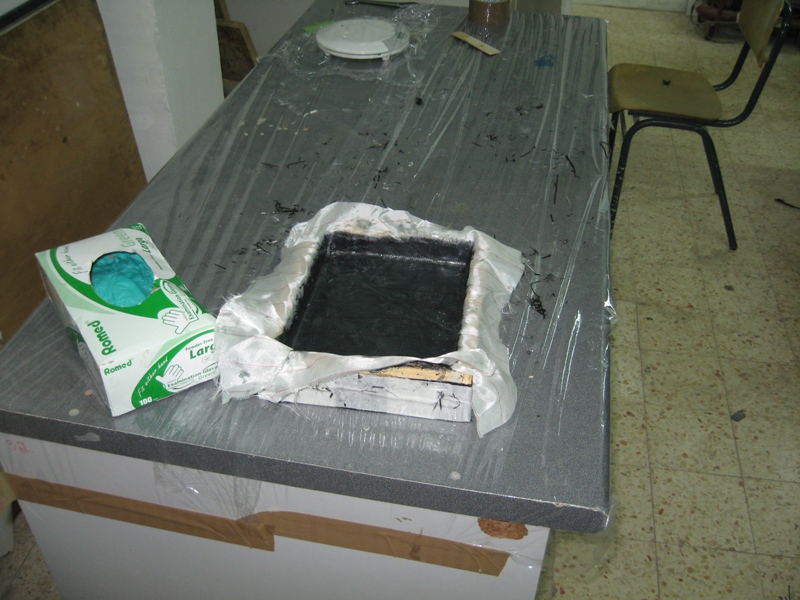
“Walls” around the part and the surface should be placed in order to create “sides” and support for the mold cialis preise deutschland.
4. Process and materials – wax, Gelcote and fiberglass/carbon
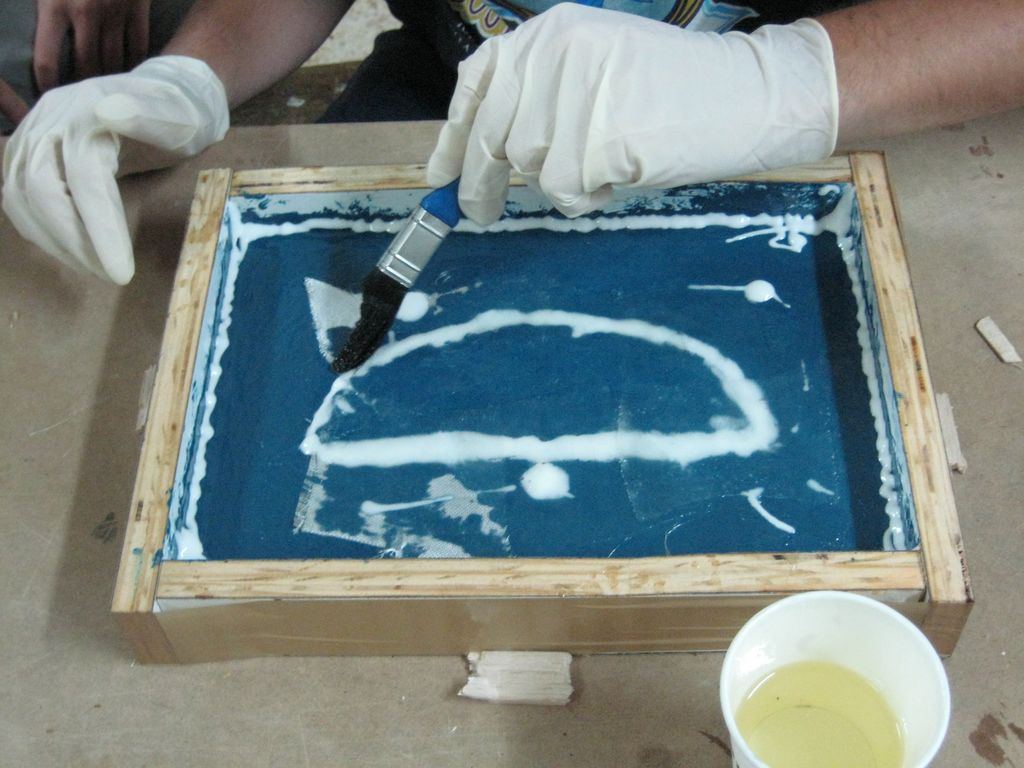
 After the Master Mold is well in place we wax it using Johnson/F57 wax. this part is super important because if we won’t wax it properly we won’t be able to remove the Master Mold from the mold itself. I did this waxing stage several time and wiped it afterwords.
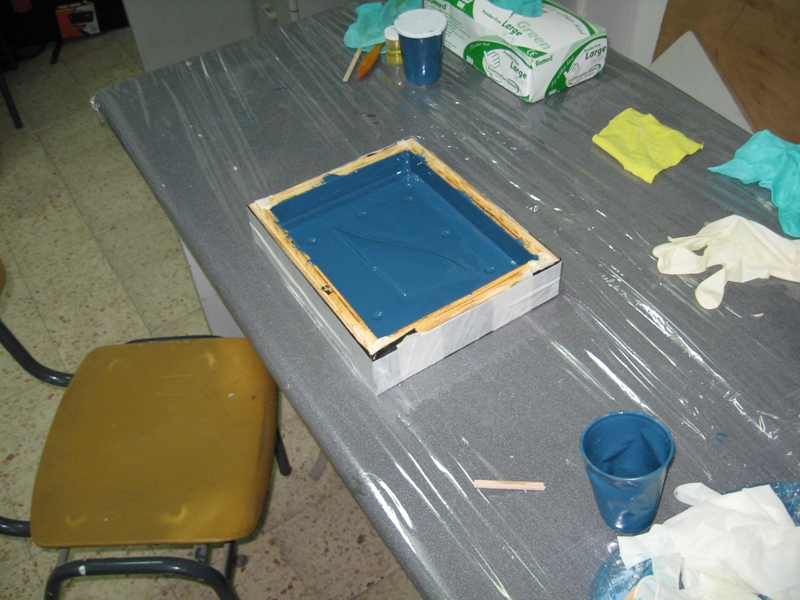
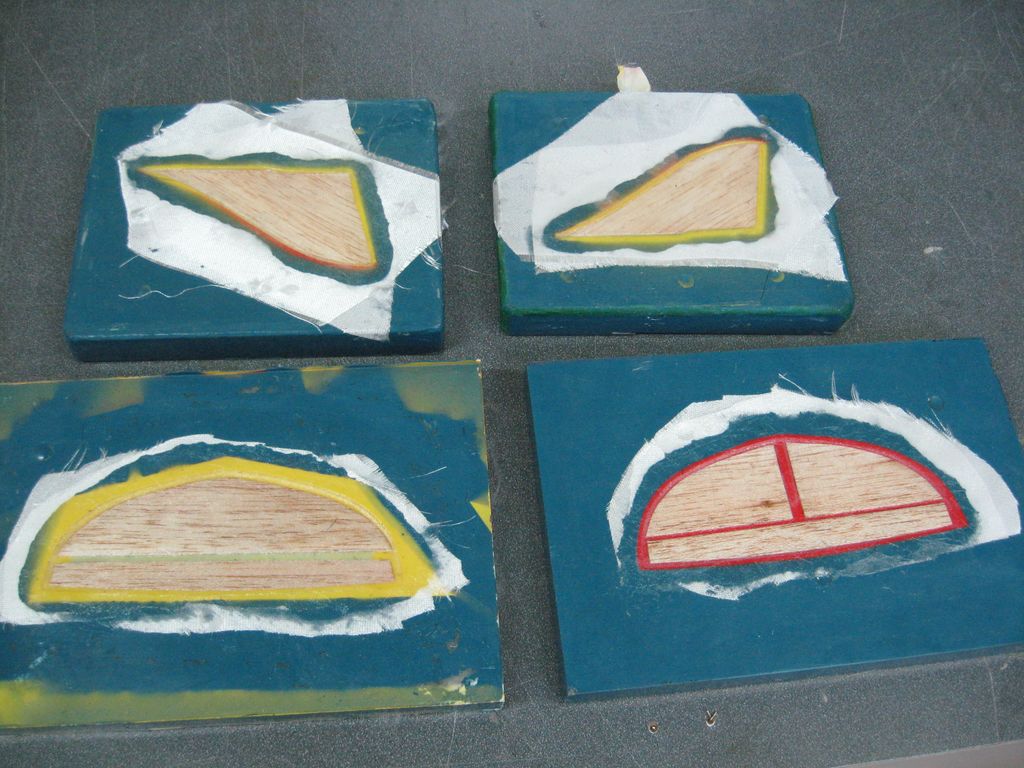
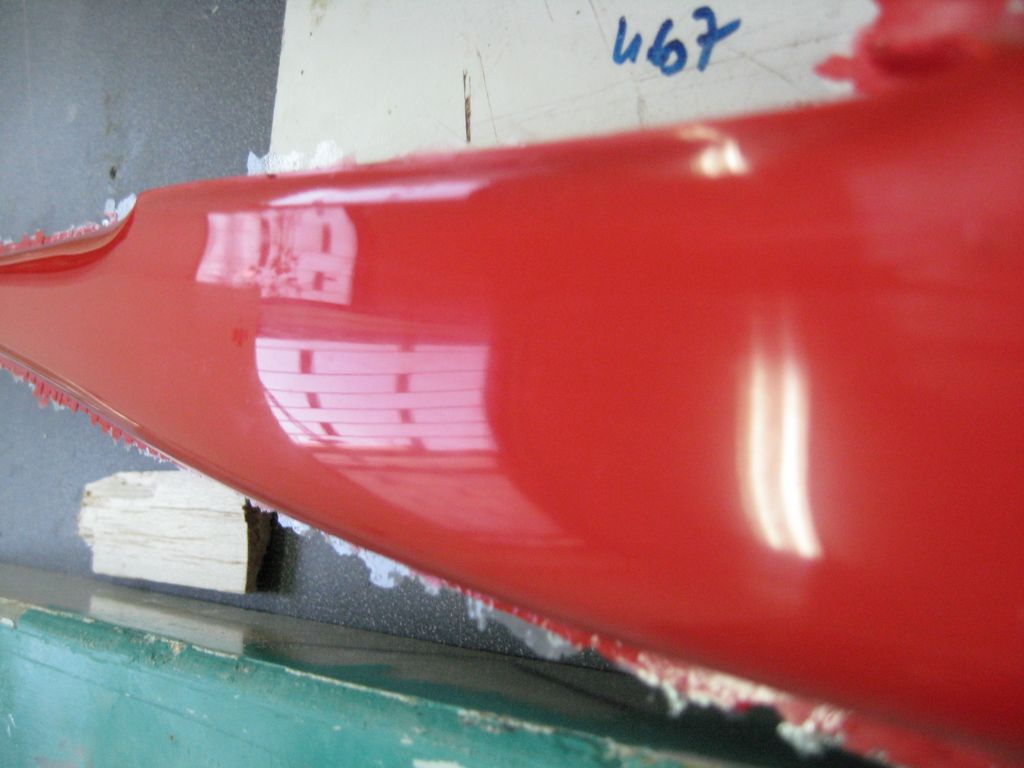
The next step is to apply the Gelcote – the purpose of the Gelcote is to “copy” the texture surface of the Master Mold – this is the reason why it was so important to sand and polish the Master Mold in the first stage in order to get shiny and smooth surface – its aerodynamically important and pretty nice to look at 🙂
After applying the Gelcote, the creation of the mold is staring – the mold need to be made out of the same materials that we are planning to make the part itself from – which means – fiberglass and carbon fibers- the reason is simple: different materials have differences coefficients of expansion due to changes in the environment(hot/cold) – when using the the same materials for the mold and the part itself we compensate this issue.
After applying the Gelcote:
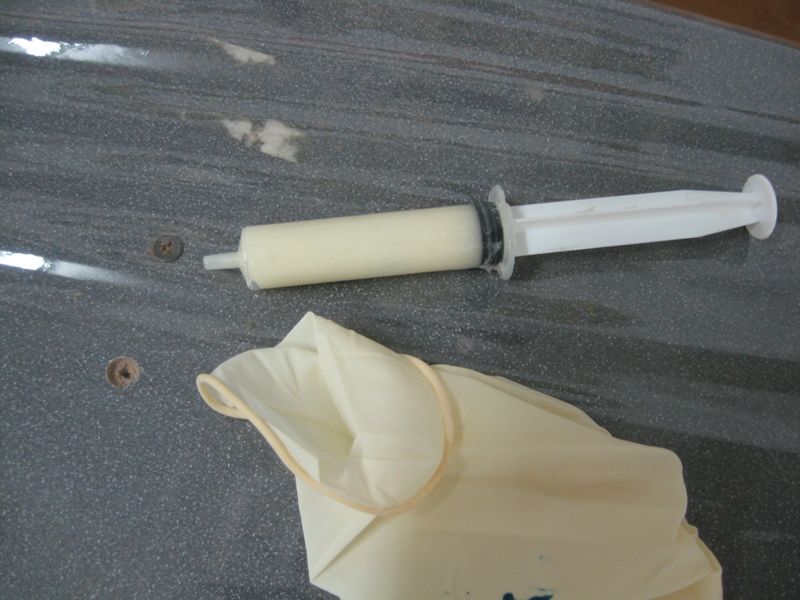
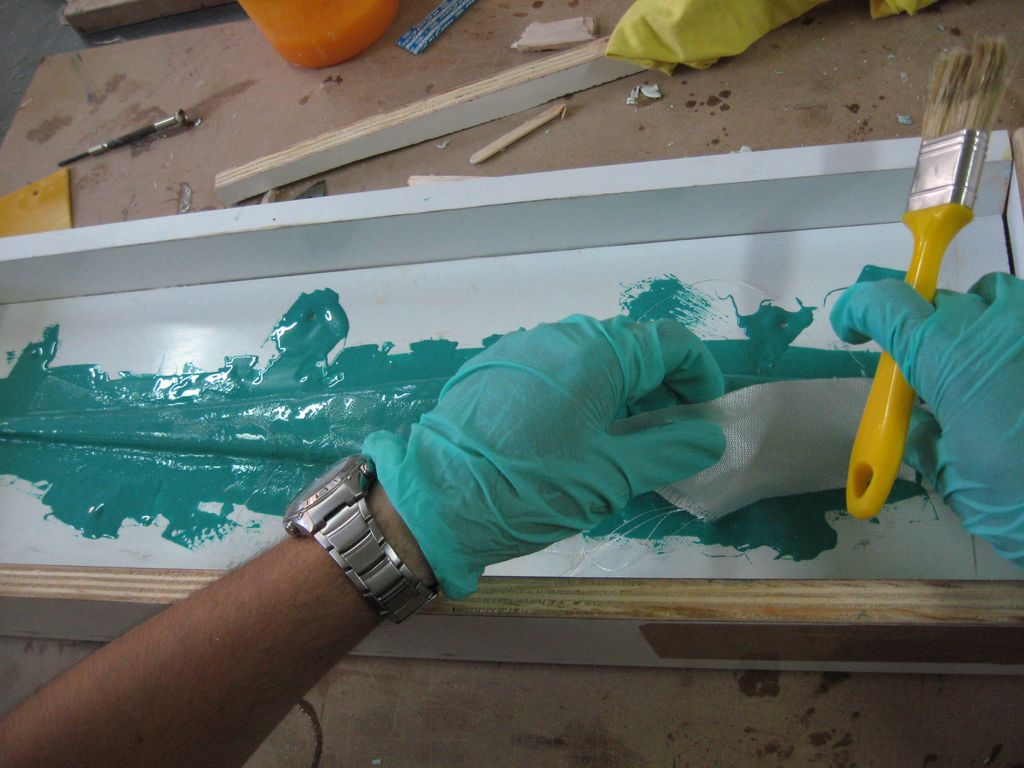
But before applying the fiberglass and the carbon fiber we need to reinforce the edges of the Gelcoted Master Mold. Those edges are very delicate and could be ripped off or break during the extraction of the part/Master Mold from the mold if not reinforced properly. The reinforcement is done by mixing the resin with micro-balloons, chopped fiberglass and Aerosil/Carbosil – this mixture is also called “slurry”. The easiest way to apply it is by using syringe and than place very delicate fiberglass (80g/m) in order to hold it in place.
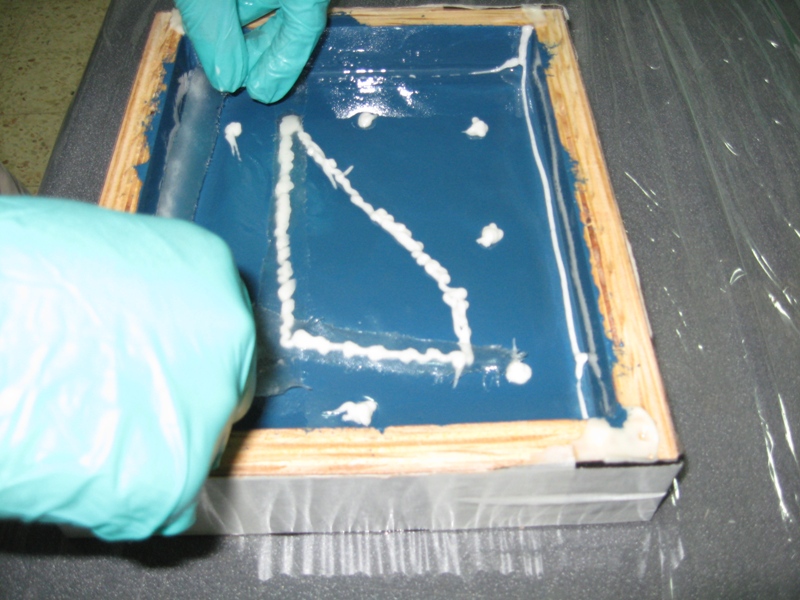
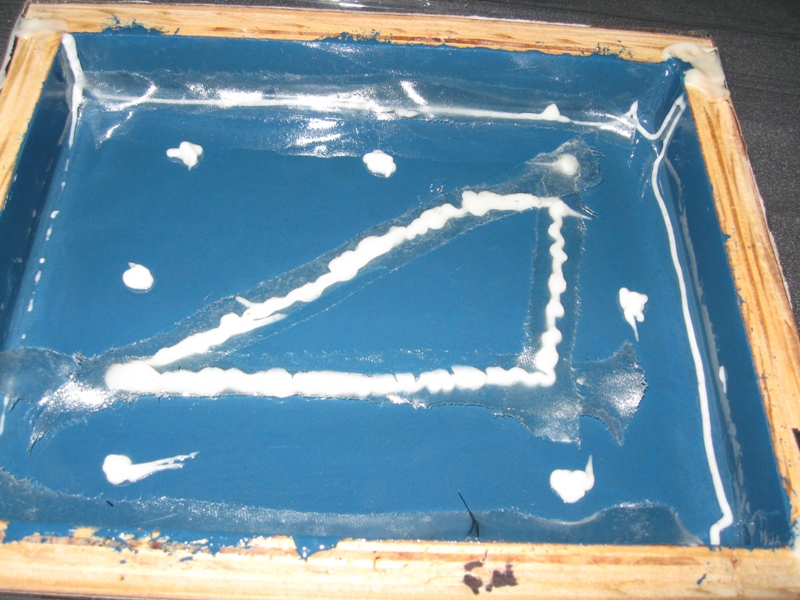
After we’re done with the slurry we can start applying the different fabrics (glass and carbon) – we start in the most delicate one – 80g/m or less and than move to how much we want the mold to be strong – the number of the layers and the strength of the mold is also got to do with the shape of the part itself and the way/angle we plan to extract it.
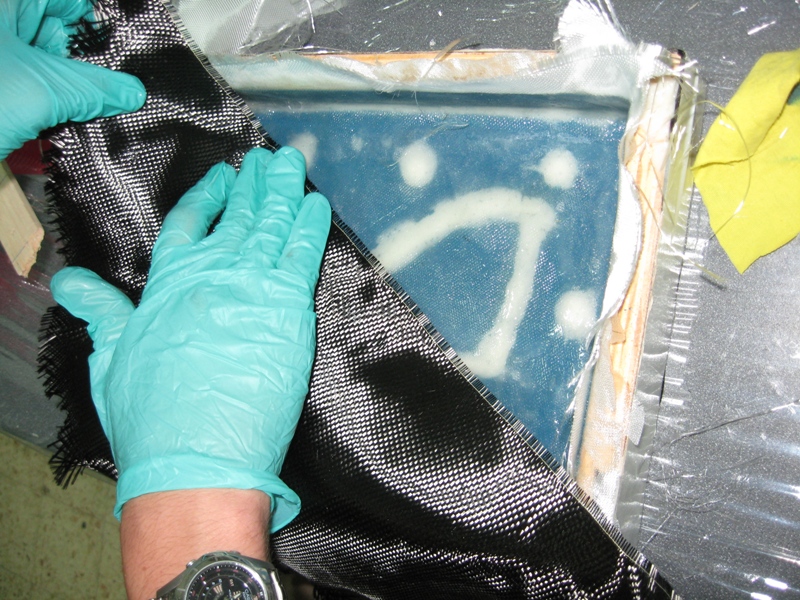
This is how it suppose to look at the end:
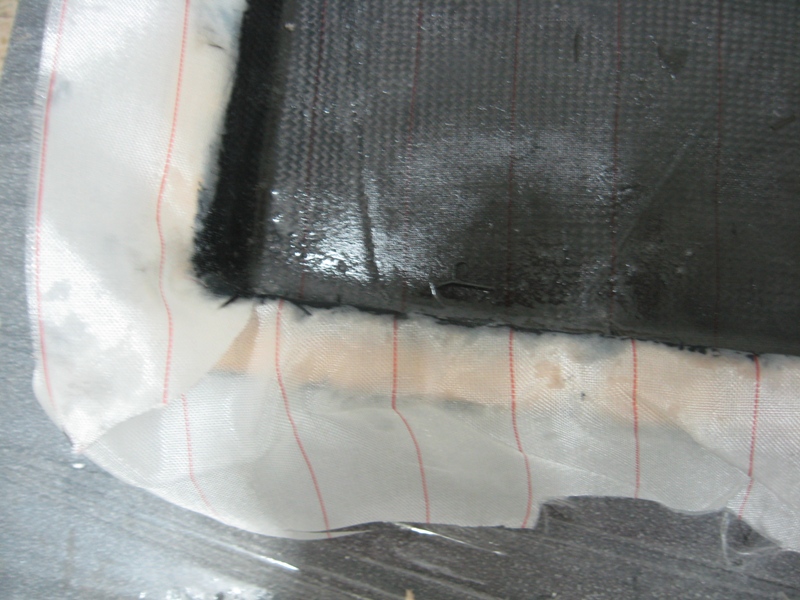
The final part of this stage is to place a layer of peel ply – this is done in order to get a surface that we could continue to apply fabrics on if the mold is not strong enough and to flatten all the edges of the last layer of the fabric in order to not get cuts when handling the molds.
We let it dry for 24 hours, take apart the Formica wood (WITHOUT extracting the Master Mold from the mold we just created) and create new “walls” for the other side of the mold:
We continue to do the exact same process to the other side of the mold – waxing, slurry and fabrics applying+peel ply. At the end of this process we have the molds ready! weeeeeehhiiiiii!

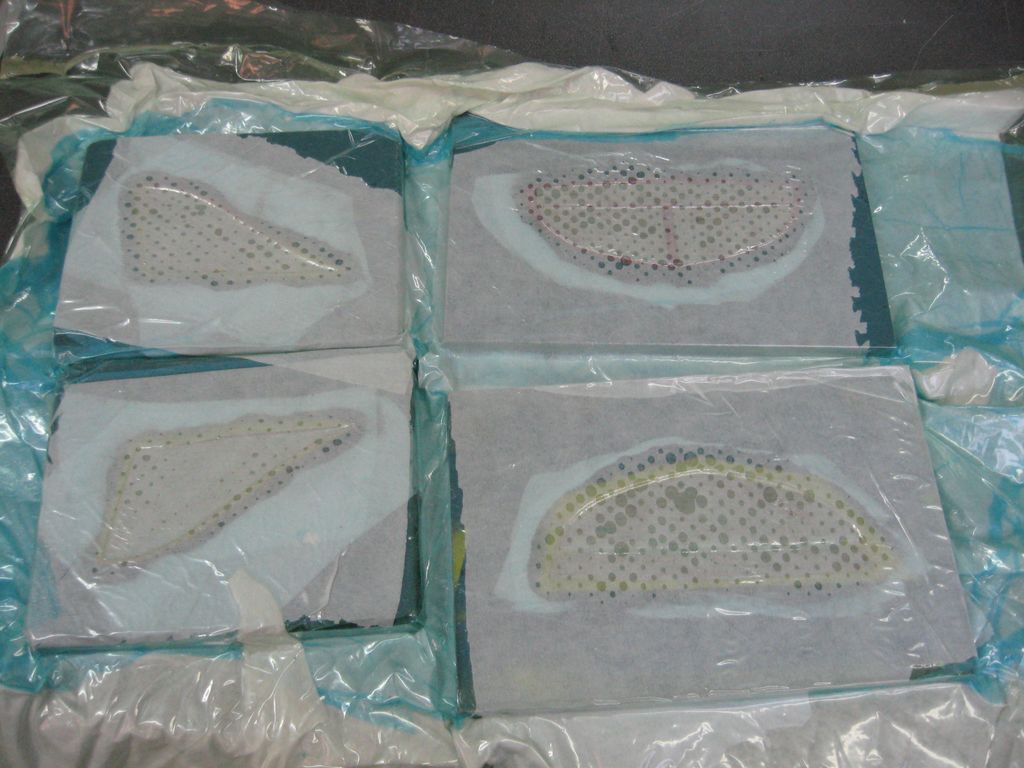
5. Casting – wax, layers, peel ply, vacuum
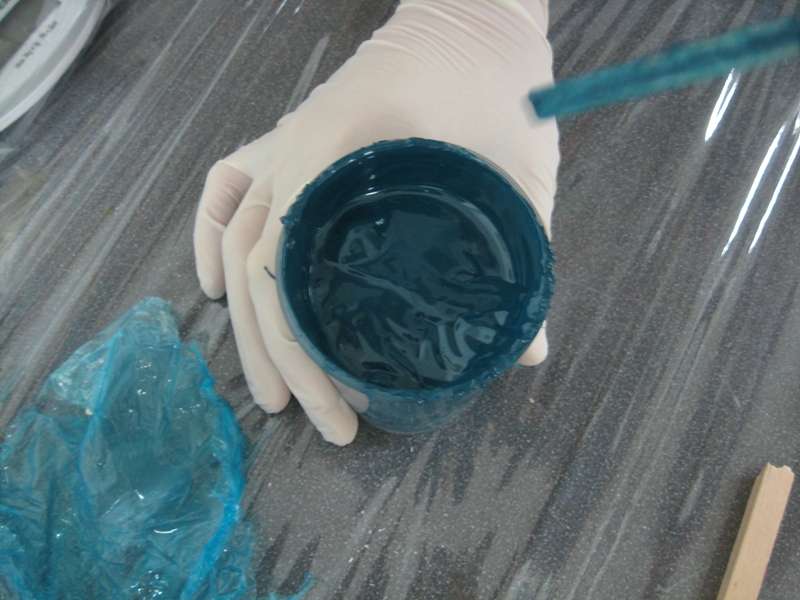
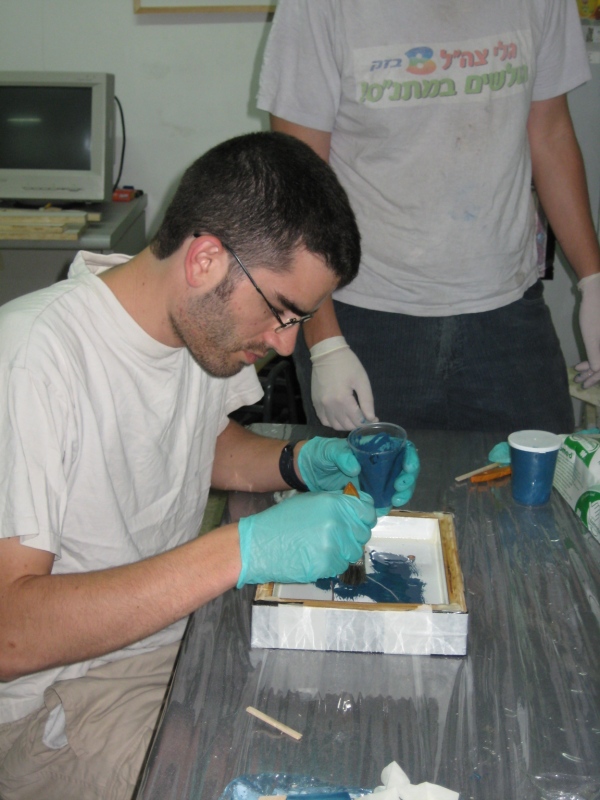
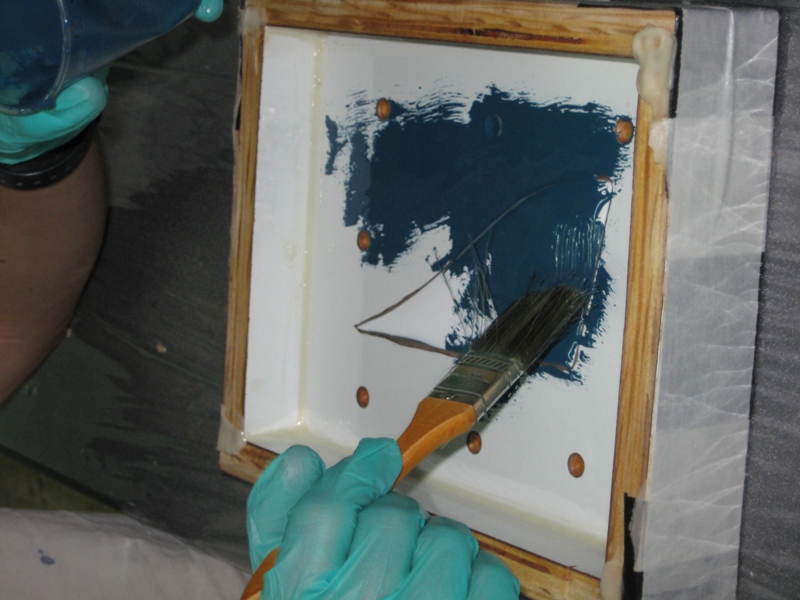
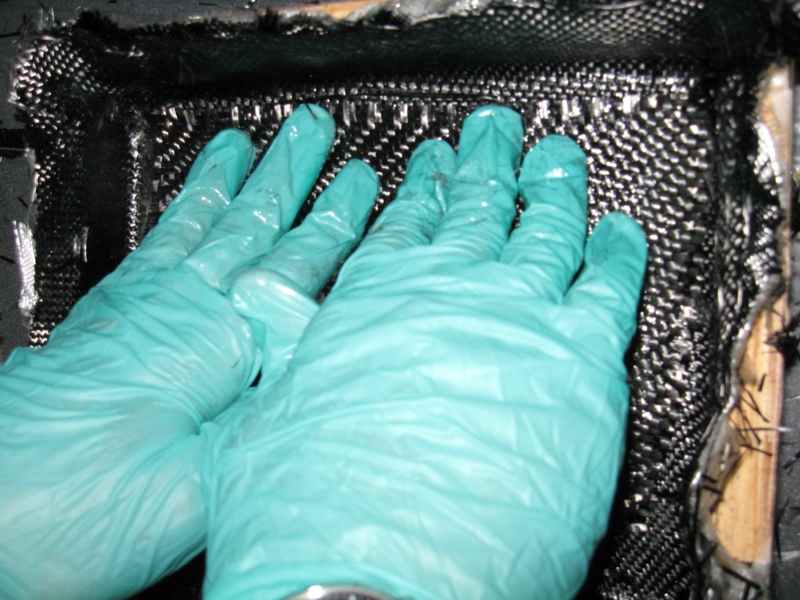
 Now that We have the mold ready for use we can start to cast the pylon racer 🙂 At first we need to decide what’s the composition that the part is going to be made of: fiberglass, carbon fiber, Kevlar, balsa wood etc. It depends on the use and the strength requirements for each part. The classic composition is fiberglass or/and carbon – balsa wood – fiberglass or/and carbon. But before applying the fabrics we must wax the mold, paint in the mold itself the colors we want the part to have and only then, we start to apply the resins and the fabrics.
After applying the fabric+balsa wood we place nylon with tiny holes and above it cloth. Then we put the molds with the composite materials, nylon and cloth inside a vacuum bag. The vacuum presses REALLY hard on the mold and part (That’s why we had to create the mold to be so strong), as a result the excessive resin (=more weight and more fragile part.. bad bad bad) it absorbs in the cloth via the nylon with the tiny hole, the vacuum stage also makes sure that the fabrics, resin and color are well pressed against the inner side of the mold. We do it for each side of the mold, this is how it suppose to look like:

After 24 hours we open the vacuum bag. By now the resin is hard and one with the fabrics.
The next step is to trim the excessive fabrics near the center line of the mold and measure the exact height we need to create the spar to support the part, I use plastelina to measure it by closing the molds and squishing the plastelina chunk inside the two parts of the mold. Some sanding is required in order for the two parts of the mold to be glued properly.

After placing the spar I’m closing the molds using slurry and clamps it REALLY hard.. again – another reason why we should do strong molds.
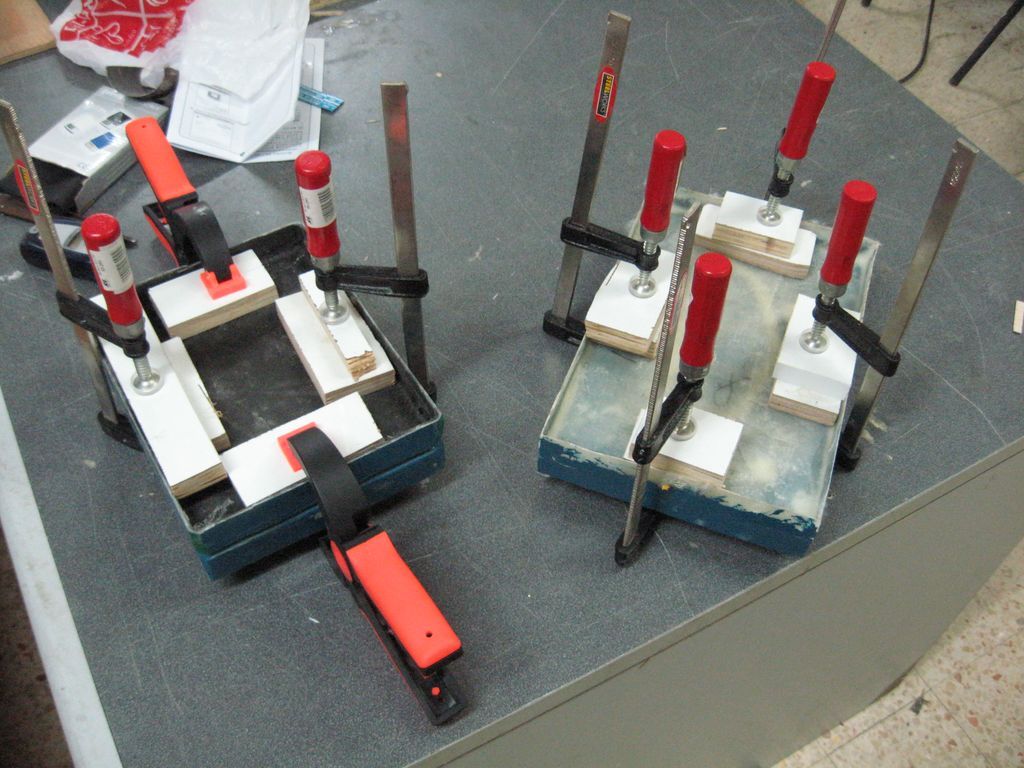
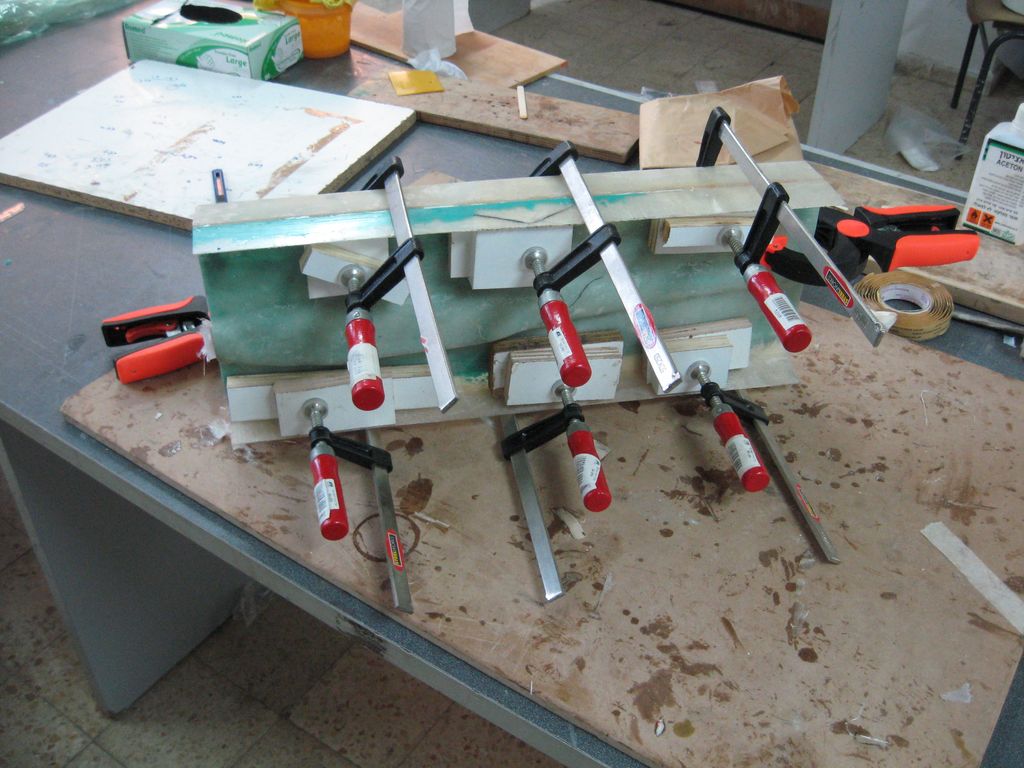
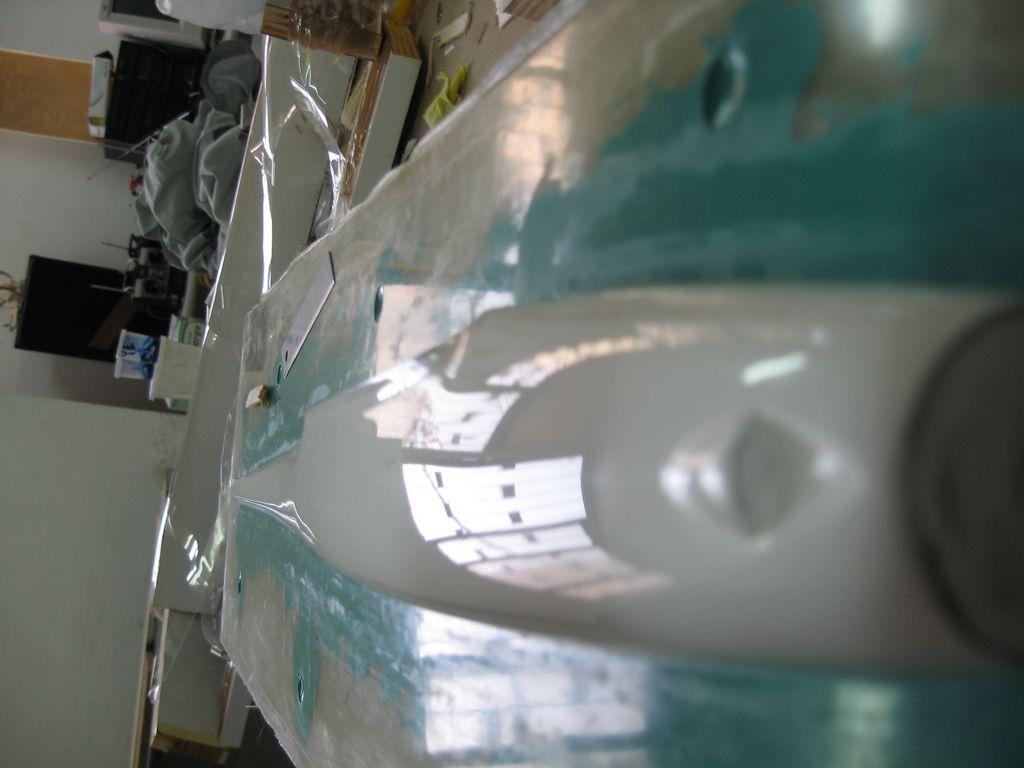
Not all the parts need spars or even slurry in the center line to be closed. Each part has its “story” regarding the casting process for example – in this pylon racer the fuselage is made in “one piece” without vacuum. Again, different techniques for each part… And the parts are ready:
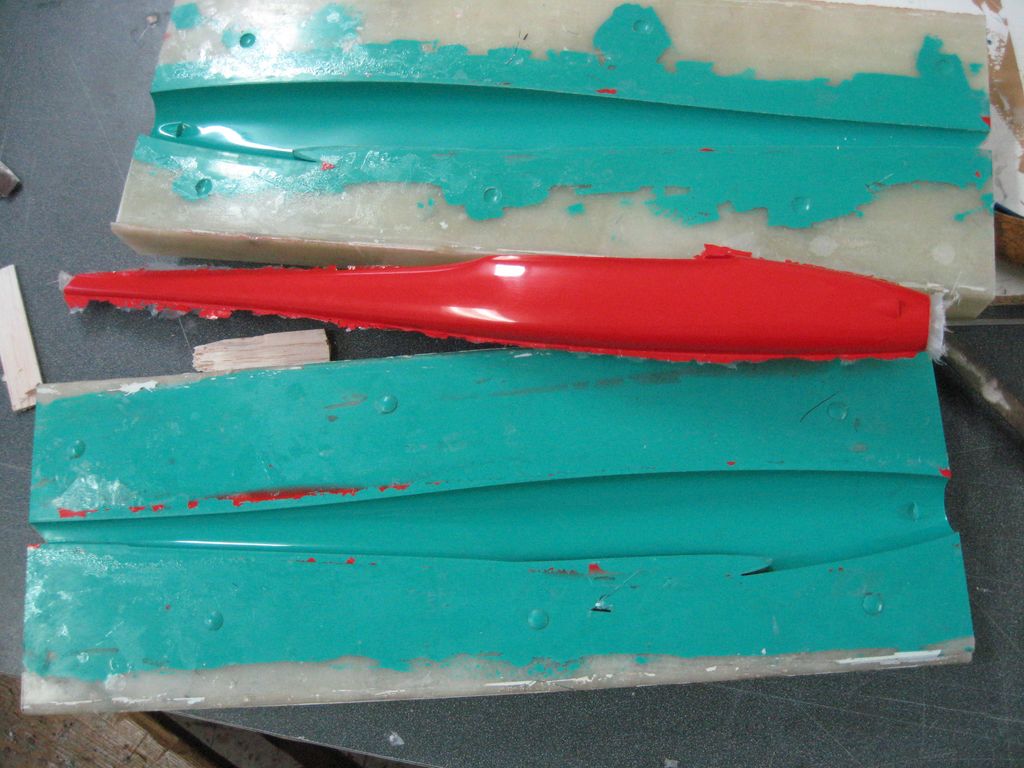
Afterwords we trim the parts from excessive resin and fabric and we are ready for the build section.
6. Setup, building and flying 🙂
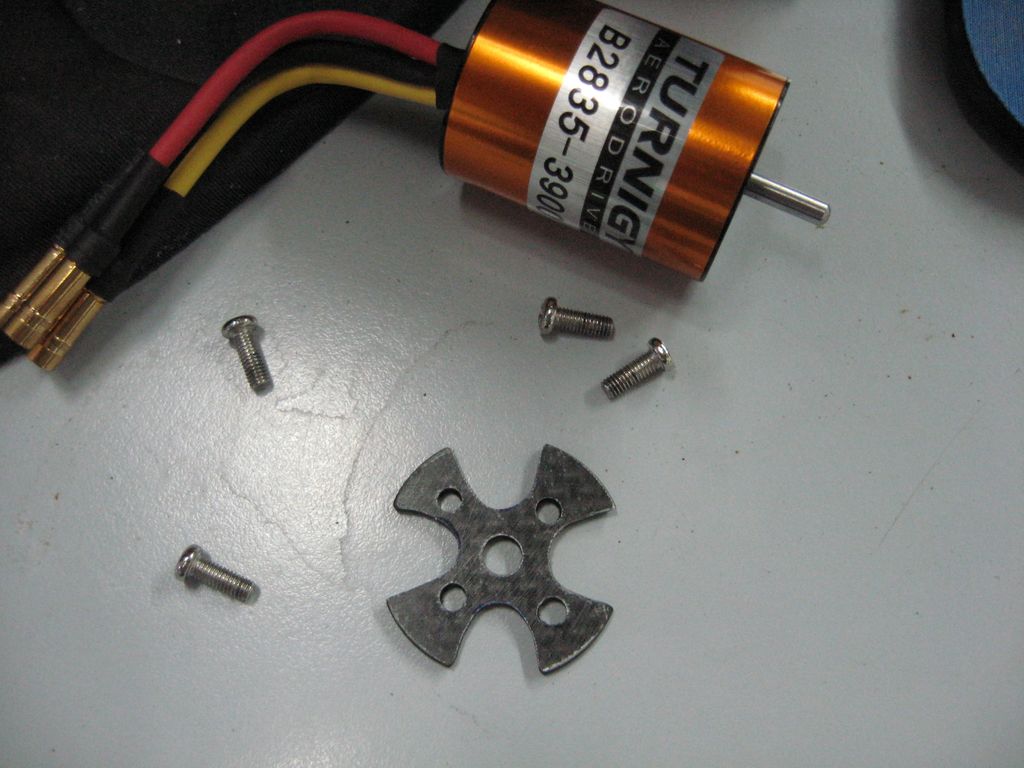
The Setup is another whole subject it got to do with the propulsion system which made out of the propeller, motor, battery, ESC (Electronics speed control), servos etc..
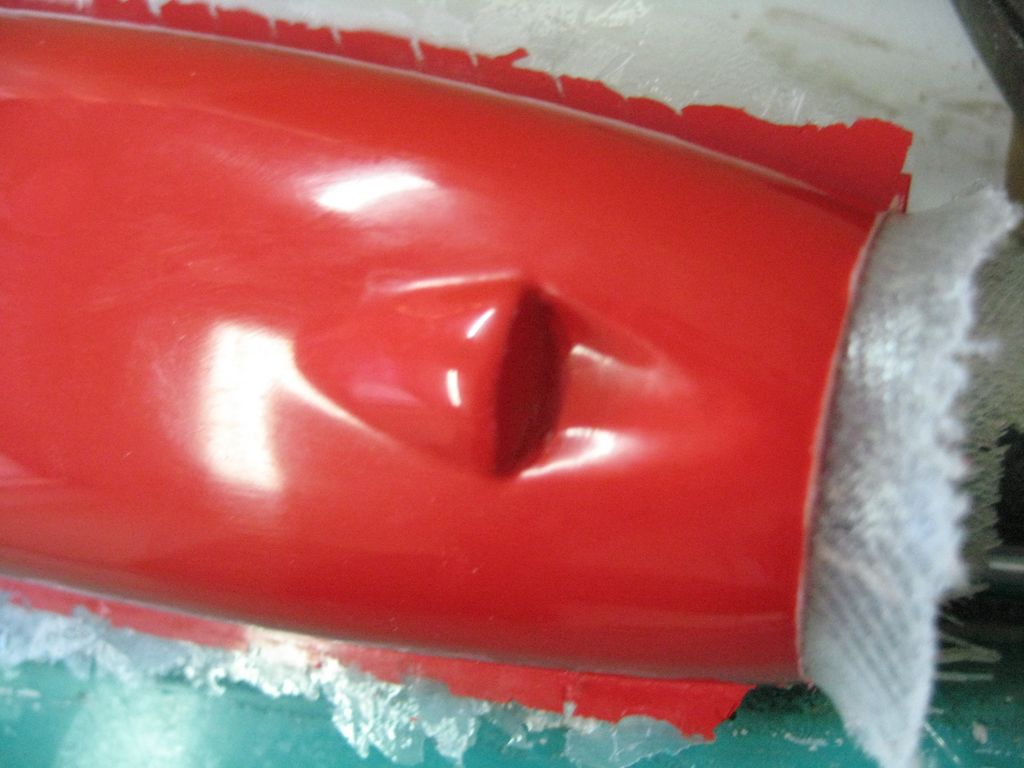
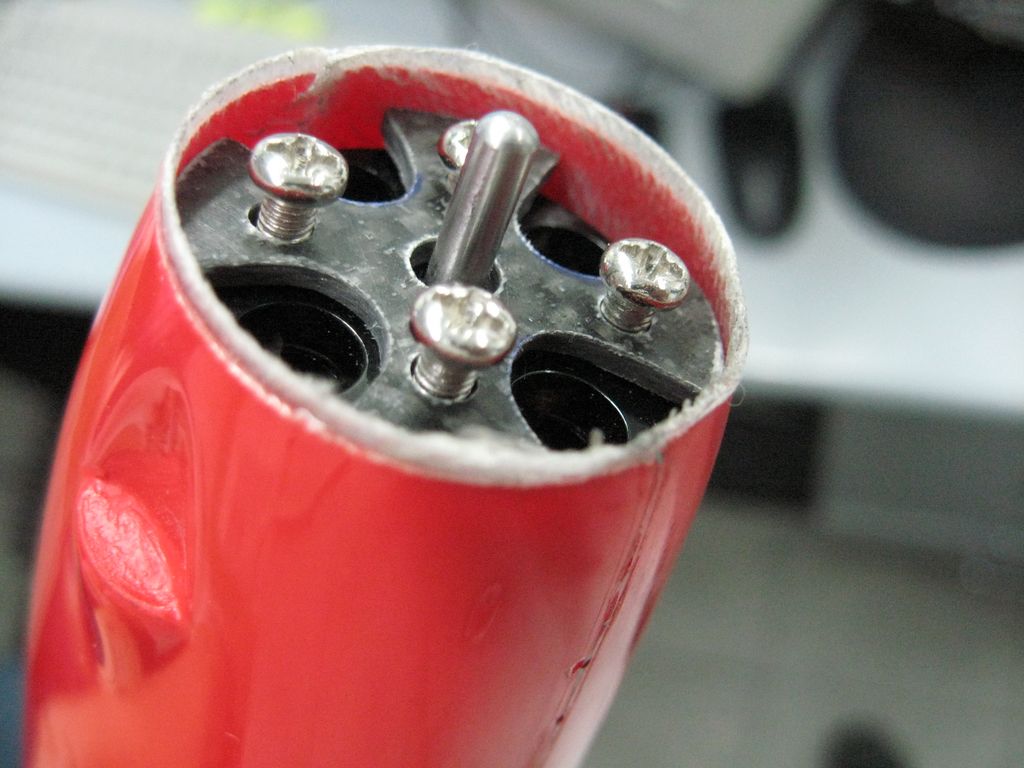
I won’t get into it now, I’ll just give a small tip – do not made the firewall of the motor too strong so it could collapse inside during a “not perfect” landing 😉 and let the motor breath a lot of air during its operation.


Some videos of us flying these bastards: