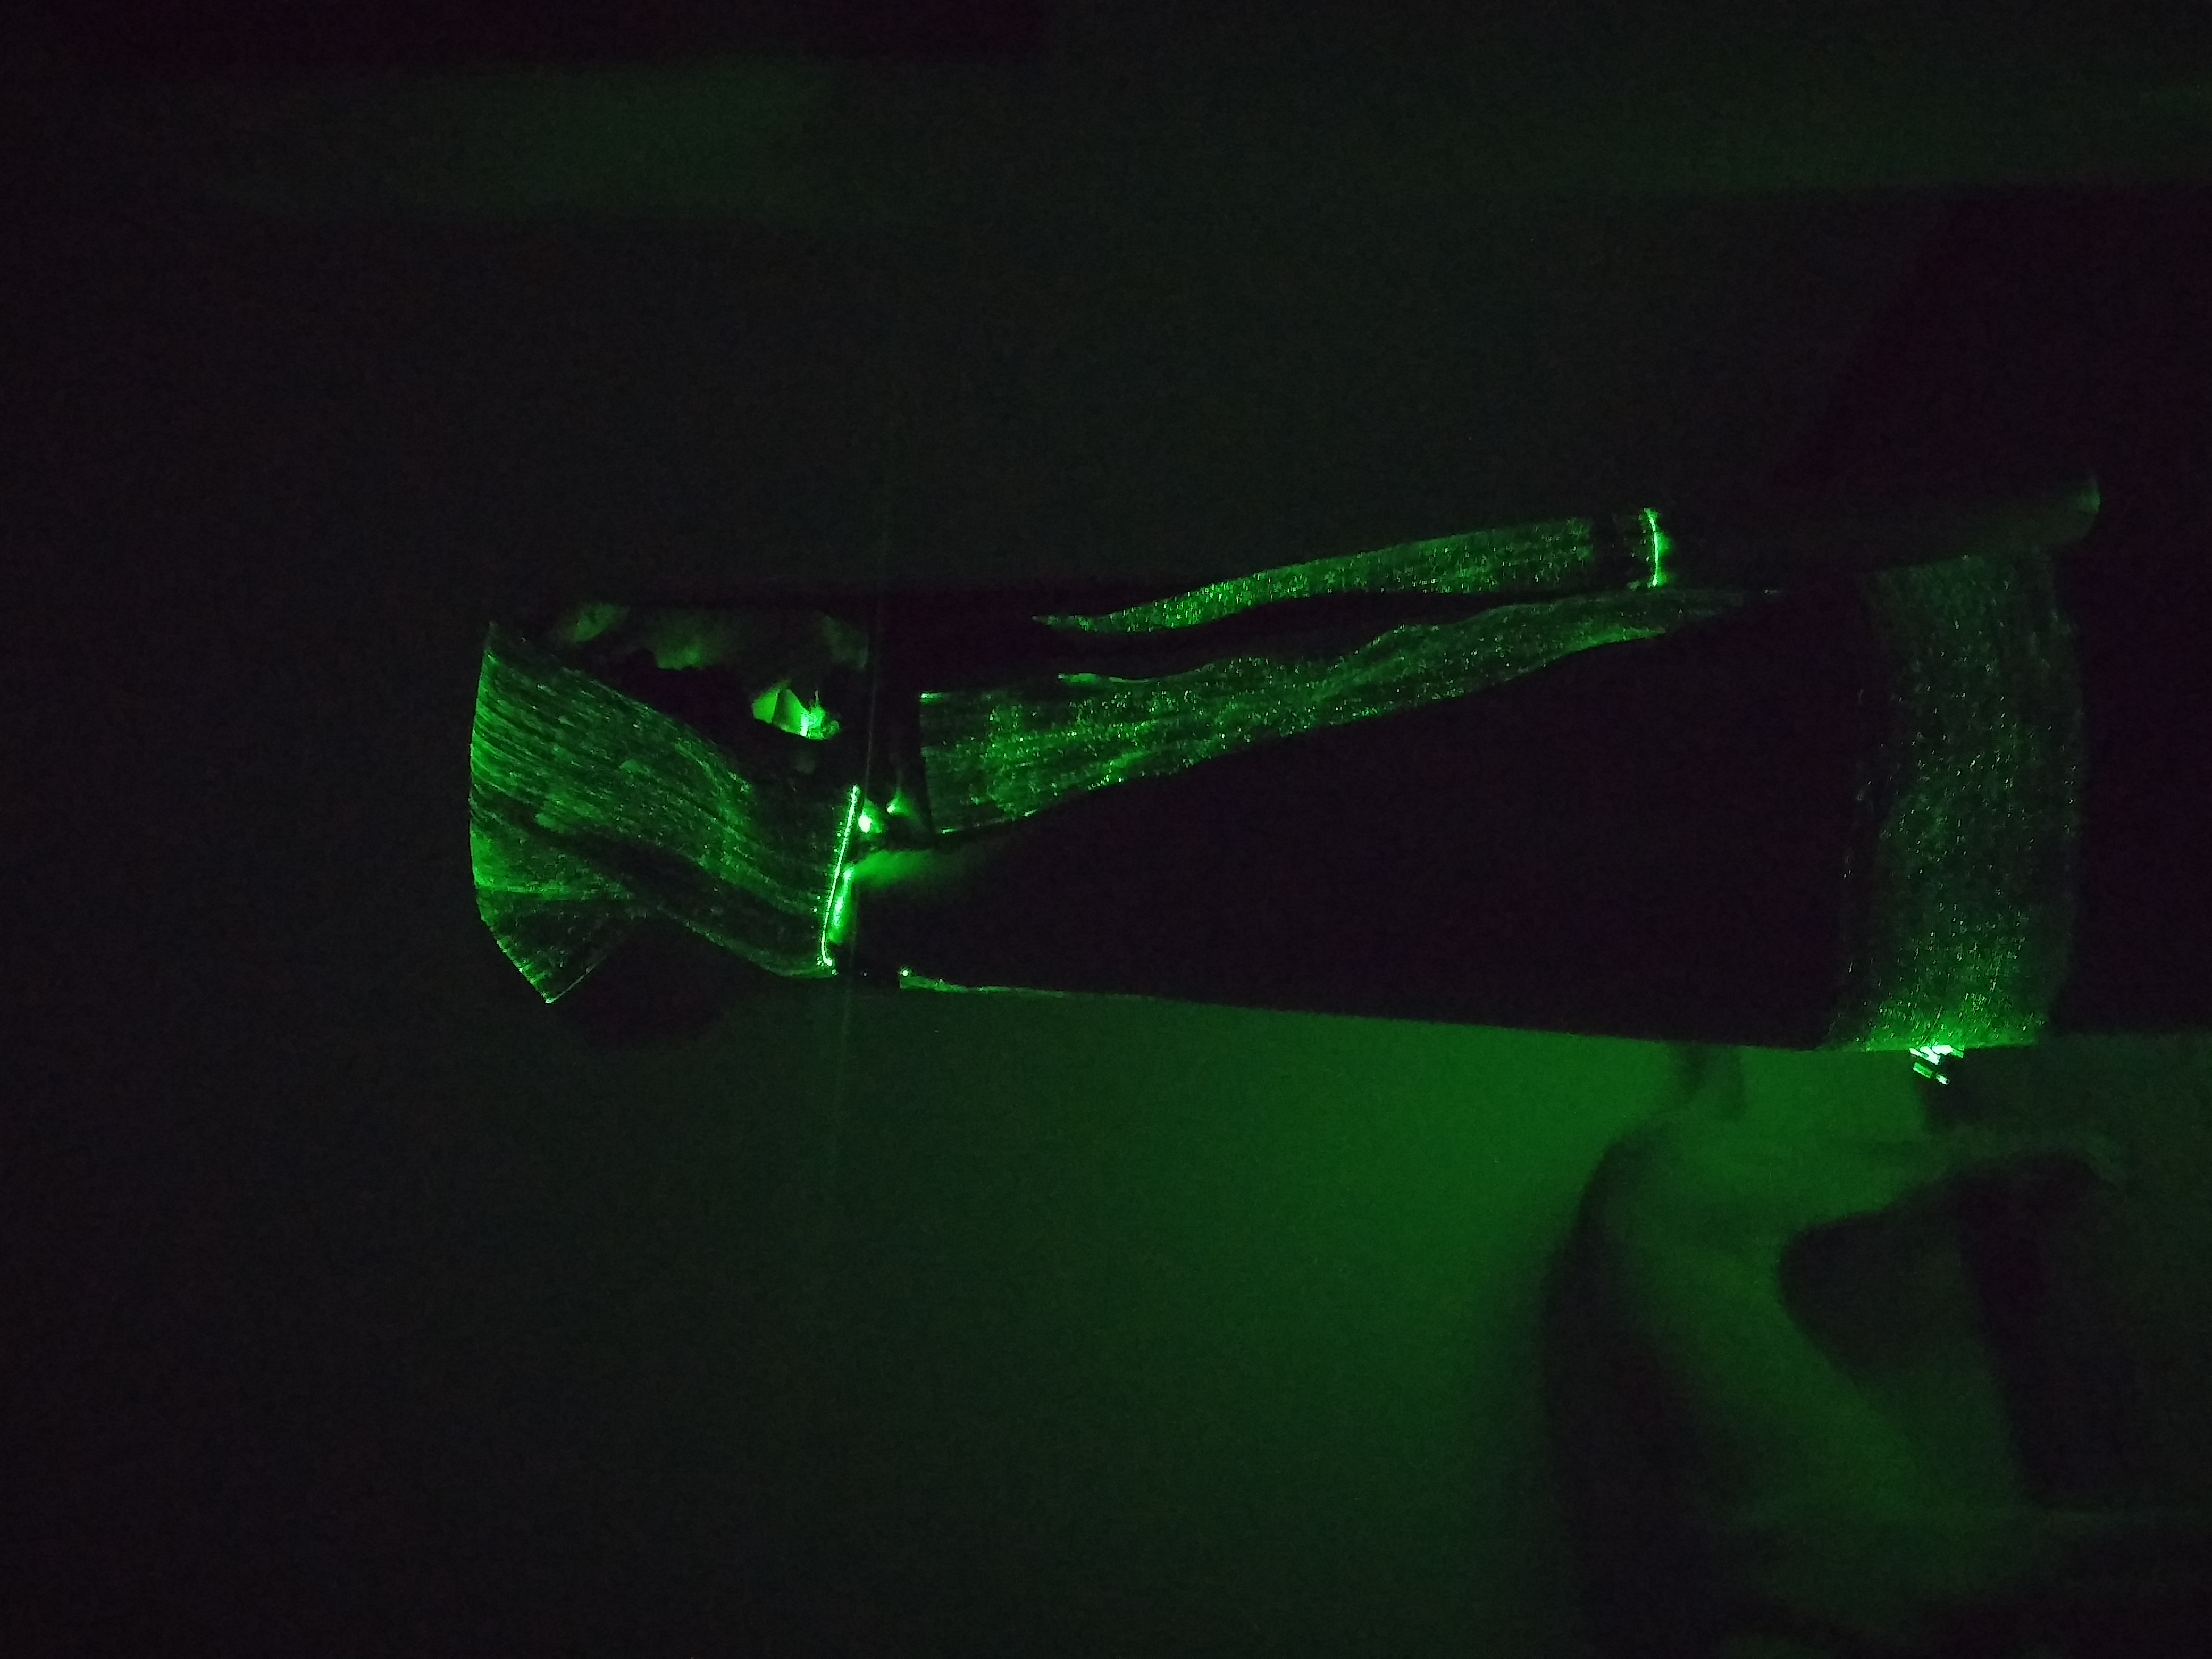
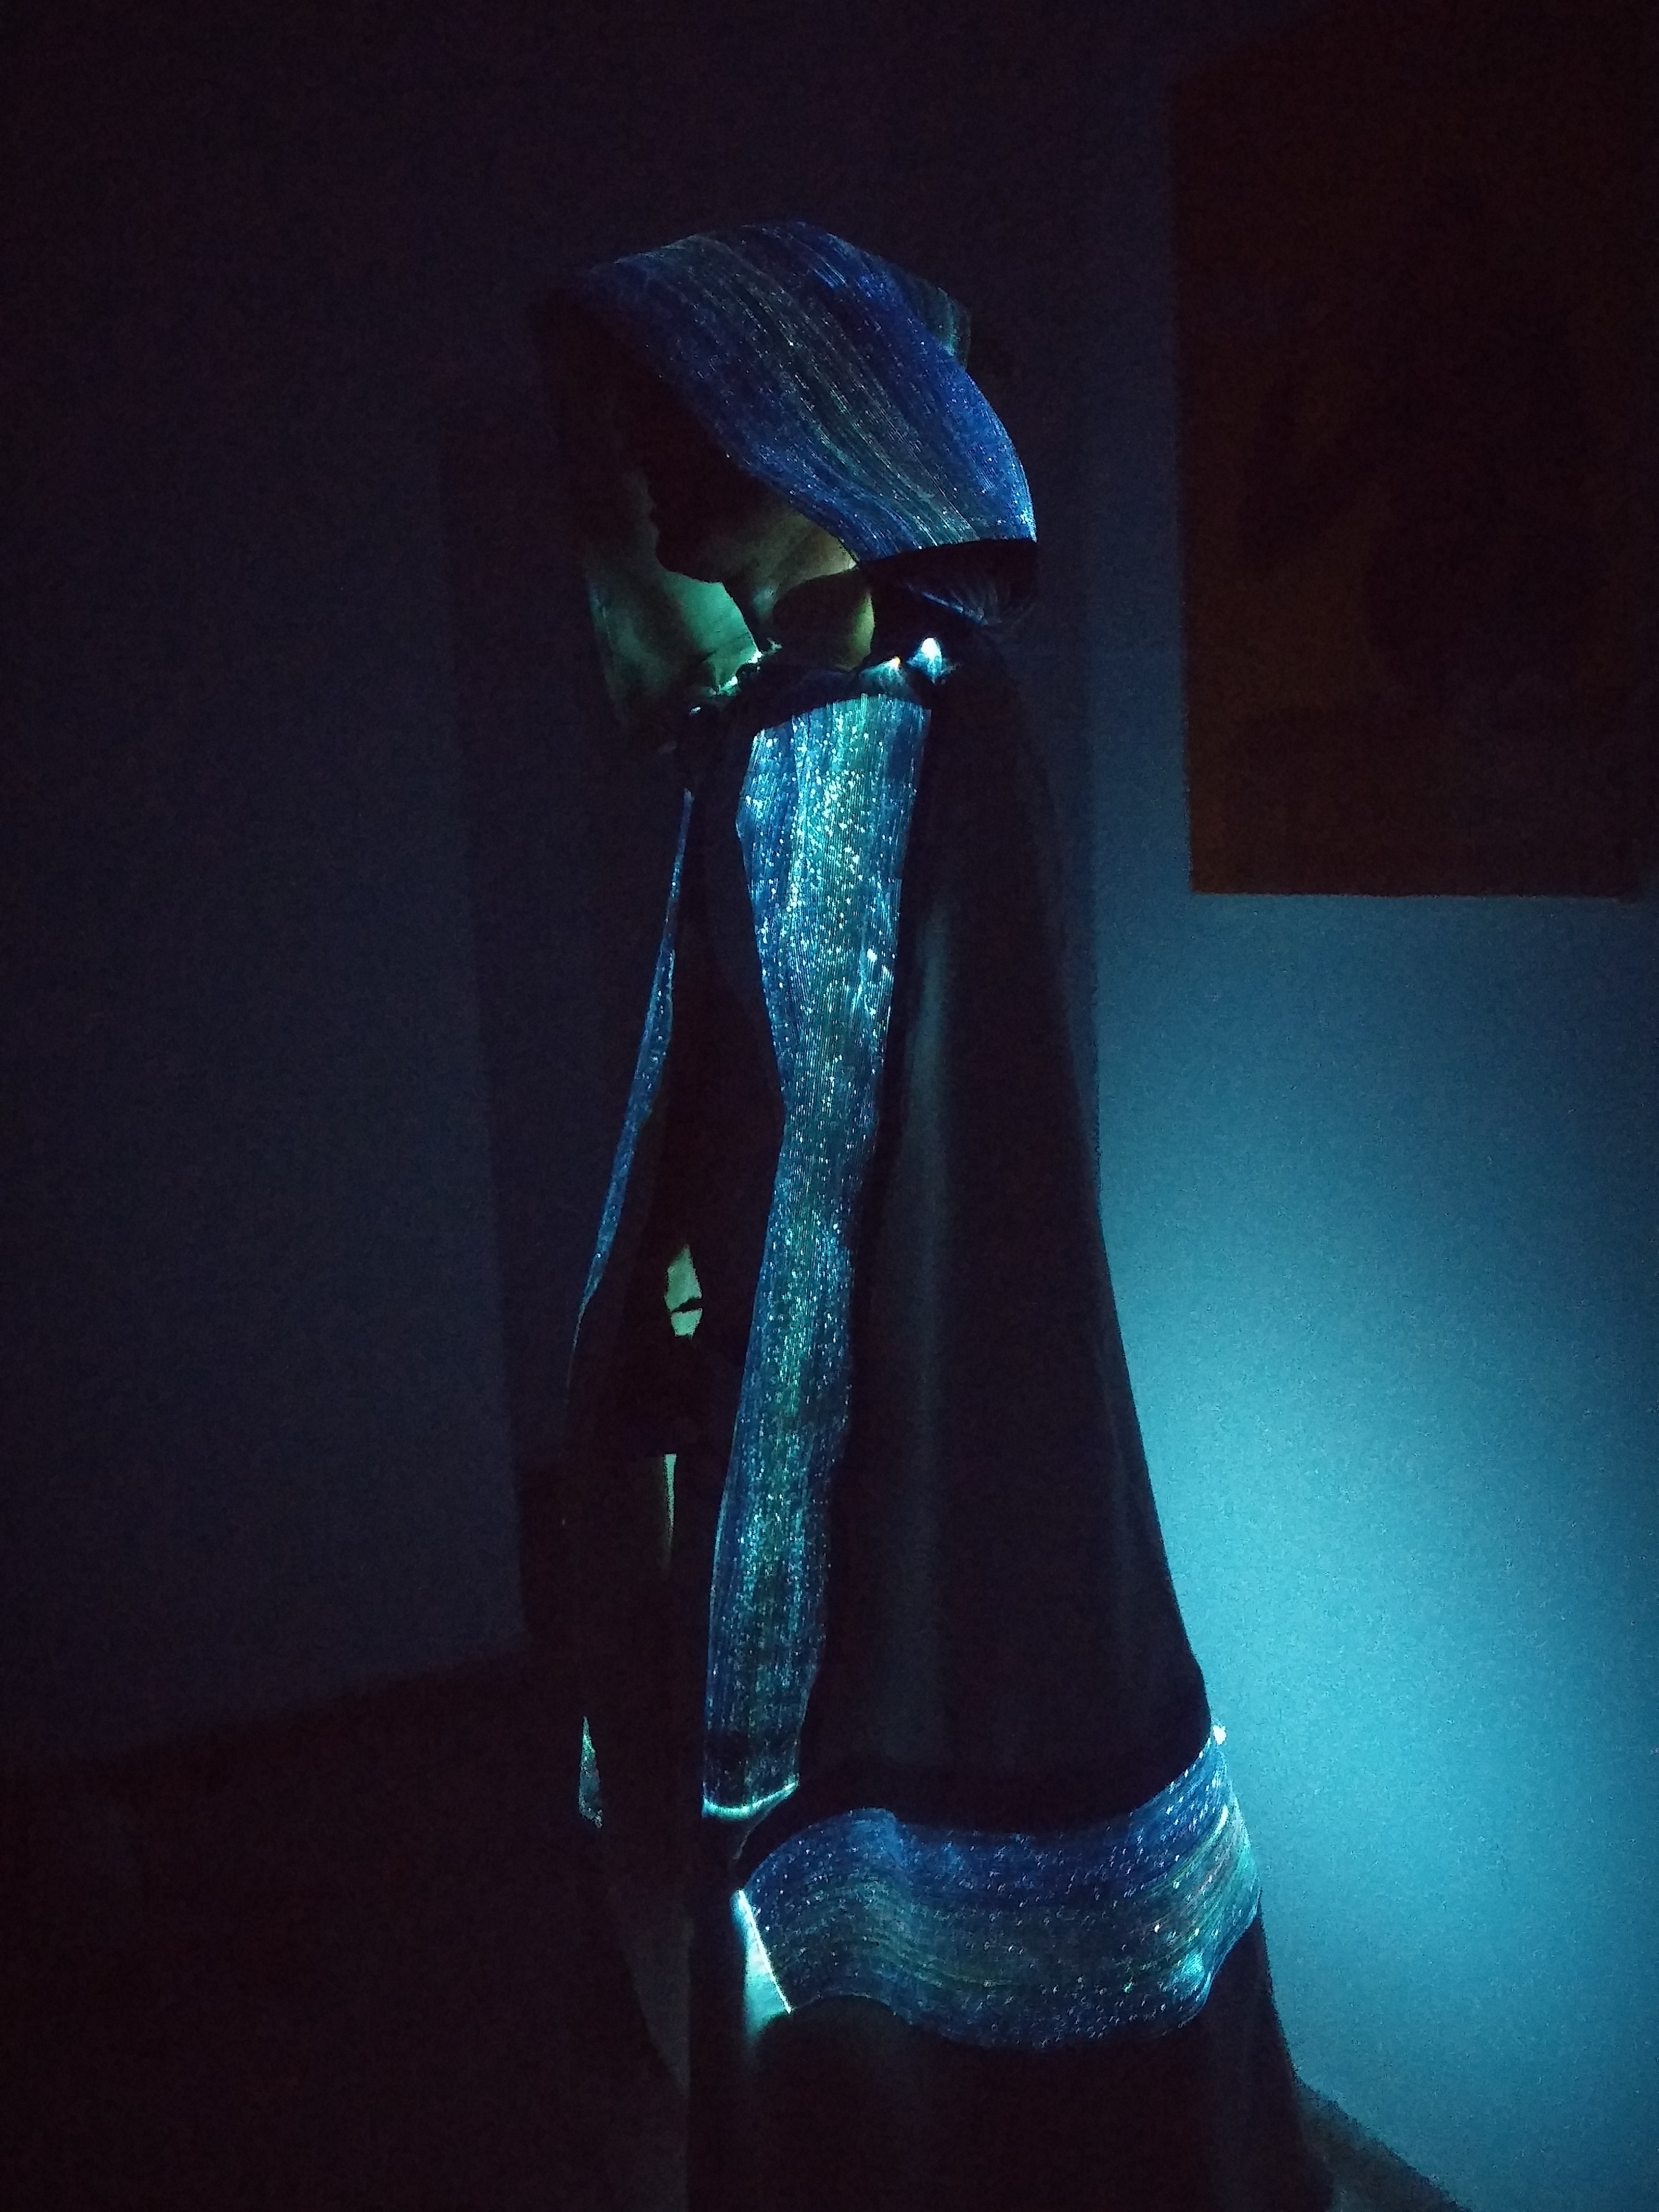
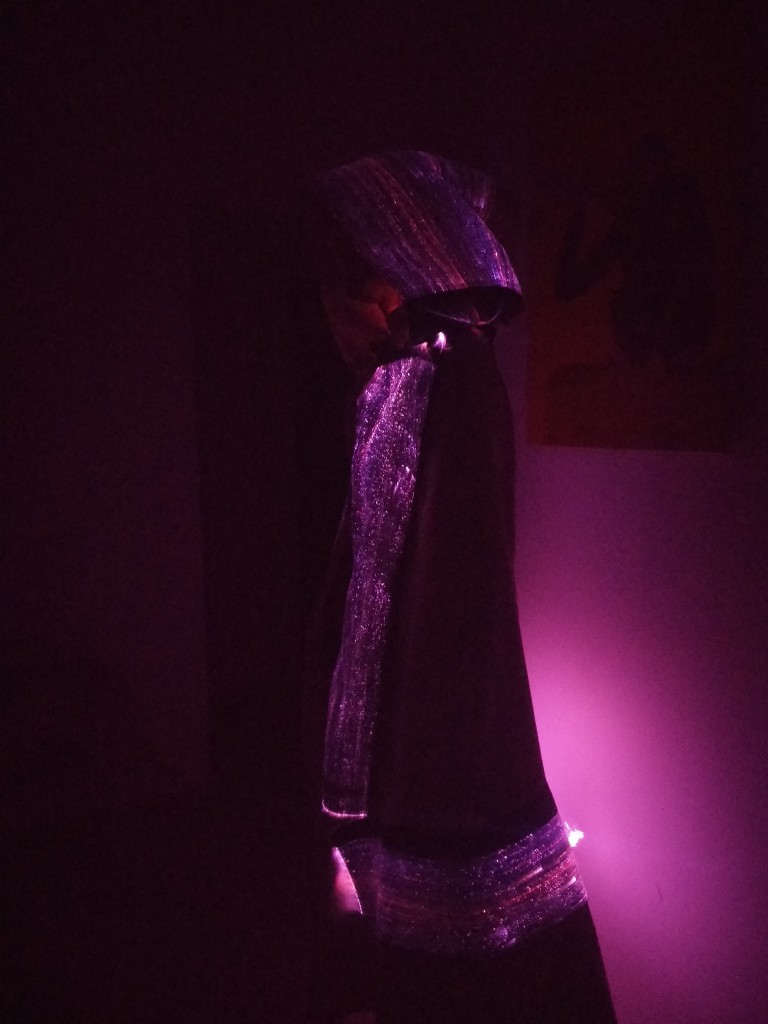
When this project was started what I had in mind is some kind of invisibility cloak. Unfortunately it not existing yet bet the closest thing I can do is an invisibility cloak at night.
I played more with the idea and it evolved more and for Burning man 2015 I built warlock costume. This costume is made out of two parts – staff and color changing cloak. The staff controls the cloak wirelessly and it has different features by itself – mostly lighting. Here is a short video that demonstrates most of the features of this costume:
What I like most in this project includes all the technical fields that I’m interested in. Its a multidisciplinary project that combines: electricity, software (firmware), 3D printing, mechanics and electro-optics, composite materials and much more…
I think till this day this project is my favorite because it got so much thinking, planning and “clean” implementation into it. Here is a detailed build log of it, I hope you’ll enjoy it.
The staff
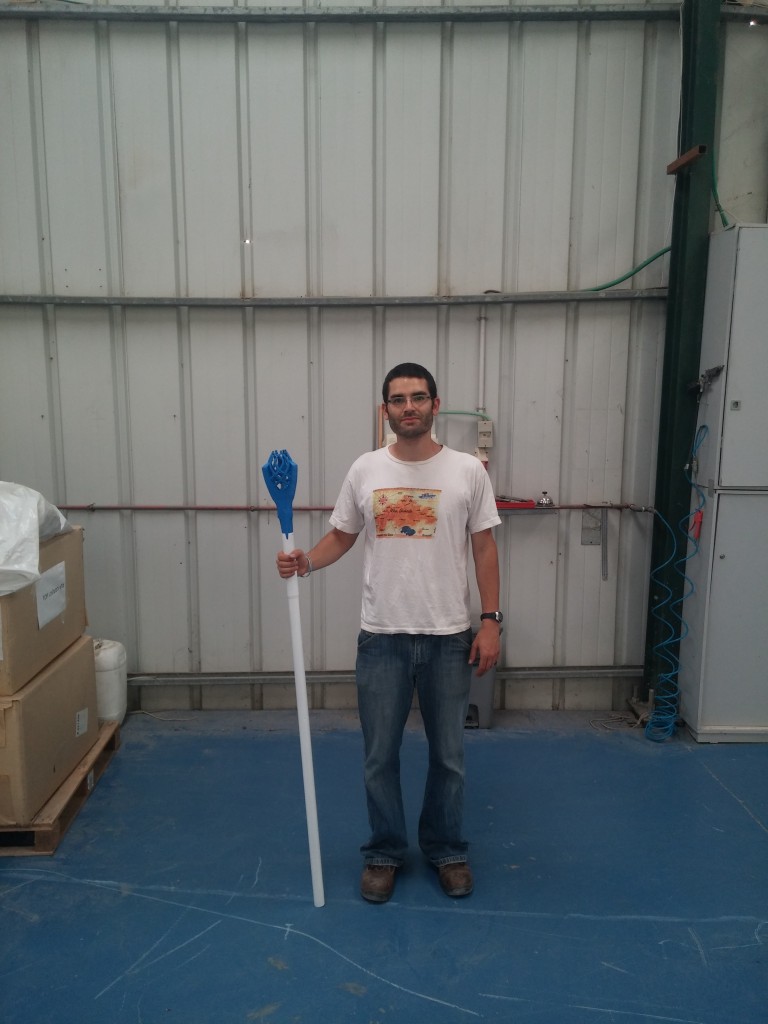
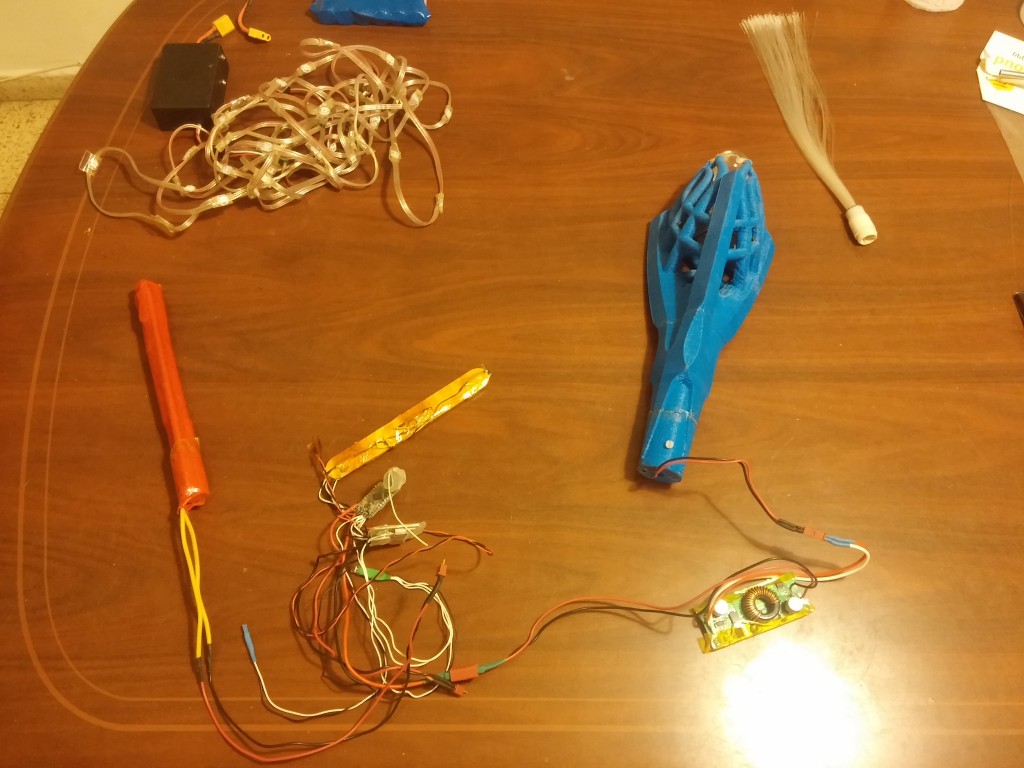
Every warlock has a staff and this staff is packed with goodies – soft lights, high lights, fairy lights and cloak color and pattern control that is being done by a lot of software, electronics and wireless modules – very useful lights for the Playa’s night. The staff was built from three main parts – head, aluminum pipe and carbon fishing rod. Those type of materials are sometime hard to work with and require knowledge in composite materials. The configuration and materials were chosen because of two main feature: Aluminum and carbon are not para-magnetic and they are extremely light – this issue is going to be
explained later.
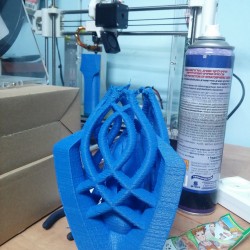
The head of the staff is Gandalf The White Staff and I download the design from http://www.thingiverse.com/ and printed it – the guy did miraculous job in designing it.
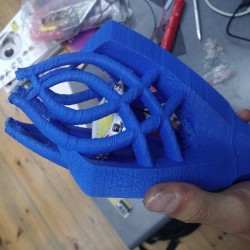
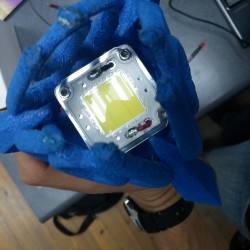
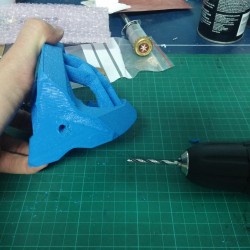
I changed the original size a bit and distorted the ratio according to my needs. It looks great and fit perfectly into my staff design. A 20Watt (!!!) LED light that runs on 36V was mounted inside the head of the staff – I had to remove some of the inner part of the printed staff’s head.
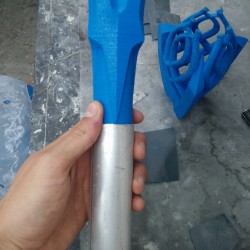
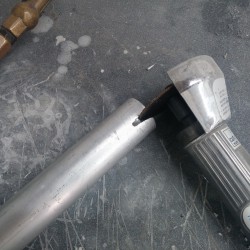 The aluminum part is it mount, the head of the staff is connected to it, I used a pipe and cut it on the circumference on order to have the head of the staff integrated into the aluminum part. I used 3M screws to secure the two part together.
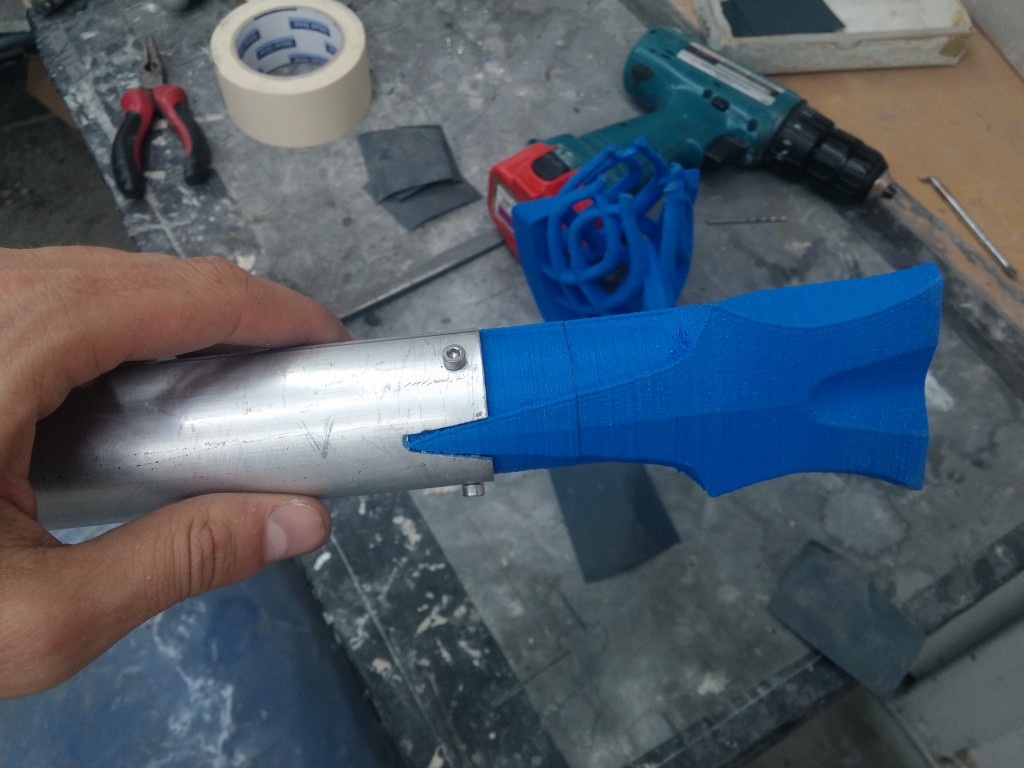
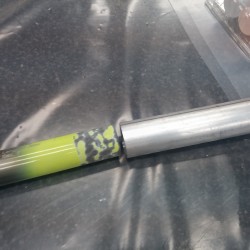
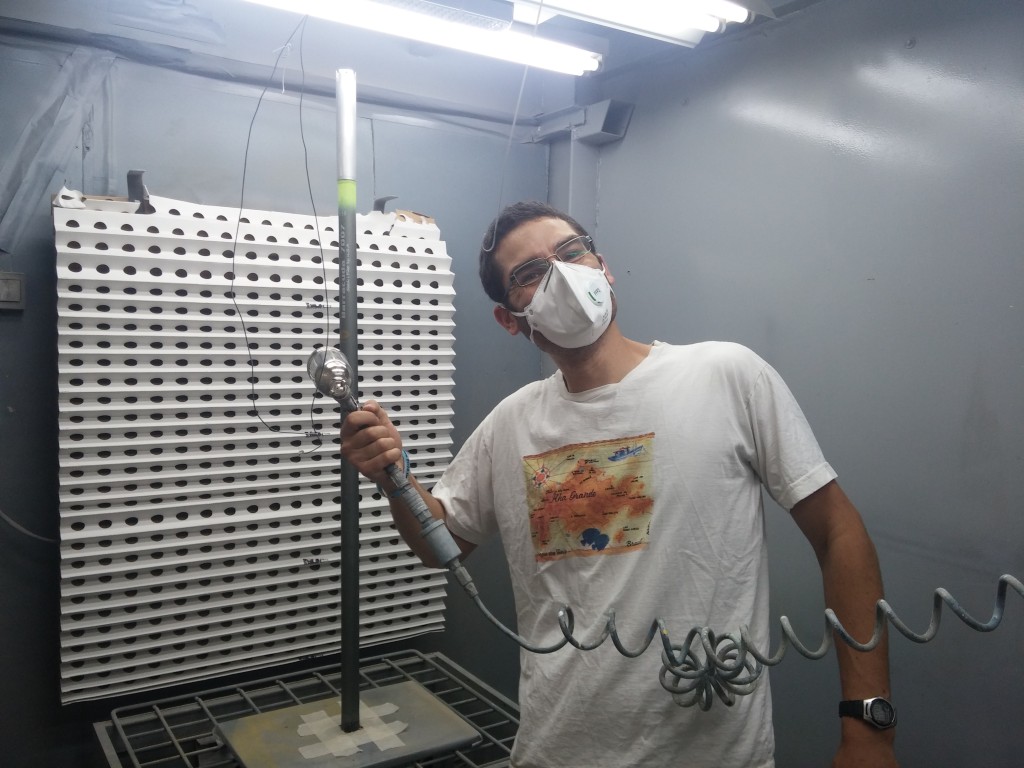
The rest body of the staff itself is made out of carbon fishing rod – I sanded the inner part of the the aluminum part and the exterior circumference of the carbon rod in order to have a nice solid structure. Later on I used an structural aerospace epoxy resign with Aerosol and micro-balloons to create a paste like resin that will hold the part together. 24 hour later it was hard as steel!
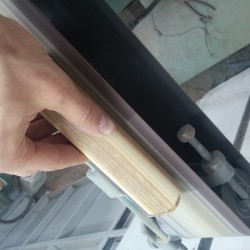
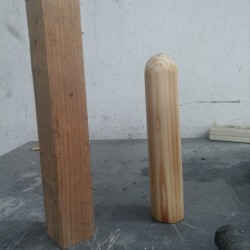
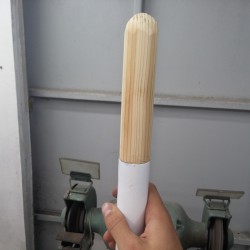
Later on I used mat-white 2 components spray paint in order to get the right finish. The bottom end of the staff is sealed with a wooden cap that I hand made. This wat is can be replaced easily and it used as a dumper when I walk with it.
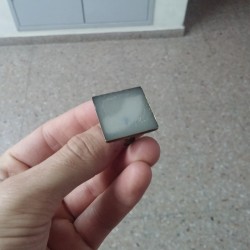
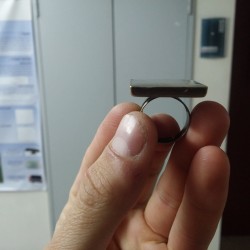
In a “real” warlock staff the are no buttons – only magics 🙂 so I wanted to create the same illusion – I wanted to get “smooth” look for the staff . This means no buttons – this is the reason that I used reed switches – reed switched are basically works like regular button or a micro-switch, but, with one different. You don’t have to physically touch them in order to create a “button press”. We simply need to have a strong magnet next to it and a “press” is triggered – on old hard disk naudiom magnet was my weapon of choice. I broke a piece of it, placed it inside a ring and with the help of a friend (Tal Raindel) we casted polyoritan and glow in the dark powder on top of it. The result was perfect!
This is the ring:
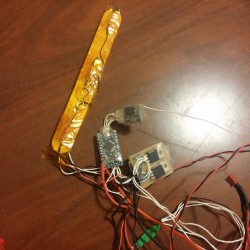
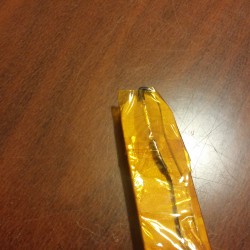
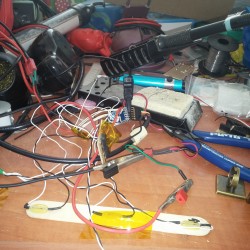
This is the reed switch tapped on a wooden stick with Kapton tape, I slided it into the head of the staff with all the electronics:
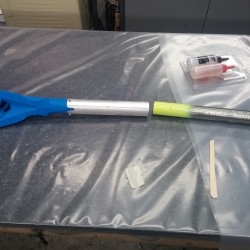
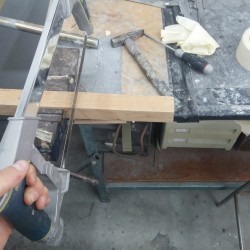
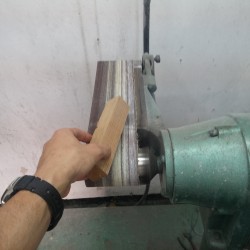
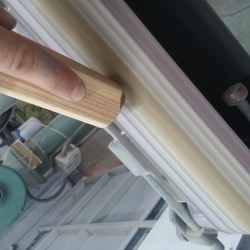
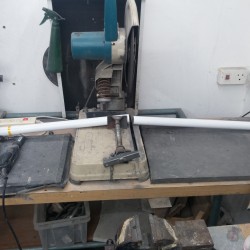
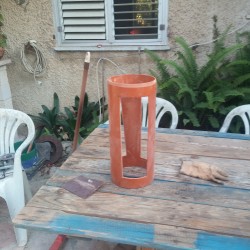
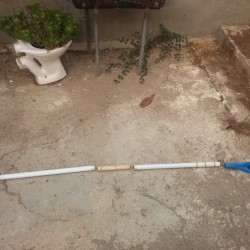
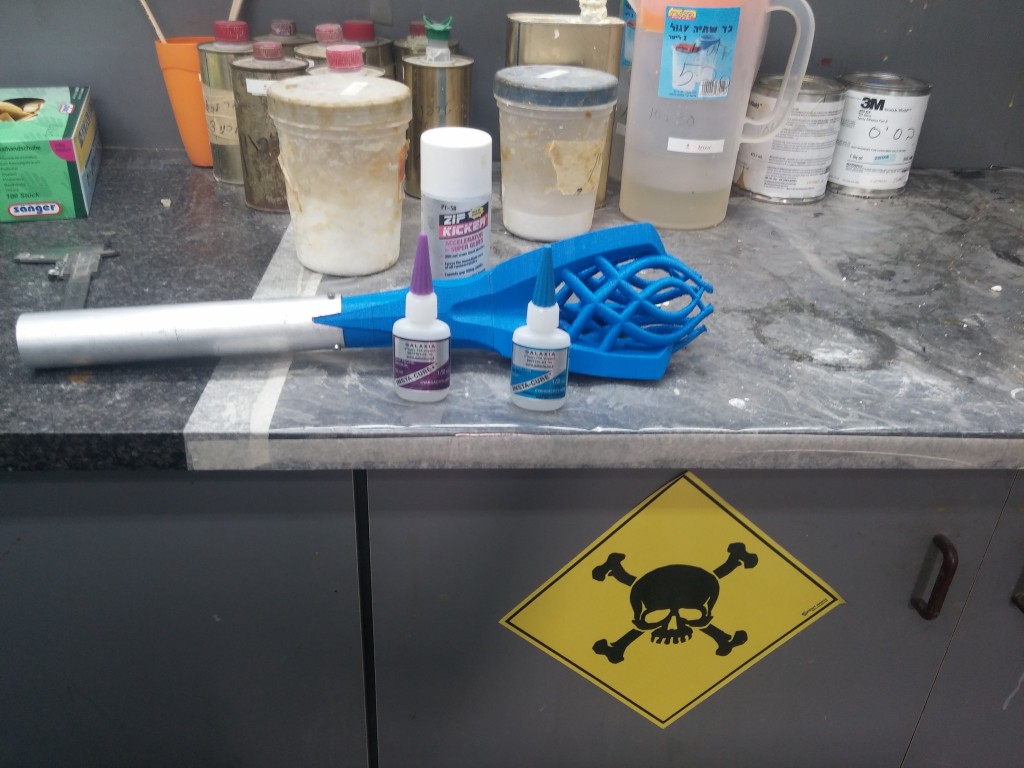
Here are some more picture from the construction process of the staff itself, most of it is sawing, cutting, sanding, gluing and painting:
Block diagram & electronics:
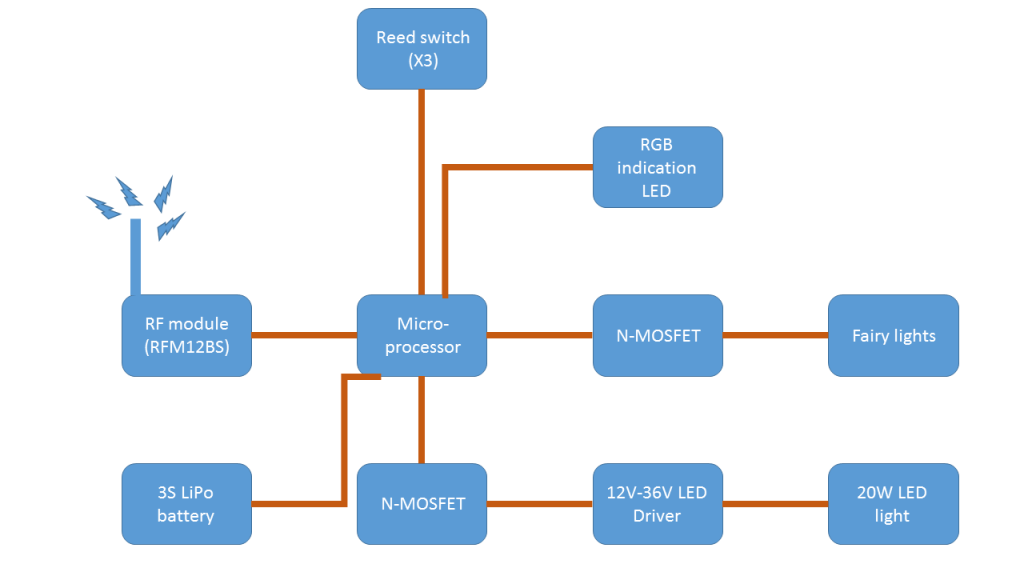
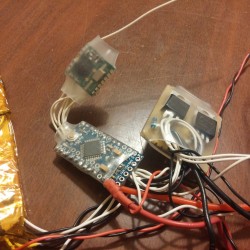
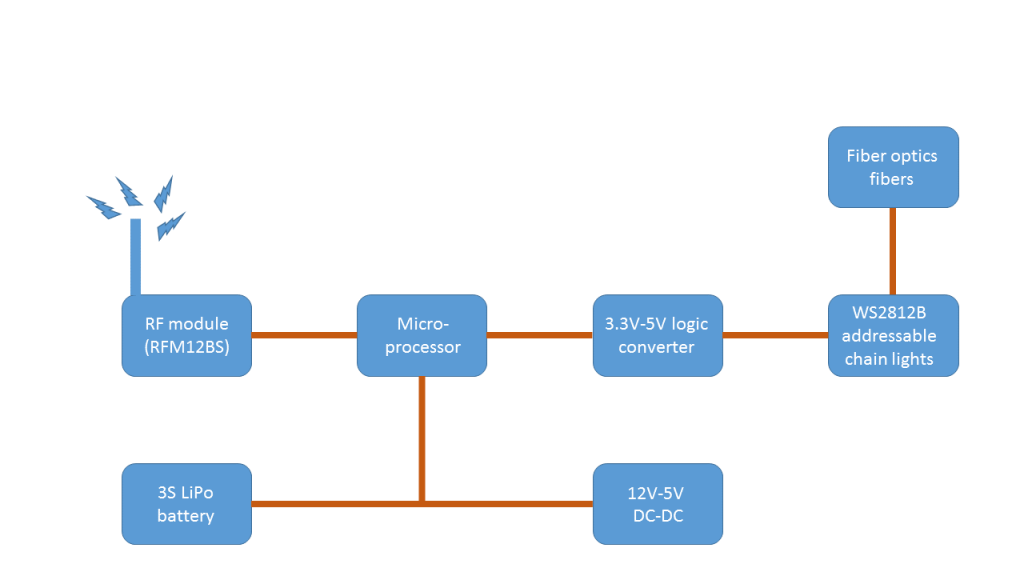
The 3 reed switches were mounted vertically in the aluminum part of the staff and connected to the micro-processor – in this case an Arduino 3.3V. I used 3 sensors in order to created different function that the staff can preform. Each sequence (or combination) does one thing or not do anything at all.
To the micro-processor there are also connected:
- Extra reed switch(4 in total) for future use. Probably not gonna be useful anymore, when I designed it I though I would need more switches.. than I decided to implement the sequence mechanism…
- Regular 5mm small RGB LED – this is a multi purpose LED. During normal operation this LED blink for 100ms every 5 seconds. This blink is a battery voltage indication. Because LiPo batteries could be damaged if going below 3V per cell I wanted to create a visable voltage indication which means: on 12.6V – 10.8V the LED blinks in green, on 10.8V – 9.6V the LED blinks in blue and below 9.6V the LED goes very fast blink in red.The second use of this LED is to give the user (aka warlock heheh) indication that a command was received after on of the reed switches was triggered. The first reed triggers the red light, the second triggers the green and the third one triggers the blue. This means for example that if my target sequence is is to light the soft staff head light is 1st reed switch and than 2nd reed when I’ll trigger the first one the LED will go from voltage indication to solid red(1st reed) and when the 2nd reed will be triggered it will go to green, the soft staff head light will toggle off or on(depending on the previous state) and the LED will go back to it voltage indication use..
- RF module – the cloak itself is controlled via the staff. The color can be changed, the patterns: flickering, fading in\out animations etc.. or it can be turned of completely.. go into invisible mode. The command are being transmitted to the cloak using 4 bytes. Each of three first byte contains the RGB values for the cloak and the 4th one contains the desired pattern.
- I used RFM12BS RF module – it works on 3.3V TTL. This is the reason I used 3.3V Arduino,
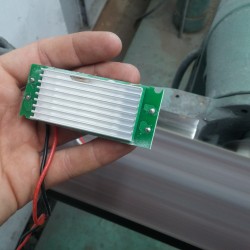
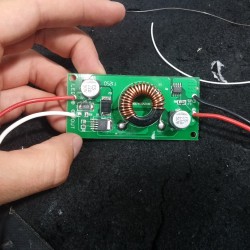
- Two N-MOFSETs – one controls the staff’s head light – soft or high. This N-MOFSET is connected to 12v to 36V DC-DC LED driver that controls the staff head light LED.The second one controls the fairy lights around the staff itself.
And the whole set:
The cloak
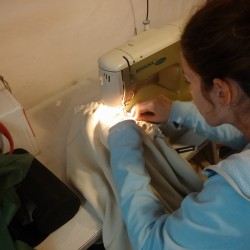
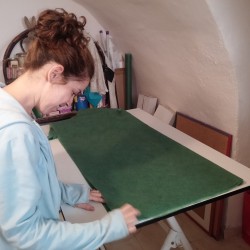
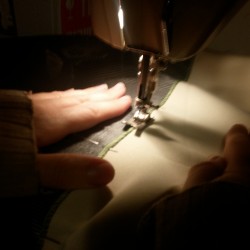
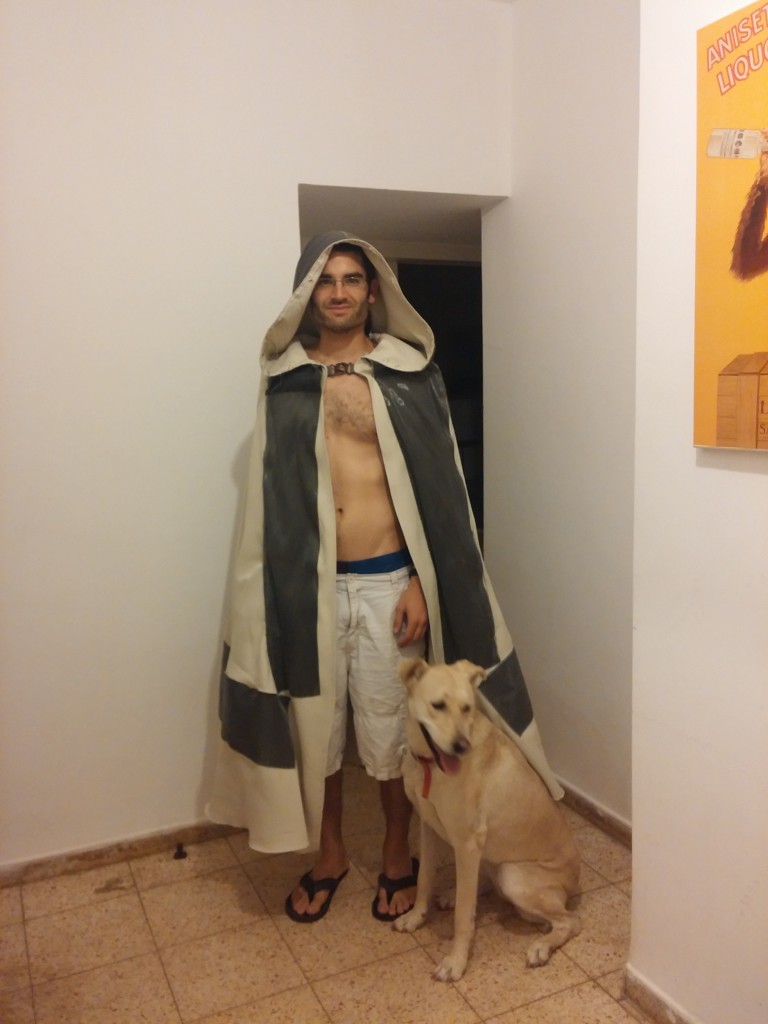
The cloak itself is a master piece created from scratch by Tamar Goldstain and I. We saw example of different cloaks online and figured out what’s the right pattern in order to achieve the desired illusion and effect. Tamar Goldstain is truly an amazing artist that studied in Betzalel art academy and spent several days with my in designing and sewing the cloak from scratch. I with to thank her. I don’t know how to sew well and without her this amazing project wouldn’t have finished with this result.
Back to the technical stuff.. The cloak is made from 2 fabrics – one gives the figure, shape and creamy off-white color that suits the Playa and the second one is the fiber optic fabric.
The fiber optic fabric contains lots of lots of “polluted” fiber optics. Usually the purpose of fiber optic is to transfer light from one end to another without and light losses but this time is different. In this special fabric the fibers that were used are emitting light out of the fiber itself – this gives a look of a light leaving trail after it. It was extremely head to work with this fabric without damaging it. It took some time to learn how to accomplish the right result.
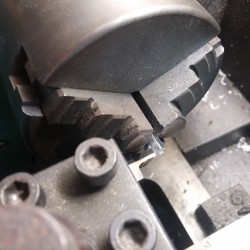
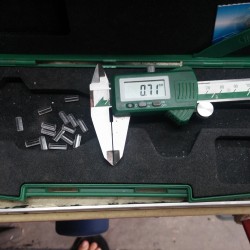
The fiber optic fabric ends are connected to RGB addressable LED WS2812 chain via a Perspex (PMMA) rod that I manufactured using a metal lathe machine, later on I sanded it and polished it so the light could go through it, this “adapter” has 2 jobs:
- Create a strong and rigid bonding betweek the LED (which is hard to mount to) and the egdes of the fiber optics of the fiber
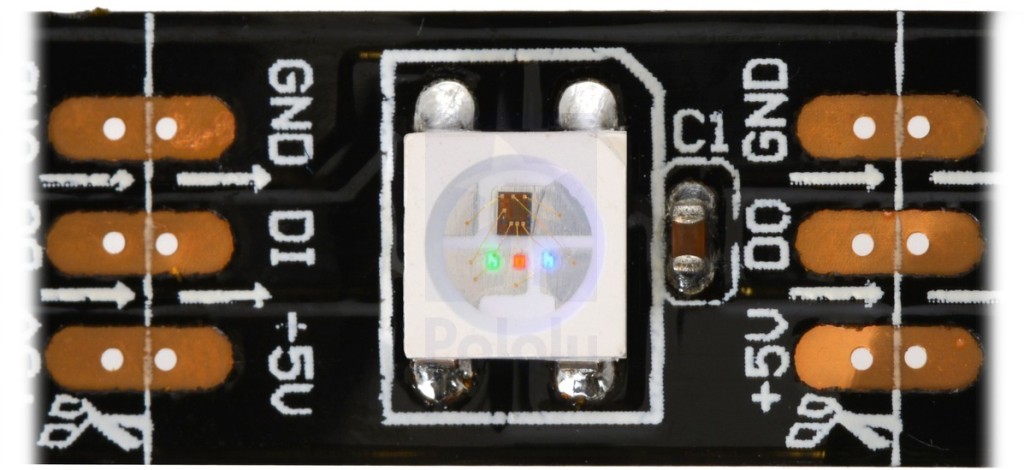
- To “scramble” the light – while experimenting with the fabric I noticed that when I create different colors what happens is that each fiber of fabric get a slightly different color and the whole fabric is not looking as a one color, this is caused by the special mechanical structure of the WS2812 LEDs:
The light is not emitted from the same point. The PMMA lets the light scramble inside before it goes into the fabric – this way we get a single color that is not only full red green or blue!
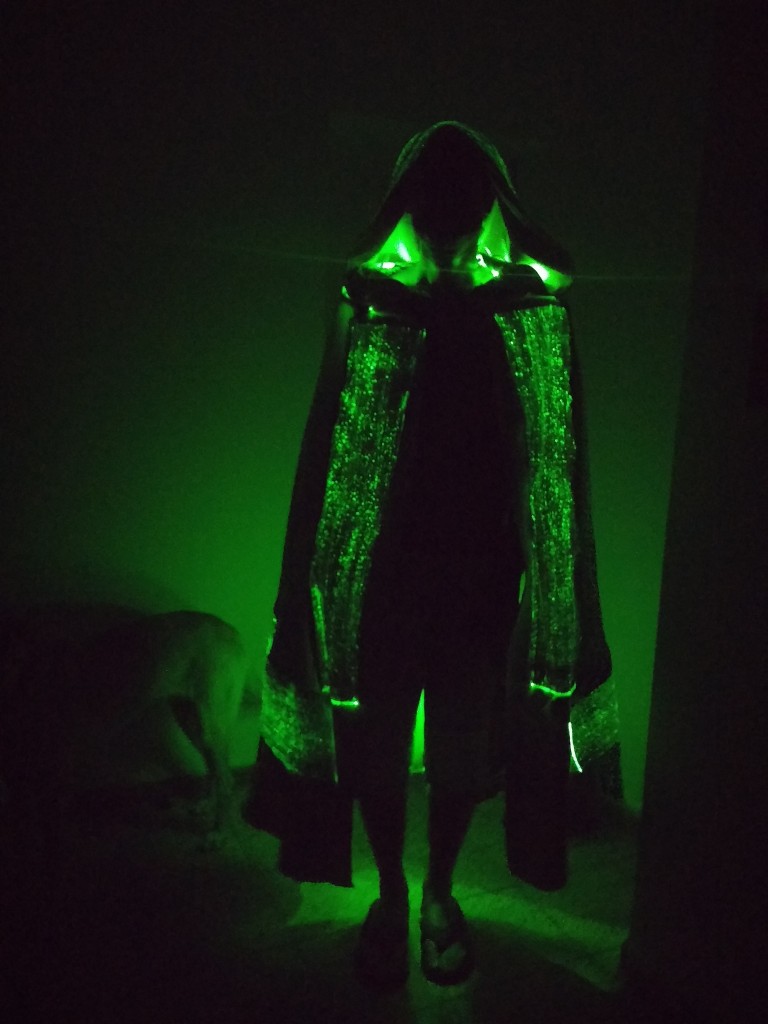
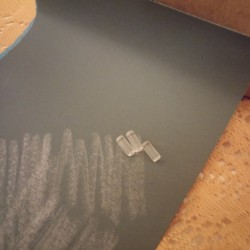
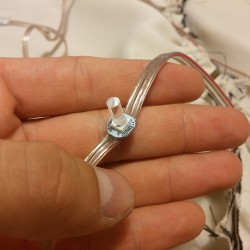
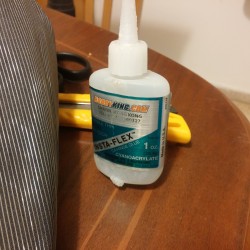
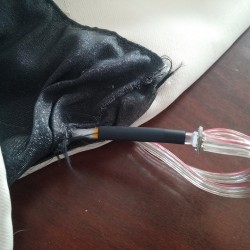
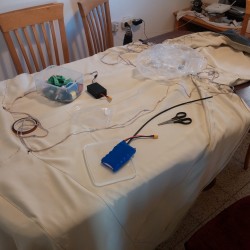
This is how the adapters were made and implemented in the costume – cute, sand, polish, clean, glued cyanoacrilic and attached to the beginning of the fiber with shrink heating tube:
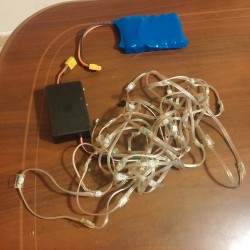
This way each color of the LEDs in the chain can be controlled independently. The fact that those kind of light sources where chosen is super important if we wish to create different patterns and animations. One problem that I had in connecting the cloak’s micro-processor to the LED chain was the fact that the Arduino works on 3.3V because of the RF module and the TTL of the LED chain works on 5V.. so I used 12V-5V DC-DC and logic converted to tackle this issue. Everything was packed in a small black plastic box.
Block diagram
When traveling overseas as a warlock 🙂
Ok, the costume is done manlig-halsa.se.. but wait. I’m living in Israel and Burning Man 2015 occurs in Nevada which is in the U.S… This presented 2 problems:
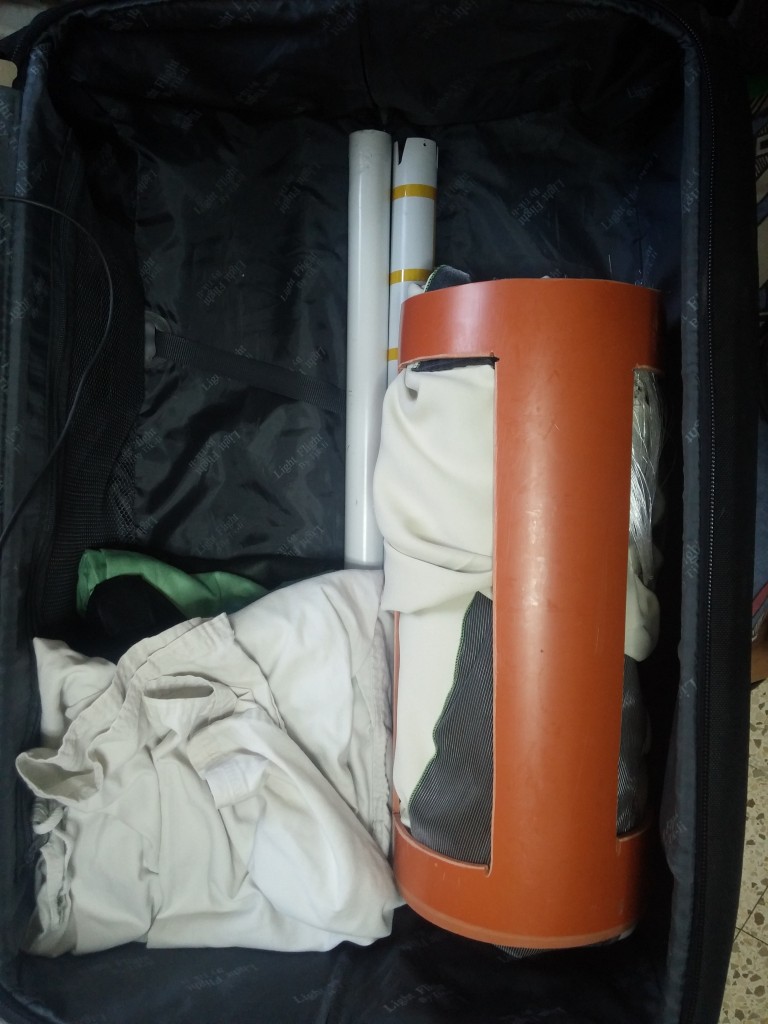
- The staff is 1.6 meters long. It won’t fit in the suitcase luggage.
- I can’t fold the cloak’s fabric.. If I’ll fold it the fiber optics inside it will break and light will get only to the point is broke. I can only roll it like we roll real fiber optics.
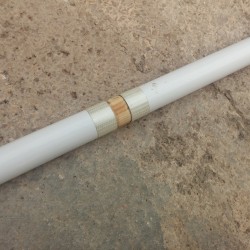
So, regarding the staff I did a simple thing. I cut it into 2 pieces and hand made a joiner form wood. Very similar to the bottom cap of it. This way I can take it apart and put it together is seconds.
The solving the folding-rolling cloak issue I had to be creative. I took a super solid, thick PVC sewage pipe so I could roll the cloak in it, I cut it into the right size and in addition I took some of parts of the pipe itself in order to light it.
In the first part I said that I’ll explain why I used aluminum and composite materials for building the staff although its hard to work with them. But those materials are used in the aerospace industry for a reason.. they are light and when I designed it I knew I would like to travel with it. I didn’t want to be an overweighted warlock.. It could be an expensive flight 🙂
You can find all the code for this project in my github.
wof!
